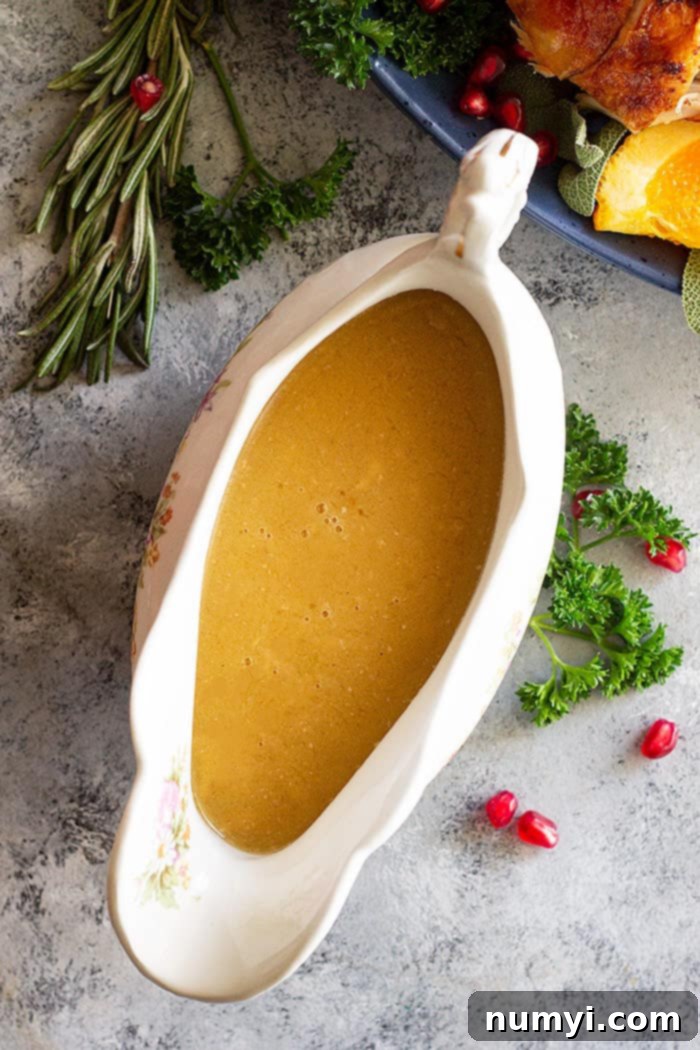
Perfect Turkey Gravy: A Simple Recipe for Every Occasion (With or Without Drippings)
There are very few things that truly complete a holiday meal or a comforting Sunday roast quite like a rich, velvety gravy. Yet, for many home cooks, making homemade gravy often feels like a daunting task, shrouded in mystery and potential mishaps. But fear not! I’m here to promise you that crafting a delicious, foolproof homemade gravy is incredibly easy. This comprehensive guide will walk you through everything you need to know to make the best turkey gravy, whether you have pan drippings from your magnificent roast or need to start from scratch. Plus, you’ll learn how to adapt this versatile recipe for chicken, pork, or beef, ensuring a perfect gravy every time!
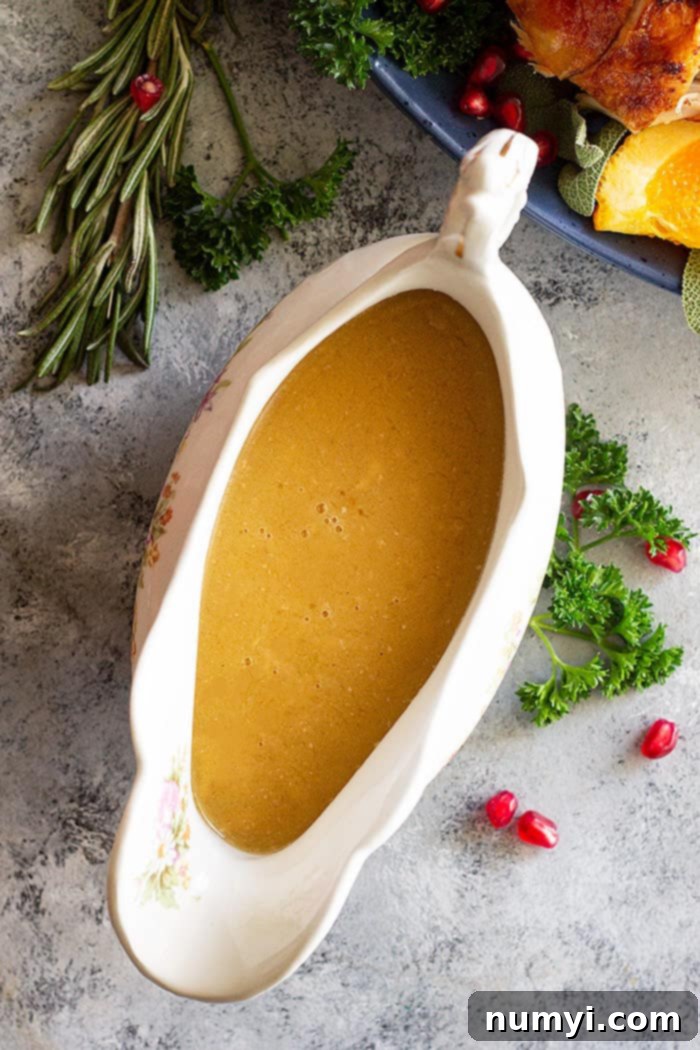
Originally published November 2016. Photos and text updated.
Why Homemade Gravy is a Must-Have
Forget the store-bought packets and jarred options; nothing compares to the depth of flavor and smooth texture of homemade gravy. It’s the secret ingredient that elevates a simple meal into a culinary experience. Imagine perfectly fluffy mashed potatoes, savory stuffing, and tender slices of turkey, all generously coated in a luscious, flavorful gravy. It’s not just an accompaniment; it’s an essential component that ties all the festive flavors together.
Many people find the idea of making gravy intimidating, often recalling lumpy sauces or bland flavors. But the truth is, with a few simple techniques and a basic understanding of a roux (a mixture of fat and flour), you can master this kitchen skill in no time. This recipe is designed to be truly foolproof, ensuring your gravy is always rich, smooth, and incredibly delicious.
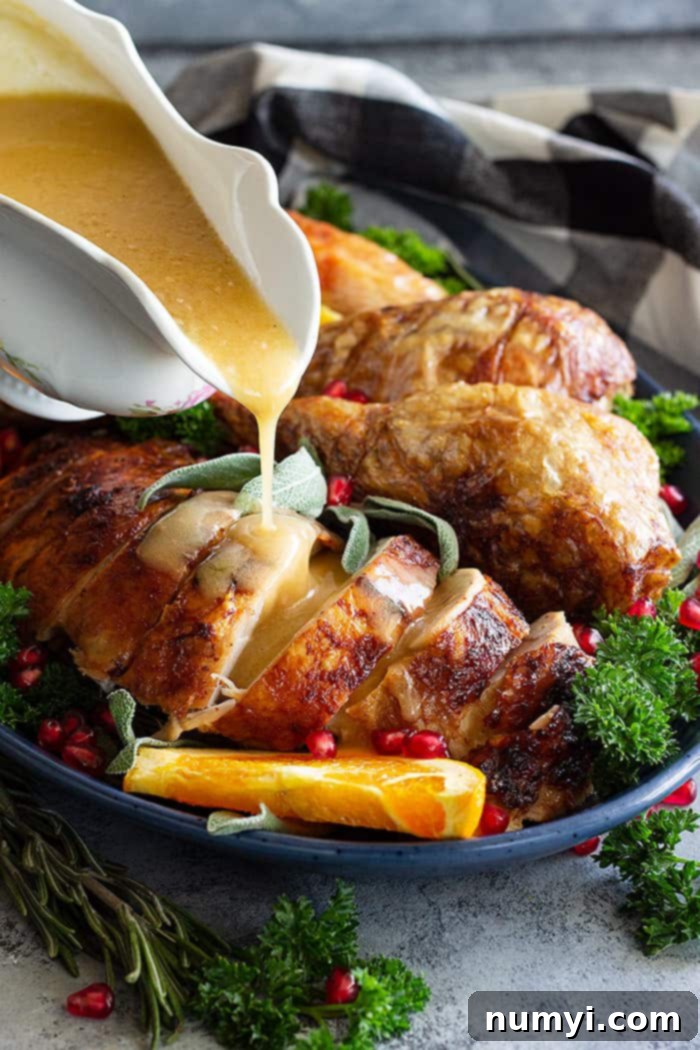
How to Make Flavorful Gravy Using Pan Drippings
Using pan drippings from your roasted meat is the secret to the most intensely flavorful gravy. These precious juices, rendered from your turkey, chicken, beef, or pork, are packed with savory goodness. This method leverages those natural flavors to create an unparalleled gravy that will make your holiday meal truly unforgettable.
Step-by-Step Guide for Gravy with Drippings:
- Collect the Drippings: After roasting your meat, carefully pour all the pan drippings into a 4-cup measuring cup or a heatproof bowl. Allow the drippings to sit for a few minutes, which will help the fat separate and rise to the top.
- Skim the Fat: Using a spoon or a fat separator, carefully skim off the layer of fat from the top of the drippings. You can discard this fat, or better yet, reserve it to use in place of butter for an even richer flavor in your gravy! This step is crucial to prevent your gravy from becoming greasy or “broken.”
- Measure and Supplement: Measure your defatted meat drippings. If you have less than 4 cups, add enough chicken, turkey, or vegetable stock to reach a total of 4 cups of liquid. This ensures you have the right base for your gravy’s consistency.
- Create the Roux: In a small saucepan, melt 4 tablespoons of butter (or the reserved skimmed fat) over medium-high heat. Once melted, gradually whisk in ¼ cup of all-purpose flour. Continue to whisk and cook this mixture, known as a roux, for 1-2 minutes. This cooking time is essential to cook out the raw flour taste and develop a nutty flavor, forming the base of your gravy.
- Whisk in Liquid: Slowly pour the reserved drippings/stock mixture into the roux, whisking constantly to prevent lumps. Continue whisking until the gravy is smooth and lump-free.
- Simmer and Thicken: Bring the gravy to a boil, then reduce the heat to a gentle simmer. Allow it to gently simmer, stirring occasionally, until it thickens to your desired consistency. This usually takes 5-7 minutes.
- Season to Taste: Remove the gravy from the heat and taste it. Add salt and freshly ground black pepper as needed. Remember, the drippings may already contain some salt, so season gradually and adjust to your preference.
- Serve Immediately: Pour your glorious homemade gravy into a warm gravy boat and serve hot over your favorite dishes!
How to Make Delicious Gluten-Free Gravy
For those avoiding gluten, creating a rich and smooth gravy is still absolutely possible! Instead of flour, we’ll use cornstarch as a thickener. This method produces a wonderfully silky gravy that’s just as flavorful and perfect for anyone with dietary restrictions.
Step-by-Step Guide for Gluten-Free Gravy:
- Prepare Drippings: Just like with the traditional method, drain and reserve any pan drippings from your roasted meat (chicken, turkey, beef, or pork). Pour them into a 4-cup measuring cup, skim off the fat, and add enough stock to measure 4 cups of liquid.
- Boil the Liquid: Transfer the prepared drippings and stock mixture into a saucepan and bring it to a rolling boil over medium-high heat.
- Make a Cornstarch Slurry: While the liquid is heating, in a small bowl, whisk together 2 tablespoons of cornstarch with 2 tablespoons of cold water or cold stock until a smooth slurry forms. The key here is using cold liquid to prevent lumps from forming when added to hot liquid. Note that you use half the amount of cornstarch compared to flour for similar thickening power.
- Thicken the Gravy: Once the meat drippings are boiling vigorously, slowly whisk in the cornstarch slurry. Continue whisking for about 1 minute. You’ll notice the gravy thickening almost immediately to a beautiful, clear consistency.
- Season and Serve: Remove from heat and season your gluten-free gravy with salt and pepper to taste. Serve hot and enjoy this smooth, flavorful alternative!
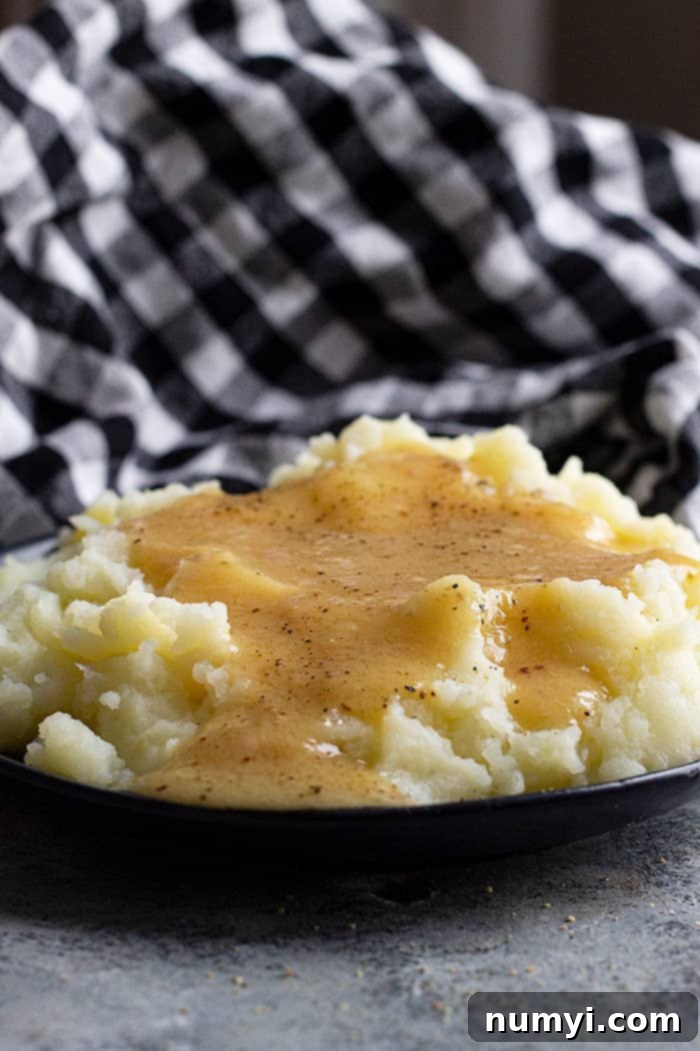
Making Gravy from Scratch (Without Drippings)
No pan drippings from a roast? No problem at all! You can still create a fantastic homemade gravy with just a few simple ingredients and a good quality broth. This method is perfect for weeknights, unexpected cravings, or when you’re preparing a meal that doesn’t produce many drippings.
Recipe for Gravy without Drippings:
- Prepare the Base: In a medium saucepan, melt 4 tablespoons of butter over medium-high heat.
- Make the Roux: Whisk in ¼ cup of all-purpose flour and cook for 1-2 minutes, stirring constantly, to create a light roux and eliminate the raw flour taste. The roux should be pale yellow.
- Add Stock: Slowly whisk in 4 cups of good quality chicken, turkey, or vegetable stock. For an extra boost of savory flavor, dissolve a small amount of bouillon (chicken, turkey, or beef) into the stock before adding it to the roux, or use a richly flavored bone broth.
- Simmer and Thicken: Bring the mixture to a boil, then reduce heat and simmer gently until the gravy reaches your desired consistency, usually 5-7 minutes. Stir occasionally to prevent sticking.
- Season: Taste and adjust seasoning generously with salt and pepper. You might also consider adding a dash of dark soy sauce for color and umami depth without changing the primary flavor profile.
Gravy Variations and Flavor Enhancements
Once you’ve mastered the basic gravy, don’t hesitate to experiment with these delicious variations to suit your meal!
Creamy Milk Gravy
For a richer, creamier variation perfect for dishes like classic fried chicken, crispy chicken-fried steak, or even biscuits, simply replace half or all of the stock with milk (whole milk works best for richness). The process remains the same: create your roux, then slowly whisk in the milk. This yields a velvety, comforting white gravy that’s undeniably delicious and a staple in Southern comfort food.
How to Darken Gravy Naturally
If your gravy looks a little pale and you desire a deeper, richer color, you can easily enhance its appearance. A common secret weapon for deepening gravy color without altering the flavor significantly is a small dash of dark soy sauce. Add it sparingly, a teaspoon at a time, whisking and checking the color until you achieve your desired shade. Unless you add a large amount, you won’t taste the soy sauce; it primarily acts as a natural food coloring and a subtle umami booster. Alternatively, you can use a touch of kitchen bouquet, a prepared browning sauce, or simply cook your roux longer until it’s a light brown for a more traditional, naturally darker base.
Herbs and Aromatics
Elevate your gravy’s flavor profile by simmering it with fresh herbs like rosemary, thyme, or sage. You can tie a small bundle of herbs together with kitchen twine and steep them in the gravy during the simmering stage, removing them before serving. Sautéed minced onions, shallots, or garlic added to the butter before the flour can also introduce wonderful aromatic notes and a deeper savory foundation to your gravy. A splash of dry sherry or white wine can also add complexity and brightness.

Common Gravy Troubleshooting Tips
Even experienced cooks encounter gravy challenges from time to time. Don’t let a minor hiccup derail your meal! Here’s how to fix common issues and ensure your gravy is always perfect:
- Gravy is Greasy or Broken: This usually happens when too much fat is present in the drippings or when the fat hasn’t been properly emulsified with the flour in the roux. The fat separates, leaving an oily layer.
- The Fix: Ensure you skim off excess fat from your pan drippings thoroughly. When making a roux, always use equal parts fat (butter or skimmed drippings fat) and flour for a stable emulsion. If your gravy has already broken, you can try to re-emulsify it by running it through a high-powered blender until smooth. Alternatively, make a small, separate roux, cook it until lightly browned, then slowly whisk in some hot stock or water to create a thick mixture, and gradually whisk this into your broken gravy. The additional thickener and liquid can help bring it back together.
- Gravy is Too Salty: Over-seasoning is easy, especially if your stock or drippings are already quite salty.
- The Fix: The best remedy is to dilute it. You can make another small batch of gravy (just a roux and unsalted stock or water) and gradually add it to the salty gravy. Another traditional trick is to add a few raw potato slices to the gravy and simmer for 10-15 minutes; the potato can absorb some of the excess salt. Remember to remove the potato before serving.
- Gravy is Too Thin: This is a very common issue and, thankfully, easily resolved.
- The Fix:
- Cornstarch Slurry: In a small bowl, combine equal parts cornstarch and cold water (e.g., 1 tablespoon cornstarch with 1 tablespoon cold water). Whisk until completely smooth. Bring your thin gravy to a simmer, then slowly whisk in the slurry, a little at a time, until the gravy thickens to your desired consistency. Cook for at least 1 minute after adding to ensure the starch is fully cooked and activated.
- Flour Paste (Beurre Manié): Knead together equal parts softened butter and all-purpose flour (e.g., 1 tablespoon softened butter with 1 tablespoon flour) to form a smooth paste. Whisk small amounts of this paste into your simmering gravy until it reaches the desired thickness. The butter helps disperse the flour without lumps.
- The Fix:
- Gravy is Too Thick: Much easier to fix than thin gravy!
- The Fix: Simply whisk in more warm broth or stock, a little at a time, until you achieve your desired consistency. Continue to whisk until smooth. Remember to taste and re-season with salt and pepper if necessary after adding liquid.
- Taste is Off or Weird: Sometimes, the base flavor isn’t quite right, or something just tastes “off.”
- The Fix:
- Check Drippings: Always taste your meat drippings before you begin making gravy. If they taste burnt or bitter, do not use them. Start fresh with good quality store-bought or homemade stock instead.
- Add Depth: A tiny splash of soy sauce or Worcestershire sauce can add umami and depth without changing the flavor profile significantly. Simmering with sautéed aromatics (finely minced onions, garlic, or mushrooms) or fresh herbs (rosemary, thyme, sage) for a few minutes can also significantly improve the overall flavor.
- Season Properly: Don’t underestimate the power of salt and pepper to bring out and balance all the existing flavors. Adjust to taste carefully. A pinch of sugar can also balance bitterness if needed.
- The Fix:
- Gravy is Lumpy: Lumps are often caused by not whisking continuously when adding the liquid to the roux, or by adding cold liquid to a hot roux too quickly.
- The Fix: For a quick solution, pass the gravy through a fine-mesh strainer or sieve to remove any lumps. If you want it absolutely silky smooth, pour it into a high-powered blender and blend until completely smooth.
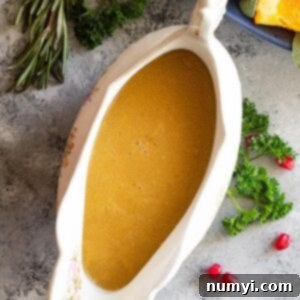
Easy Homemade Turkey Gravy Recipe
This recipe provides a quick and reliable way to make classic turkey gravy, perfect for any holiday feast or Sunday dinner. It yields approximately 12 servings (about 4 cups of gravy) and comes together quickly in just 10 minutes!
Ingredients:
- 3 cups (710ml) chicken or turkey stock
- 4 tablespoons butter (or skimmed fat from turkey drippings for extra flavor)
- 1 cup (235ml) meat drippings from your roasted turkey (optional, see notes and sections above for variations without drippings)
- ¼ cup (35g) all-purpose flour
- Salt and freshly ground black pepper to taste
Instructions:
- Prepare Drippings (if using): If using meat drippings, pour them into a 4-cup measuring cup. Carefully spoon off any excess fat from the surface. Add enough chicken or turkey stock to the drippings to reach a total of 4 cups of liquid. Set this mixture aside. (If not using drippings, simply use 4 cups of stock).
- Make the Roux: In a medium saucepan, melt the butter (or skimmed fat from drippings) over medium-high heat. Once melted, stir in the all-purpose flour. Continue to stir and cook the roux for 1-2 minutes, allowing the flour to cook out its raw taste and form a smooth paste.
- Whisk in Liquid and Simmer: Gradually pour the reserved drippings/stock mixture (or just stock if not using drippings) into the saucepan, whisking continuously to incorporate it smoothly into the roux. Bring the gravy to a boil, then reduce the heat to a simmer. Let it simmer, stirring occasionally, until it thickens to your desired consistency (usually 5-7 minutes).
- Season and Serve: Remove the gravy from the heat. Taste and season generously with salt and freshly ground black pepper as needed. Serve your delicious homemade turkey gravy immediately over your favorite holiday dishes.
Recipe Notes:
- For a detailed guide on making gravy with or without drippings, gluten-free options, and comprehensive troubleshooting, please refer to the sections above in this post!
- Replacing butter with skimmed fat from your drippings will yield an even richer, more authentic flavor. This is my preferred method for the ultimate turkey gravy!
- Nutrition Facts: Since different brands of ingredients have varying nutritional information, the values shown below are an estimate. Nutrition is calculated for approximately 1/3 cup of gravy.
Nutrition Information (per 1/3 cup serving):
- Calories: 56 kcal
- Carbohydrates: 3g
- Protein: 2g
- Fat: 4g
- Saturated Fat: 3g
- Cholesterol: 10mg
- Sodium: 57mg
- Potassium: 68mg
- Fiber: 1g
- Sugar: 1g
- Vitamin A: 117 IU
- Calcium: 3mg
- Iron: 1mg
Enjoy Your Perfect Homemade Gravy!
With these simple steps and comprehensive troubleshooting tips, you now have all the knowledge and confidence to make incredible homemade gravy. Whether it’s for Thanksgiving, Christmas, or a cozy Sunday dinner, your guests will be impressed, and your meals will be infinitely more delicious. So go ahead, conquer your gravy fears, and enjoy the rich rewards of perfectly prepared homemade gravy!
HUNGRY FOR MORE? Subscribe to my newsletter and follow along on Pinterest, Facebook, and Instagram for all my latest updates!
