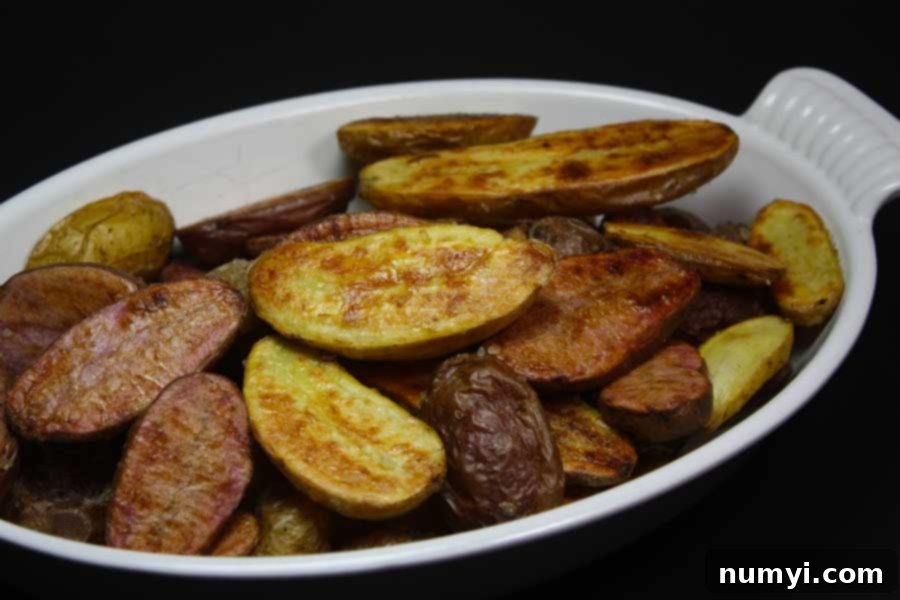
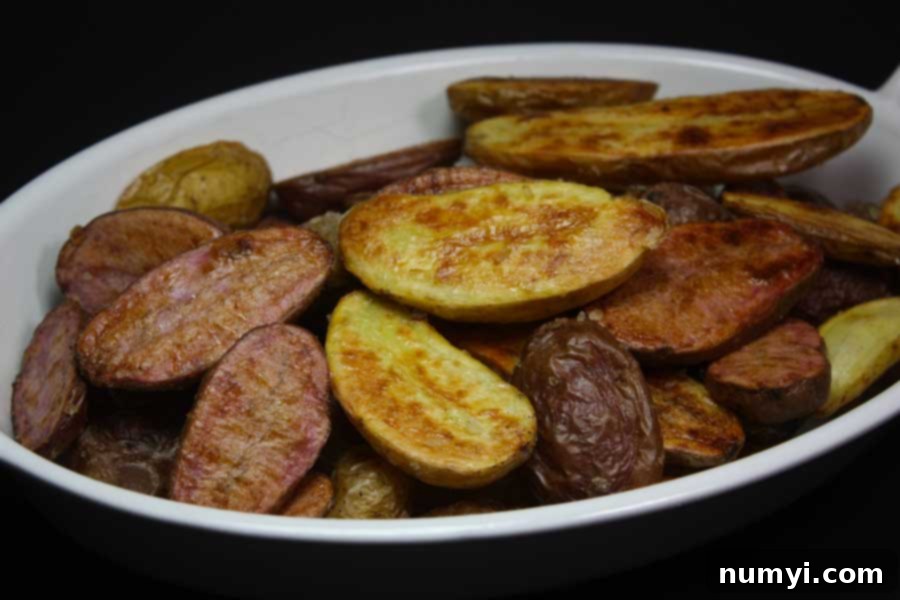
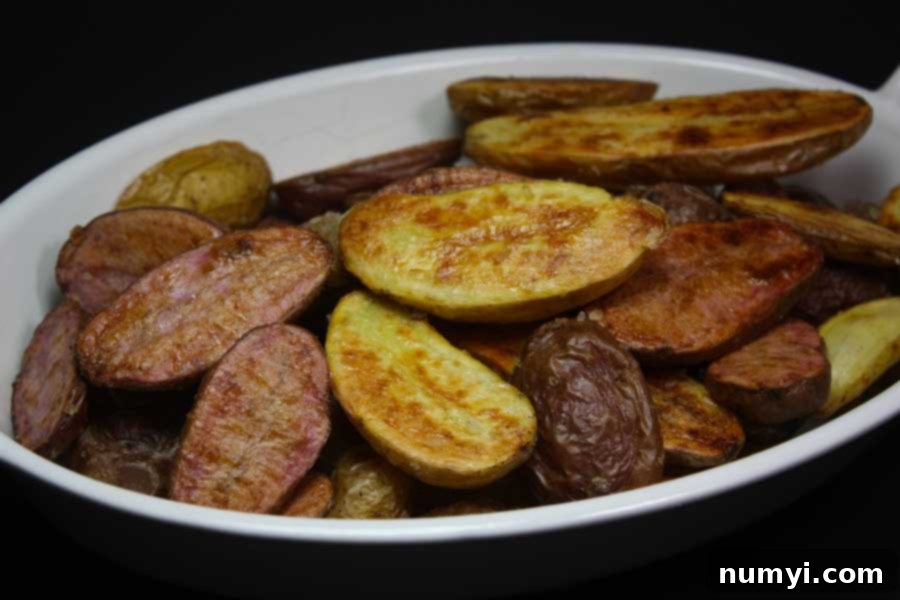
Crispy Oven-Roasted Fingerling Potatoes: An Easy, Flavorful Side Dish for Any Occasion
Imagine a side dish that’s incredibly simple to prepare, yet consistently delivers gourmet flavor and an irresistible crispy texture. Look no further than these crispy oven-roasted fingerling potatoes! They are designed for ease, requiring no tedious peeling or complicated chopping. Just a quick wash, a simple slice, a toss with basic seasonings, and then into the oven they go. It’s a truly effortless recipe that promises delicious results every time.
These perfectly golden and tender-on-the-inside, crispy-on-the-outside potatoes are versatile enough to grace your weeknight dinner table with minimal fuss, yet elegant and impressive enough to serve to your most esteemed dinner guests. Their unique shape and thin skin make them a fantastic choice for roasting, absorbing flavors beautifully and achieving that coveted crispness without much effort.

Fingerling potatoes are a culinary delight, distinct from their larger, rounder counterparts. Their elongated, slender shape, often compared to human fingers, is not just aesthetically pleasing but also contributes to their excellent roasting qualities. You’ll find a delightful array of fingerling varieties at your local grocery store, ranging from golden and red to purple and yellow, or even charming mixed bags that offer a spectrum of colors on your plate. Each color often brings a subtle difference in flavor and texture, adding to the culinary adventure.
Simple Ingredients for Maximum Flavor
One of the best aspects of this recipe is its minimal ingredient list. You don’t need a pantry full of exotic spices to create a memorable dish. A few high-quality basics are all it takes to transform humble fingerling potatoes into a star side.
- Fingerling Potatoes: The star of our show! Their naturally thin skin is a major advantage, meaning there’s absolutely no need to peel them. This saves significant preparation time and also contributes to their rustic charm and crispy texture once roasted. When selecting fingerlings, look for firm, unblemished potatoes without any sprouts.
- Olive Oil: A good quality olive oil is essential here. It acts as the binder for your seasonings, helps conduct heat evenly for thorough cooking, and is crucial for developing that desired golden, crispy exterior. Extra virgin olive oil will impart the most flavor.
- Coarse Sea Salt: Unlike fine table salt, coarse sea salt provides a burst of briny flavor and a wonderful textural crunch on the surface of the potatoes. It also helps draw out moisture, contributing to crispiness. Don’t skimp on the salt; it’s key to bringing out the potato’s natural sweetness.
- Freshly Ground Black Pepper: A few generous grinds of fresh black pepper add a subtle warmth and aromatic kick that perfectly complements the rich flavor of the potatoes. While pre-ground pepper works, freshly ground offers a more robust and fragrant experience.
With these few simple ingredients, you’re well on your way to a delightful side dish that’s far greater than the sum of its parts.
Essential Kitchen Tools
To ensure your fingerling potatoes turn out perfectly, having the right tools on hand can make a difference in efficiency and final results. You’ll need:
- Large Baking Sheets: Crucial for ensuring the potatoes can spread out in a single layer. Overcrowding leads to steaming, not roasting, and less crispiness. Depending on the amount of potatoes, you might need two.
- Parchment Paper: A game-changer for easy cleanup and preventing sticking. It also promotes better browning.
- Large Mixing Bowl: For tossing the potatoes with oil and seasonings, ensuring every piece is evenly coated.
- Colander: To thoroughly wash the potatoes.
- Sharp Knife and Cutting Board: For safely slicing the potatoes lengthwise.
- Small Bowl: For mixing the oil and seasonings before adding to the potatoes.
Elevate Your Fingerling Potatoes with Flavorful Variations
While the basic recipe is wonderfully delicious, fingerling potatoes are an excellent canvas for culinary creativity. Don’t hesitate to experiment with different flavorings to match your meal or mood. Here are some popular variations:
- Fresh Herbs: Rosemary and thyme are classic choices that pair beautifully with potatoes, imparting an earthy, aromatic note. Simply chop fresh sprigs and toss them with the potatoes before roasting. Dill, oregano, or a blend of Italian herbs also work wonderfully.
- Garlic Infusion: For garlic lovers, there are several options. Add freshly minced garlic to the olive oil and seasoning mixture for a potent flavor, or use garlic powder for a more subtle, even distribution. For a sweeter, milder garlic flavor, you can even roast whole, peeled garlic cloves alongside the potatoes.
- Spices: Broaden the flavor profile with spices. A pinch of smoked paprika can add depth and a lovely reddish hue. Cumin offers an earthy warmth, while a touch of chili powder or red pepper flakes can introduce a gentle heat. Onion powder is another great addition for savory depth.
- Cheesy Goodness: For the last 10 minutes of roasting, sprinkle grated Parmesan cheese over the potatoes. The cheese will melt and become wonderfully crispy, adding a salty, umami kick. Nutritional yeast can also be used for a dairy-free cheesy flavor.
- Citrus Brightness: A squeeze of fresh lemon juice or a sprinkle of lemon zest over the finished potatoes can provide a burst of fresh, zesty flavor that cuts through the richness.
- Spice Blends: Don’t limit yourself to single spices. Explore pre-made spice blends like Cajun seasoning, Old Bay, or a herb de Provence mix for an instant flavor upgrade.
These variations allow you to customize your roasted fingerling potatoes to perfectly complement any main course, from a simple grilled chicken to an elaborate holiday roast.
Mastering the Art of Crispy Oven-Roasted Fingerling Potatoes
Achieving that coveted crispy exterior and fluffy interior is easier than you think. Follow these steps for perfect results every time:
- Preheat Your Oven: Start by preheating your oven to a robust 400 degrees F (200 degrees C). A high initial temperature is key for getting that immediate sizzle and crisp on the potato skins. While the oven preheats, prepare a large baking sheet (or two, if needed) by lining it with parchment paper. This prevents sticking and makes cleanup a breeze.
- Wash and Dry Thoroughly: Give your fingerling potatoes a good scrub under cold running water to remove any dirt. Since we’re not peeling them, thorough washing is important. After washing, the absolute most crucial step for crispiness is to dry them completely. Use a clean kitchen towel or paper towels to pat each potato dry. Excess moisture will steam the potatoes instead of roasting them, preventing that desirable crispiness.
- Slice and Season: Once dry, slice each fingerling potato in half lengthwise. Aim for roughly uniform pieces to ensure even cooking. Place all the sliced potatoes into a large mixing bowl. In a small separate bowl, combine the olive oil, coarse sea salt, and freshly ground black pepper. Give it a quick stir.
- Coat Evenly: Drizzle the olive oil and seasoning mixture over the potatoes in the large bowl. Using your hands or a large spoon, toss the potatoes vigorously until every piece is thoroughly and evenly coated. Don’t be shy – a good coating of oil and seasoning is essential for flavor and texture.
- Roast to Perfection: Arrange the seasoned potatoes on your prepared baking sheet(s) in a single layer. Crucially, ensure they are not overcrowded. Give them space to breathe so they can crisp up rather than steam. If you have a lot of potatoes (e.g., 3 pounds), it’s often best to use two baking sheets. Roast in the preheated oven for approximately 35-45 minutes. Halfway through the cooking time (around 20-25 minutes), give the pan a shake or use a spatula to flip the potatoes for even browning and crispiness. Continue roasting until the potatoes are beautifully golden brown, wonderfully crispy on the outside, and fork-tender in the middle.
The aroma that fills your kitchen while these roast is simply divine. This recipe yields a generous amount, which is perfect because these delectable potatoes tend to disappear remarkably fast! They truly are the perfect, versatile side dish for any occasion, from a casual family meal to an elegant dinner party.
Tips for Maximizing Crispiness
Achieving ultra-crispy roasted potatoes is a simple science. Keep these key tips in mind:
- Dryness is Key: After washing, ensure your potatoes are thoroughly, completely dry. Any residual water will turn into steam in the oven, preventing crisping.
- Don’t Crowd the Pan: This is perhaps the most important rule. Potatoes need space. If they’re packed too closely, they’ll steam each other instead of roasting. Use two baking sheets if necessary to give them plenty of room in a single layer.
- Hot Oven: A high temperature (400°F/200°C) is essential for quickly browning the exterior.
- Even Coating of Oil: Ensure every piece of potato has a thin, even layer of olive oil. The oil helps conduct heat and encourages browning.
- Cut Uniformly: While not perfectly precise, try to slice the potatoes into pieces of similar size to ensure they cook evenly.
- Parchment Paper: Prevents sticking and can contribute to a more even crisp.
- Flip Halfway: Turning the potatoes partway through cooking ensures all sides get a chance to brown and crisp up.
Serving Suggestions
These crispy roasted fingerling potatoes are incredibly versatile and pair well with a wide variety of main courses:
- Protein Mains: Excellent with roasted chicken, pan-seared fish (salmon, cod), grilled steak, lamb chops, or pork tenderloin.
- Vegetarian Dishes: A hearty side for veggie burgers, lentil loaf, or a substantial green salad.
- Breakfast & Brunch: Serve alongside eggs, bacon, or sausage for a more elevated breakfast potato option.
- Garnishes: A sprinkle of fresh chopped parsley or chives after roasting adds a pop of color and fresh flavor. A drizzle of balsamic glaze can also be a delightful finish.
Are you on Pinterest? Click the button below to add this recipe to one of your boards!
Frequently Asked Questions (FAQs)
Leftover roasted fingerling potatoes can be stored in an airtight container in the refrigerator for up to 4 days. For best results when reheating, place them on a baking sheet, cover loosely with aluminum foil, and warm in a 400-degree F (200 degrees C) oven for about 10-15 minutes, or until heated through and starting to crisp again. For a crispier finish, uncover for the last few minutes. While microwaving is an option for speed, it will not yield the same crispy texture.
No, absolutely not! One of the great advantages of fingerling potatoes is their thin, delicate skin, which becomes wonderfully crispy when roasted. Peeling is unnecessary and would actually remove some of the potato’s unique character and fiber content.
While the potatoes are best enjoyed fresh from the oven for maximum crispiness, you can prep them ahead of time by washing and slicing them up to a day in advance. Store the cut potatoes in an airtight container in the refrigerator. When ready to cook, pat them very dry before tossing with oil and seasonings and proceeding with the roasting instructions.
The keys to ultimate crispiness are: 1) Thoroughly drying the potatoes after washing, 2) Tossing them evenly with enough oil, 3) Roasting them in a very hot oven (400°F/200°C), and most importantly, 4) Spreading them out in a single layer on the baking sheet without overcrowding. Giving them space allows the moisture to escape and the exteriors to brown rather than steam.
While fingerling potatoes are ideal due to their thin skin and firm, waxy texture, you can adapt this recipe for other small, waxy potato varieties like baby new potatoes or creamer potatoes. Just ensure they are cut into uniform, bite-sized pieces to promote even cooking and crisping. Russet or starchy potatoes tend to have a different texture when roasted and might not achieve the same crisp-tender result.
Explore More Delicious Potato Recipes
If you love potatoes as much as we do, you’ll want to try these other fantastic recipes:
- Deviled Potato Bites
- Decadent Whipped Potatoes Recipe
- Fast And Delicious Mashed Potato Recipe
- Rosemary Garlic Grilled Baby Potato Skewers

Crispy Oven Roasted Fingerling Potatoes Recipe
Print
Pin
Rate
Side Dish, Vegetable
American
10
minutes
45
minutes
55
minutes
8
162
kcal
Leigh Harris
Ingredients
-
3
pounds
fingerling Potatoes
-
2
tablespoons
Olive Oil
-
2
teaspoons
coarse Sea Salt
-
Several Fresh Pepper grinds
to taste
Instructions
-
Preheat oven to 400 degrees F (200 degrees C). Line a baking sheet with parchment paper.
-
Thoroughly scrub the potatoes clean, then slice them in half lengthwise. Pat them completely dry with a clean towel. Place the dried potatoes in a large bowl.
-
In a small bowl, whisk together the olive oil, coarse sea salt, and fresh black pepper.
-
Pour the oil and seasoning mixture over the potatoes in the large bowl. Toss well to ensure all potatoes are evenly coated.
-
Spread the seasoned potatoes in a single layer on the prepared baking sheet. Do not overcrowd; use a second sheet if necessary. Bake for approximately 35 to 45 minutes, or until the potatoes are golden brown, crispy on the outside, and soft in the middle. Flip halfway through cooking for even browning.
Nutrition
Calories:
162
kcal
|
Carbohydrates:
30
g
|
Protein:
3
g
|
Fat:
4
g
|
Saturated Fat:
1
g
|
Sodium:
592
mg
|
Potassium:
716
mg
|
Fiber:
4
g
|
Sugar:
1
g
|
Vitamin C:
34
mg
|
Calcium:
20
mg
|
Iron:
1
mg
This recipe has been thoughtfully adapted from 5dollardinners.
