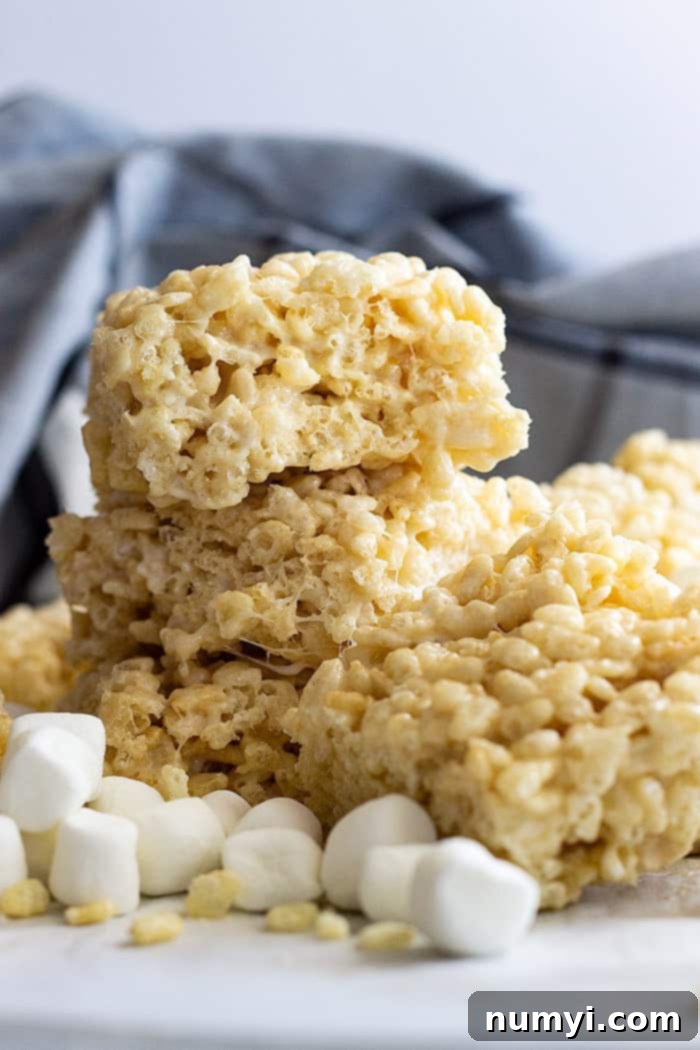
The Ultimate Recipe for Perfectly Soft & Chewy Homemade Rice Krispie Treats
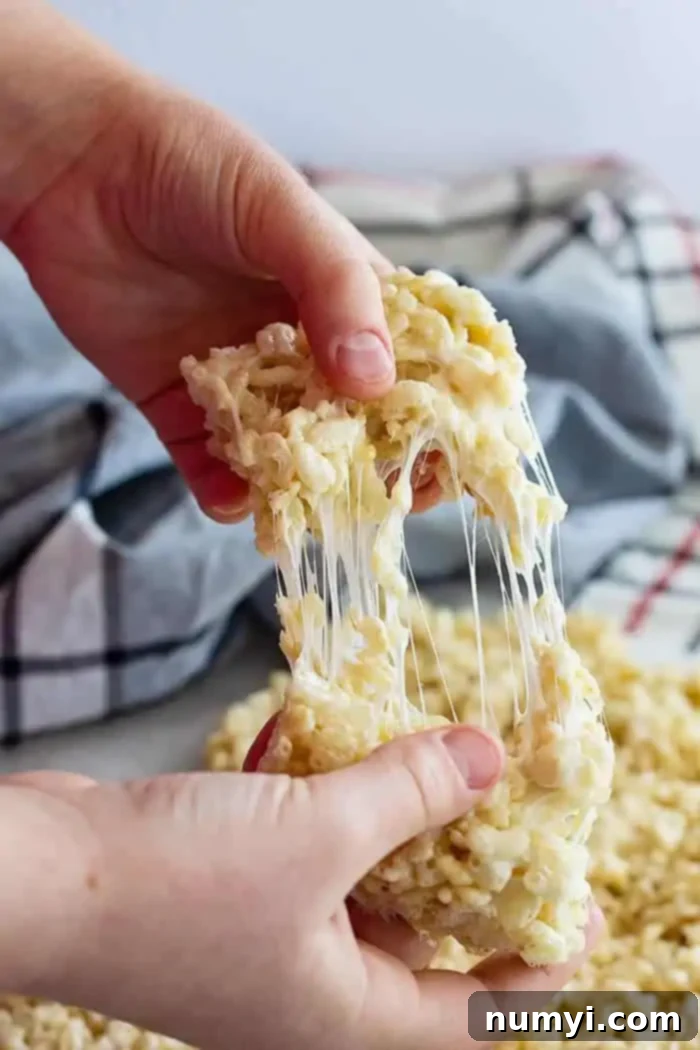
Indulge in the nostalgic delight of homemade Soft Rice Krispie Treats! Tender, incredibly chewy, and far superior to any store-bought version, our recipe features extra marshmallows and a touch of vanilla for an unforgettable dessert experience.
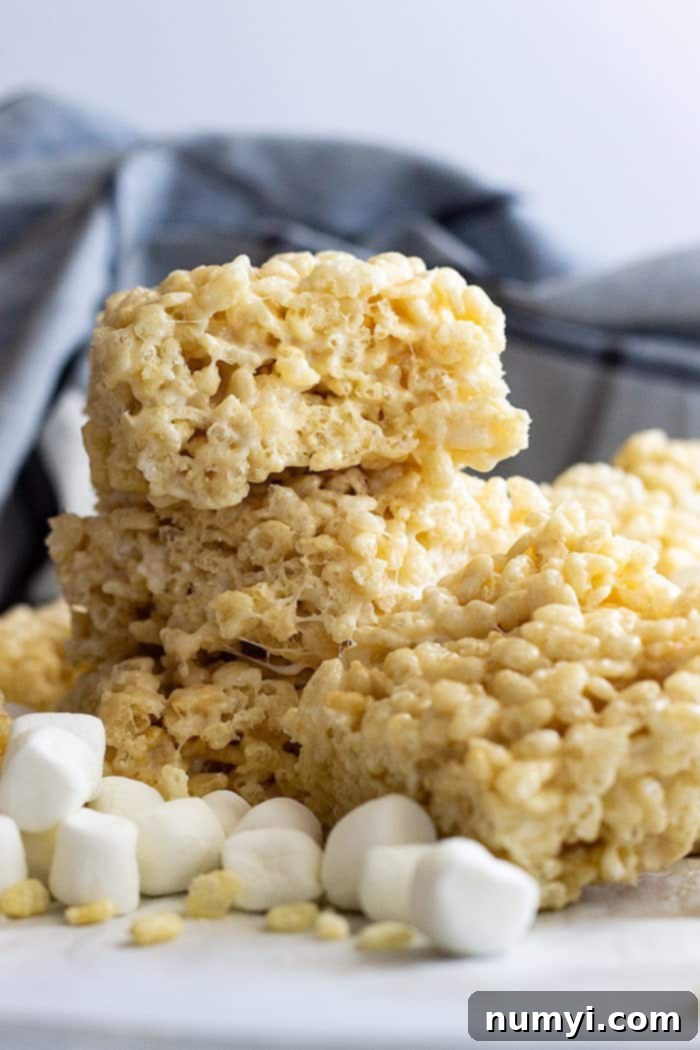
Ah, Rice Krispie Treats. A dessert so simple, yet so profoundly satisfying. You might be wondering, what’s the big secret to a classic like this? While many consider them a basic treat that’s impossible to mess up, I’ve had my share of rock-hard, bland disappointments. Over the years, I’ve refined this recipe, adding a few special touches and techniques to ensure every single bite is exactly what a Rice Krispie Treat should be: perfectly soft, incredibly chewy, and bursting with marshmallow goodness. It’s time for an update, and this is the only recipe you’ll ever need!
Beyond these delightful chewy squares, you might enjoy exploring other easy and crowd-pleasing dessert recipes. Be sure to check out our No Bake Chocolate Peanut Butter Bars, delightful S’more Cookie Bars, and our truly fudgy Homemade Chewy Brownies.
Why You’ll Fall in Love with This Homemade Rice Krispie Treat Recipe
This isn’t just another Rice Krispie Treat recipe; it’s a guide to creating the best version you’ve ever tasted. Here’s why it will quickly become your go-to:
- **Effortlessly Simple:** Our step-by-step instructions are easy to follow, making this recipe perfect for beginners and seasoned bakers alike.
- **Consistently Delicious:** Achieve perfect results every single time – guaranteed soft, chewy, and flavorful.
- **Unanimously Kid-Approved:** A nostalgic favorite that kids absolutely adore and adults can’t resist.
- **Ready in a Flash:** From start to finish, these treats are ready in just about 15 minutes, plus cooling time!
- **Easily Scalable:** Planning for a party? This recipe can easily be doubled or even tripled to feed a crowd.
- **Infinitely Customizable:** The perfect base for all your favorite add-ins, from chocolate chips to sprinkles and beyond.
The Secret to Perfectly Chewy Rice Krispie Treats
The quest for the perfect Rice Krispie Treat ends here. We all know the disappointment of biting into a treat that’s hard, brittle, and frankly, a letdown. That rock-hard texture not only hurts your mouth but completely ruins the experience. My goal with this recipe is to achieve that ideal balance: soft enough to yield easily, yet chewy enough to provide a satisfying pull with every bite.
Many assume that making soft Rice Krispie Treats is foolproof, believing such a basic recipe can’t be messed up. But I’m here to tell you, I’ve encountered some truly terrible versions! That’s precisely why this detailed guide is a must-have. If you’ve struggled with homemade treats in the past, or if yours just seem to lack that certain something, save this recipe immediately – it’s a definite keeper! Regardless of age, everyone appreciates a truly good, chewy Rice Krispie Treat.
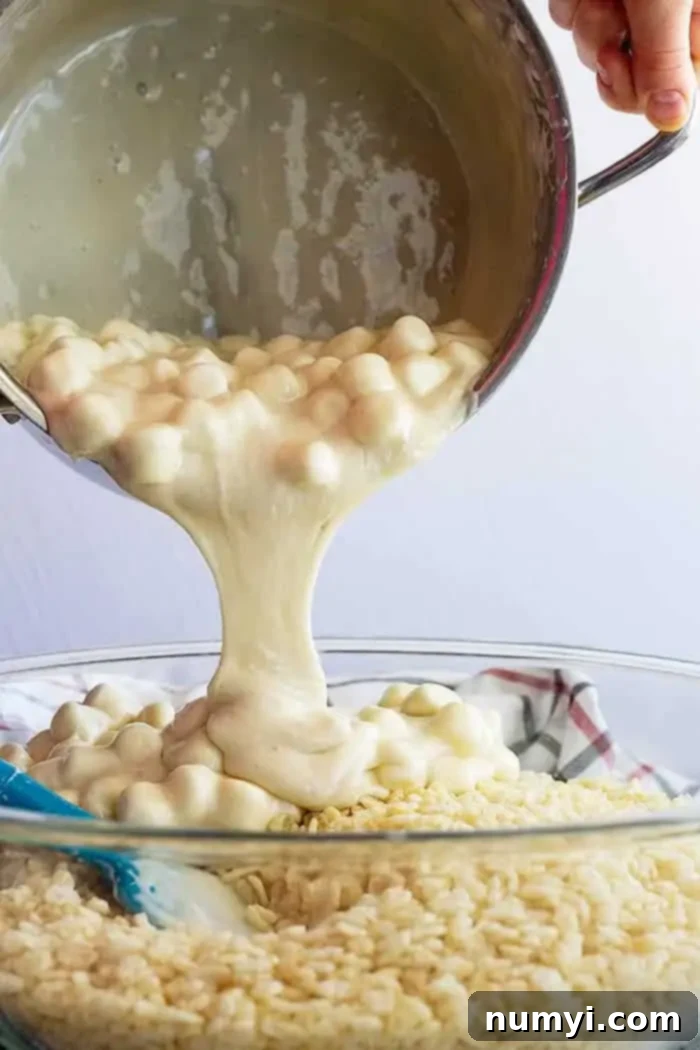
Essential Ingredients for the Best Rice Krispie Treats
Only a few simple ingredients stand between you and a batch of irresistible Rice Krispie Treats. The quality and freshness of these components truly make a difference in the final texture and flavor.
- **Butter:** The foundation of flavor and richness. Using good quality butter elevates the taste significantly.
- **Marshmallows:** The star of the show! Fresh mini marshmallows are crucial for that gooey, soft texture. We use a generous amount to ensure extra chewiness.
- **Crispy Rice Cereal:** The namesake crunch! Any brand of crispy rice cereal will work well.
- **Vanilla Extract:** A secret weapon! A splash of pure vanilla extract adds a depth of flavor that transforms these simple treats into something truly special. Don’t skip it!
- **Salt:** Often overlooked, but essential. Just a pinch of salt balances the sweetness of the marshmallows, enhancing all the other flavors. Trust me on this one – it makes a difference!
Step-by-Step: How To Make Soft & Chewy Rice Krispie Treats
Follow these simple steps for perfectly soft and chewy Rice Krispie Treats every single time. Precision and patience, especially with melting the marshmallows, are key!
Step 1: Prepare Your Baking Pan for Easy Release
First, select a 9×13 inch baking pan. Line it thoroughly with either parchment paper or aluminum foil, leaving an overhang on the sides to easily lift the treats out later. This small step is a game-changer for clean removal and cutting. Once lined, lightly coat the parchment or foil (and the exposed sides of the pan) with extra butter or a non-stick cooking spray. This prevents the sticky marshmallow mixture from adhering, ensuring your treats come out smoothly. Set your prepared pan aside.
Step 2: Master the Marshmallow Melt (Low and Slow is Key!)
In a large, heavy-bottomed pot, add the butter. Begin melting it over consistently **low heat**. This is arguably the most crucial step for achieving soft treats. High heat will cause the sugar in the marshmallows to caramelize too quickly, leading to a hard, brittle texture once cooled. Once the butter is mostly melted, pour in your fresh mini marshmallows. Stir constantly and patiently until they are mostly melted. I highly recommend leaving some small pockets of marshmallows not fully melted; these bits will create delightful gooey pockets throughout your finished treats! Remove the pot from the heat as soon as they reach this stage.
Step 3: Infuse Flavor and Combine with Cereal
Immediately after removing the melted marshmallow mixture from the heat, stir in the vanilla extract and the pinch of salt. The warmth of the mixture will help distribute these flavors evenly. Next, add the crispy rice cereal to the pot. Using a rubber spatula, gently but thoroughly mix everything together. Ensure every piece of cereal is coated with the marshmallow mixture, but avoid over-mixing or pressing too hard, which can crush the cereal and make the treats dense.
Step 4: Press, Cool, and Enjoy!
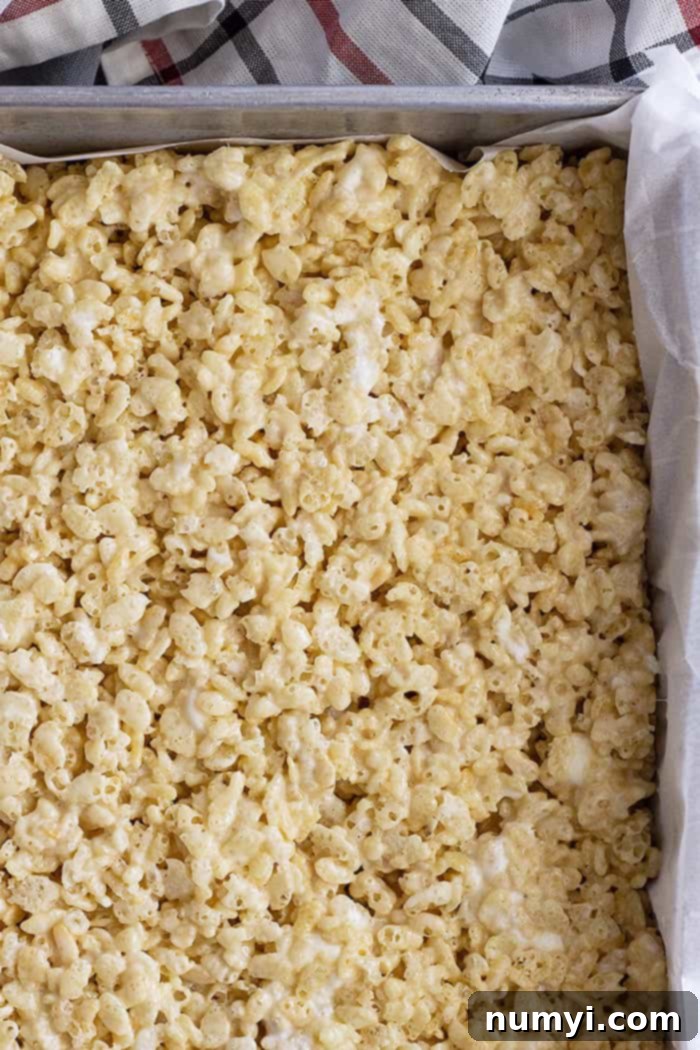
Carefully transfer the warm, sticky Rice Krispie Treat mixture into your prepared pan. Here’s another pro-tip: butter your hands or the back of your spatula! This will prevent the mixture from sticking to your fingers as you spread it. Gently press the mixture into an even layer across the pan. Remember, **do not press too hard**! Over-compressing the treats will result in a dense, hard bar instead of the desired soft and chewy texture. Just enough pressure to form an even layer is perfect. Allow the treats to cool at room temperature for at least 30 minutes, or until set. Once cooled, use the parchment/foil overhang to lift the entire slab out of the pan. Cut into squares or rectangles of your desired size, and get ready to enjoy the softest, chewiest Rice Krispie Treats you’ve ever tasted!
Frequently Asked Questions About Perfect Rice Krispie Treats
This is the most common issue, and thankfully, it’s easily avoidable! Here’s why your treats might be turning out hard:
- **Too High Heat When Melting Marshmallows:** This is the primary culprit. When you melt marshmallows over high heat, the sugar crystals seize up, leading to a brittle, hard texture once cooled. Always keep the heat on **low** and be patient. It truly doesn’t take much longer, and I promise the payoff is incredibly soft and chewy treats.
- **Marshmallows Are Not Fresh:** Old marshmallows dry out and lose their elasticity, which is essential for that perfect chewiness. For the best gooey results from this chewy Rice Krispie Treats recipe, fresh marshmallows are a non-negotiable must.
- **Pressing the Treats Too Hard into the Pan:** Over-compacting the mixture crushes the cereal and creates a dense, solid block. Press and smooth just until the mixture holds its shape. If you feel like you’re crushing the cereal, you’re probably pressing way too hard.
- **Not Consuming Them Quickly Enough:** Homemade Rice Krispie Treats are best enjoyed fresh. They typically don’t stay at their peak soft and gooey texture for more than a few days as they naturally begin to harden and dry out. And no, they absolutely do not need to be refrigerated!
Absolutely! This is a fantastic basic recipe that serves as a perfect canvas for customization. Don’t be afraid to get creative and add some extra goodies. Here are a few ideas:
- **Chocolates:** Mini M&Ms, chocolate chips (milk, dark, or white), chopped candy bars. Add them in when you mix in the cereal.
- **Sprinkles:** Colorful sprinkles for a festive touch! Mix them in with the cereal or sprinkle generously on top immediately after pressing into the pan.
- **Nut Butters:** Swirl in a tablespoon or two of peanut butter or almond butter with the melted marshmallows for a nutty twist.
- **Spices:** A pinch of cinnamon or pumpkin pie spice can add a wonderful warmth.
- **Other Candies:** Crushed Oreos, mini gummy bears (add just before pressing), or chopped caramels.
For an extra indulgent touch, consider drizzling the top with a little melted chocolate, caramel, or white chocolate once they’ve cooled slightly! The possibilities are truly endless!
Homemade Rice Krispie Treats are best consumed within 2-3 days of making them. While they are still safe to eat after this period, their desirable soft and chewy texture will begin to diminish as they become stale and harden. For optimal freshness, store them in an airtight container at room temperature. It’s crucial **not to refrigerate them**, as the cold temperature will actually make them hard and less enjoyable. Layering them between sheets of parchment paper can also help prevent sticking if stacking.
Yes, you can! If you prefer to use marshmallow fluff (creme), you’ll need approximately 3 (7.5oz) jars to substitute for the mini marshmallows in this recipe. Combine the marshmallow fluff with the butter and melt over low heat, stirring constantly, then proceed with the rest of the recipe as instructed. The texture might be slightly different – perhaps even gooier – but equally delicious.
For those who love extra pockets of gooey, melted marshmallow throughout their treats, here’s a simple trick: reserve about 2 cups of the mini marshmallows before adding them to the pot. Stir these reserved marshmallows into the cereal along with the fully melted marshmallow mixture. The heat from the mixture will soften them, but they won’t completely melt, creating those wonderful, distinct pockets of marshmallow goodness.
More Crowd-Pleasing Desserts to Try
If you loved making these easy and delicious Rice Krispie Treats, you’ll surely enjoy these other simple dessert recipes that are perfect for gatherings or a sweet treat any day of the week:
- Refreshing Lemon Lush
- Classic Scotcheroos
- Elegant Berry Coconut Trifle
- Comforting Oatmeal Cake
HUNGRY FOR MORE? Don’t miss out on our latest delicious creations! Subscribe to my newsletter and follow along on Pinterest, Facebook, and Instagram for all my latest updates, recipes, and behind-the-scenes peeks!
Soft & Chewy Rice Krispie Treats
Ingredients
- 8 tablespoons butter
- 2 (10oz)(283g) bags mini marshmallows
- 8 cups (240g) crispy rice cereal
- 2 teaspoons vanilla extract
- ¼-½ teaspoon salt (yes, salt. Just do it)
Instructions
-
Line a 9×13 baking pan with foil or parchment paper. Coat with extra butter; set aside.
-
In a large pot melt the 8 tablespoons butter over low heat. Stir in the marshmallows and continue stirring until most of the marshmallows are melted. (I like to leave plenty that aren’t fully melted for pockets of gooey marshmallow throughout the treats!)
-
Remove from heat and stir in the vanilla and salt. Stir in the cereal until completely coated.
-
Spoon into prepared pan and with well-buttered hands press into an even layer. Let cool at least 30 minutes before cutting.
Notes
- Use fresh marshmallows only for the best texture.
- Please melt butter and marshmallows over **low heat only**! This prevents hardening.
- Don’t pack the cereal too hard into the pan. If you are crushing the cereal, you are pressing too hard.
- To use marshmallow fluff, substitute almost 3 (7.5oz) jars for the mini marshmallows. Heat on low with the butter and proceed with the recipe.
- Store at room temperature in an airtight container for no more than 3 days, or they will start to become hard and dry. Do not refrigerate.
- If you want bigger pockets of marshmallow in your treats, reserve 2 cups of the marshmallows and stir them in with the cereal.
- Nutrition Facts: Since different brands of ingredients have different nutritional information, the information shown is just an estimate.
Nutrition
