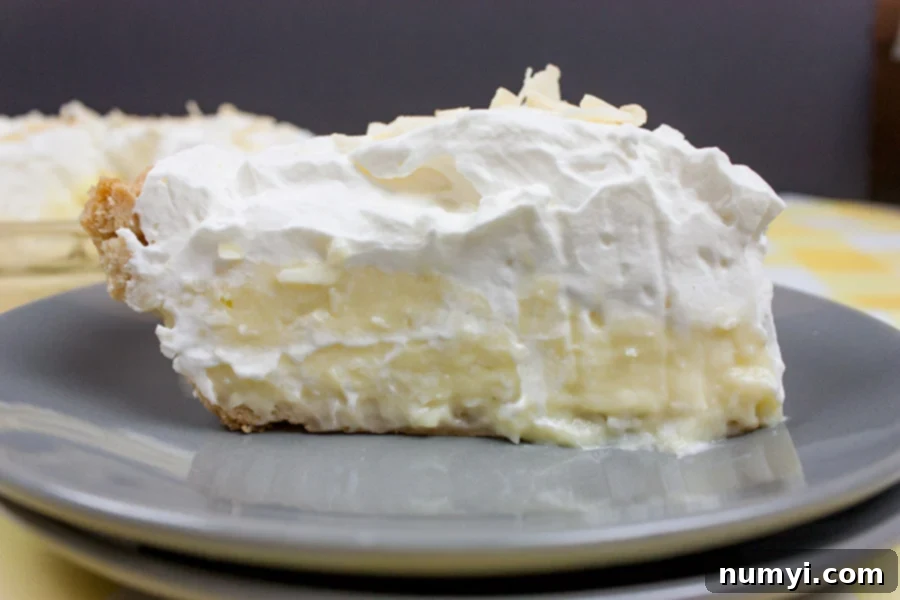
The Ultimate Homemade Coconut Cream Pie: A Recipe for Flaky Crust & Velvety Custard Perfection
There’s something uniquely comforting and irresistibly delicious about a classic coconut cream pie. It embodies a perfect harmony of textures and flavors – a crisp, flaky crust giving way to a rich, luscious coconut custard, all crowned with a cloud of homemade whipped cream and toasted coconut. This particular homemade coconut cream pie, made with rich coconut milk, isn’t just a recipe; it’s the culmination of a passionate baking journey. After weeks of dedicated testing, countless adjustments, and a fair share of kitchen mishaps, I can confidently say this is one of the best pies to ever emerge from my kitchen. It’s truly a labor of love, designed to deliver pure, tropical bliss in every single bite.
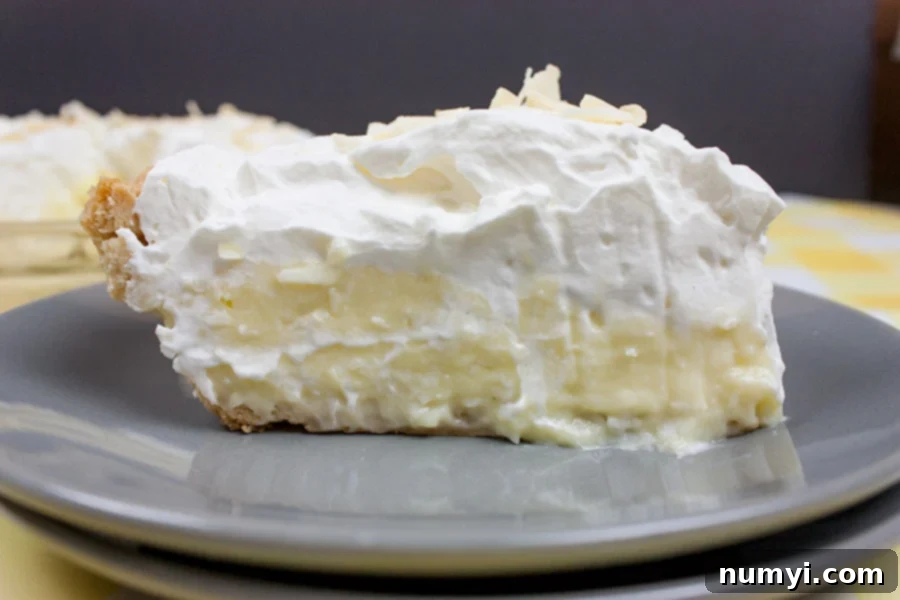
The Quest for the Perfect Pie Crust
Overcoming the Homemade Pie Crust Challenge
For many home bakers, the pie crust can be the most intimidating part of making a pie from scratch. I certainly fall into that category. My journey to perfecting this coconut cream pie was riddled with pie crust woes. I am, by nature, quite terrible at making homemade pie crusts. The struggles were real: shrinking dough, tough textures, and the dreaded soggy bottom. I honestly lost count of how many pie shells I tested and how many pounds of butter met an untimely end in my pursuit of perfection. My daughter, ever the astute observer, would frequently walk into the kitchen, survey the latest “experiment,” and innocently ask, “How many does this make now?” Talk about being called out!
But my determination to achieve that ideal, buttery, flaky crust for this coconut cream pie was unwavering. I knew that a truly exceptional pie starts with a flawless foundation, and I was committed to mastering it. I tried various recipes, experimented with different fats, and adjusted chilling times, learning something new (or what not to do) with each attempt.
Unlocking the Secret to a Foolproof Flaky Crust
My breakthrough came when I discovered a truly exceptional recipe that changed my pie-making game forever. I used this Cook’s Illustrated foolproof pie dough recipe. If you’ve never tried it, I promise you, you absolutely must! I can genuinely say I have never tasted a better, more consistently flaky pie crust. It’s a game-changer for anyone who has struggled with homemade dough.
Beyond a great recipe, the technique is equally important. I also adopted Stella Parks’ invaluable tips on how to blind bake the pie shell. Her method completely solved my recurring problem of the crust shrinking in the oven, and it also contributed significantly to preventing a soggy bottom once the custard was added. These two resources combined were the secret weapons that transformed my pie crust from a source of frustration into a point of pride.
For those who are still hesitant about homemade crust, or simply short on time, please know that purchasing a high-quality pre-made pie shell is perfectly acceptable. I promise I will not judge you for it – I have certainly done it myself in a pinch, and I’d do it again! The most important thing is to ensure your chosen pie shell is fully baked and completely cooled before you even think about adding the luscious coconut custard. This cooling step is critical for preventing a soggy crust, as residual heat can cause condensation when the cold custard is introduced. Remember, a perfectly crisp crust is key to the ultimate coconut cream pie experience.
Making Your Homemade Coconut Cream Pie
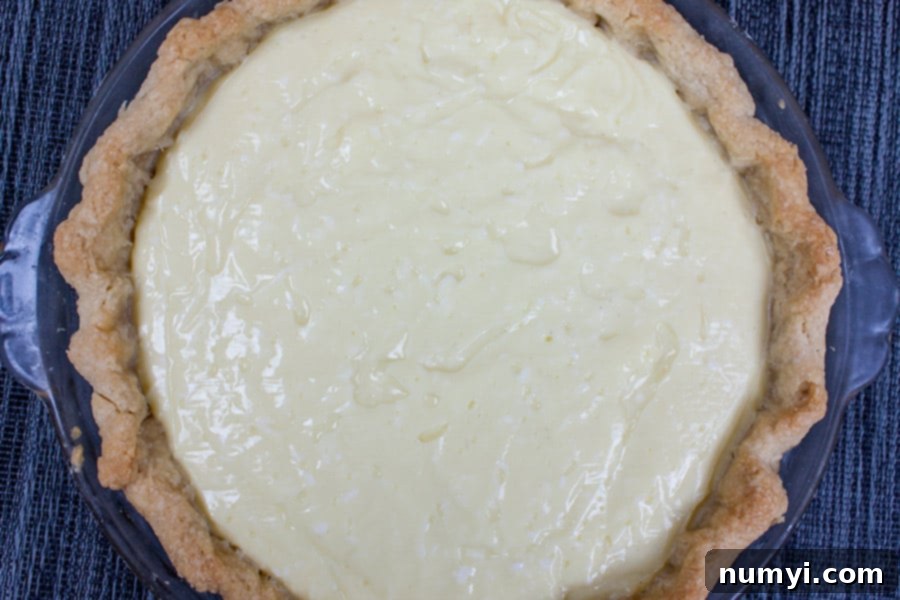
During my extensive testing process for this recipe, I confess that I sometimes got so caught up in the culinary drama that I forgot to take some of the essential prep pictures. However, if you diligently follow the recommended pie dough recipe and apply the blind baking tips, you’ll be well on your way to a perfectly prepared pie shell. As mentioned, if the thought of making pie dough from scratch still feels daunting, don’t hesitate to opt for a quality store-bought, pre-baked pie shell. The goal is a delicious pie, and convenience is sometimes a necessity!
Regardless of whether your crust is homemade or store-bought, the crucial first step is to ensure it is fully baked to a golden brown and allowed to cool completely. This cooling period is not merely a suggestion; it’s a vital step to prevent your custard from turning the bottom of your crust into a soft, unappealing layer. A completely cool crust acts as a barrier, protecting the crispness you worked so hard to achieve.
Before we dive into the custard, perhaps you’re in the mood for another delightful dessert? You might enjoy our incredibly fresh and flavorful Strawberry Shortcake, a perfect treat for any season!
Crafting the Silky, Rich Coconut Custard
The Heart of the Pie: A Perfectly Set Custard
The pie crust wasn’t the only component of this recipe that presented a significant challenge. My other major hurdle was perfecting the coconut custard itself. I was determined to create a custard that was firm enough to slice beautifully, yet still incredibly creamy, velvety, and rich. There’s nothing quite as disappointing as cutting into a pie only to have the filling run out onto the plate, creating a messy puddle instead of a clean, elegant slice. This pursuit of the ideal texture required careful adjustments to the ingredient ratios and, most importantly, mastering the cooking technique.
The secret to a perfectly set coconut custard lies in diligent cooking and careful tempering of the egg yolks. It’s a delicate balance, but once you understand the principles, it becomes much easier to achieve. My initial attempts often resulted in a custard that was either too runny or, in some cases, slightly lumpy due to over-eagerness. But through trial and error, I discovered the precise method to achieve that elusive, dreamy texture that holds its shape beautifully while melting in your mouth.
Mastering the Custard: Key Steps for Success
The process begins by whisking your egg yolks in a separate bowl – this is crucial for the tempering step. In a medium saucepan, the dry ingredients – cornstarch, sugar, and salt – are combined. Cornstarch is your thickening agent, and mixing it with sugar helps prevent lumps when liquids are added. Then, the milk (a blend of rich coconut milk and whole milk to equal 3 cups for optimal creaminess) is slowly whisked into the dry mixture. This slow addition, combined with constant whisking, is vital for a smooth base, ensuring no lumps form before cooking even begins.
The mixture is then cooked over medium heat, requiring constant whisking. This continuous motion prevents scorching on the bottom and promotes even thickening. Once it reaches a boil, it needs to boil for a full minute to activate the cornstarch fully. At this point, you’ll temper the egg yolks by taking about a cup of the hot custard mixture and slowly whisking it into the egg yolks. This gently raises the temperature of the yolks, preventing them from scrambling when they’re fully incorporated into the hot pan.
The tempered yolk mixture is then whisked back into the saucepan with the rest of the custard. Continue to cook, boiling for another 2-3 minutes, whisking all the while. This additional cooking time is what truly thickens the custard to the desired consistency. When I finally mastered this step – ensuring the custard was truly thick and visibly bubbling for those crucial few minutes – the pie sliced like an absolute dream, holding its shape perfectly. Remove the pan from the heat and stir in the pure vanilla extract, a touch of pure coconut extract for an intensified tropical flavor, butter for richness and shine, and the finely shredded sweetened coconut for texture and additional flavor. Allow this rich filling to cool for about 20-30 minutes before pouring it into your prepared pie shell. This pre-cooling helps prevent the crust from becoming soggy.
Once the custard is in the pie shell, a critical step is to place plastic wrap directly onto the surface of the custard. This prevents a “skin” from forming as it cools, keeping the top perfectly smooth and creamy. Finally, refrigerate the pie for at least 4 hours, or ideally overnight. I always opt for overnight chilling, especially after all the effort – it ensures the pie is perfectly set and chilled, ready for slicing and enjoying. Patience truly pays off with this step!
If you’re looking for another simple yet delightful baking project, be sure to check out our recipe for Soft Frosted Sugar Cookies!
How to Make Coconut Cream Pie
Prepare and bake a pie crust in a 9-inch pie plate. Allow it to cool completely.
Whisk the egg yolks in a small bowl, and set aside.
In a medium saucepan, whisk together the cornstarch, sugar, and salt.
Slowly whisk in the coconut milk and whole milk mixture, ensuring no lumps form. Cook, whisking constantly, over medium heat.
Bring the mixture to a boil and let it boil for one minute. Remove from heat briefly. Ladle about 1 cup of the hot filling into the whisked egg yolks, whisking continuously to temper the yolks. Return the tempered mixture back into the saucepan with the remaining filling. Cook, boiling for another 2-3 minutes, whisking constantly until the custard is very thick. Remove from heat.
Stir in the vanilla extract, coconut extract, butter, and the finely shredded coconut.
Allow the filling to cool for approximately 20-30 minutes before pouring it into the fully cooled pie shell.
Pour the pie filling into the crust. Place plastic wrap directly on the surface of the custard to prevent a skin from forming as it chills.
Refrigerate the pie for at least 4 hours, or preferably overnight, to allow it to set completely. I found that overnight chilling yielded the best results, especially after being exhausted from all the pie shell testing and occasional failing!
The Perfect Toppings: Toasted Coconut & Homemade Whipped Cream
Golden Toasted Coconut
No coconut cream pie is complete without the delightful crunch and intensified flavor of toasted coconut. To prepare this exquisite garnish, spread sweetened, flaked coconut evenly over a clean cookie sheet. Place it in a preheated 400-degree Fahrenheit oven. The key to perfectly toasted coconut is vigilance and frequent stirring. Stir occasionally and shake the pan around until the coconut turns a beautiful golden brown. Be warned: coconut can go from perfectly golden to burnt in a matter of seconds, so watch it very closely! Once golden, remove it from the oven and allow it to cool completely before using it as a topping. The cooling process allows it to crisp up further and enhances its nutty, sweet aroma.
Cloud-Like Homemade Whipped Cream
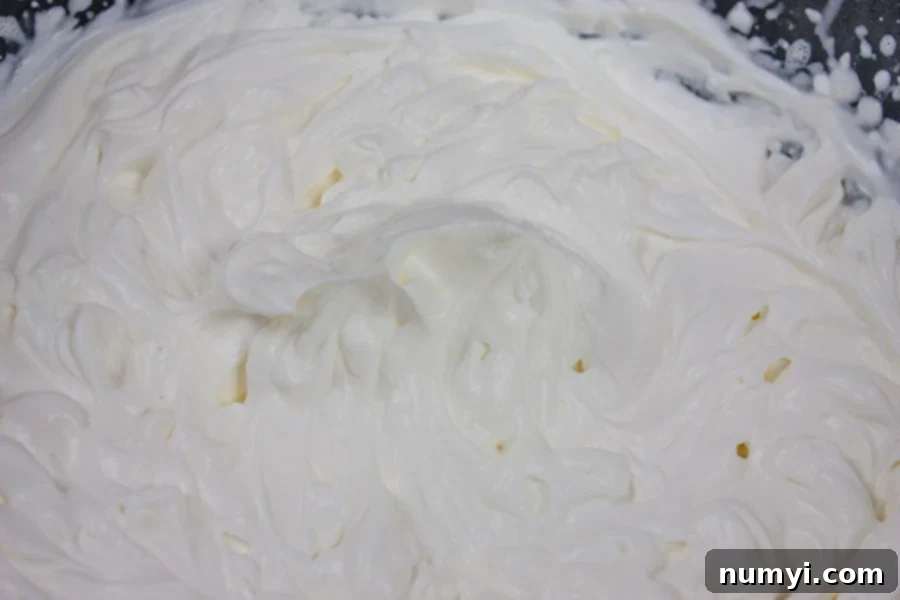
To top your magnificent pie, there’s nothing quite like fresh, homemade whipped cream. In a chilled mixing bowl, combine heavy cream, powdered sugar, and a touch of pure vanilla extract. Using an electric mixer, whip the ingredients until stiff peaks form. The cream should be light, airy, and hold its shape beautifully. Once whipped, gently spread this luscious cream over the chilled coconut cream pie, creating a smooth, inviting layer. Finally, generously sprinkle the cooled, toasted coconut over the whipped cream, adding both visual appeal and an irresistible textural contrast. The combination of the rich custard, light cream, and crunchy coconut makes for an unparalleled dessert experience.
Do you have a surplus of leftover Butterfinger candy bars from Easter or Halloween? Turn them into another incredible dessert with our indulgent Butterfinger Pie recipe!
Serving and Savoring Your Masterpiece
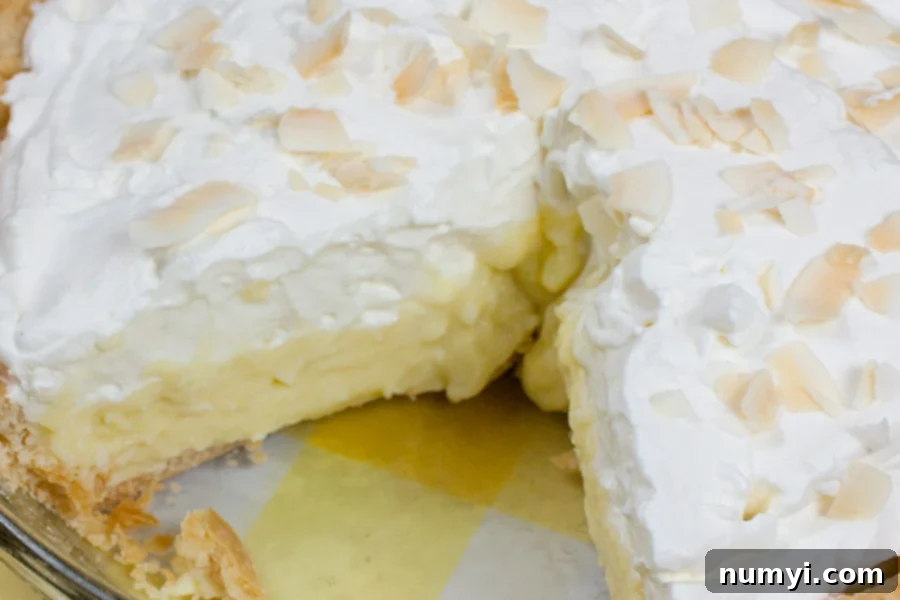
Finally, after all your hard work and patience, it’s time to serve and enjoy! This homemade coconut cream pie isn’t just a dessert; it’s an experience. Every bite delivers the most intense and authentic coconut flavor I have ever tasted in a pie. The contrasting textures are what truly elevate this treat:
- The super flaky, buttery, and crunchy crust provides a delightful foundation.
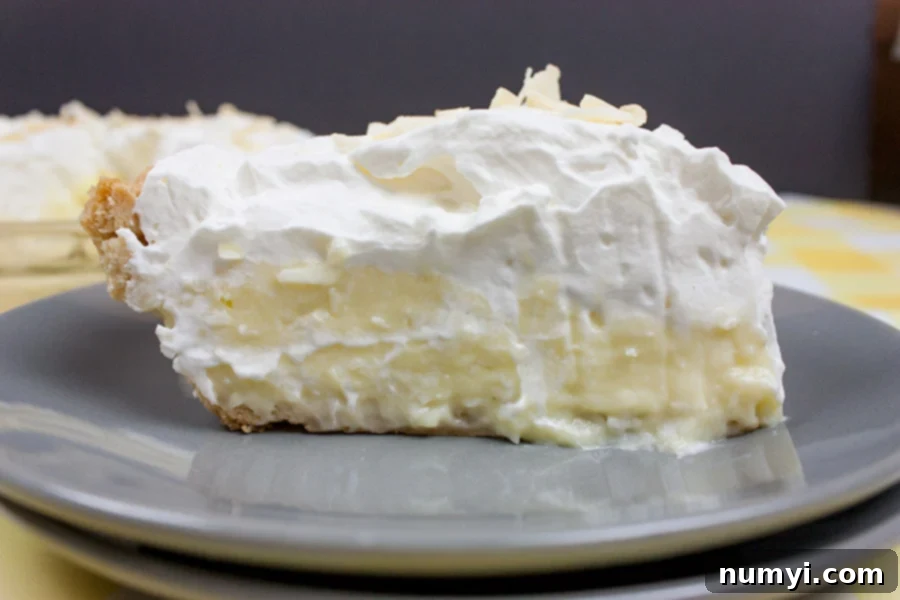
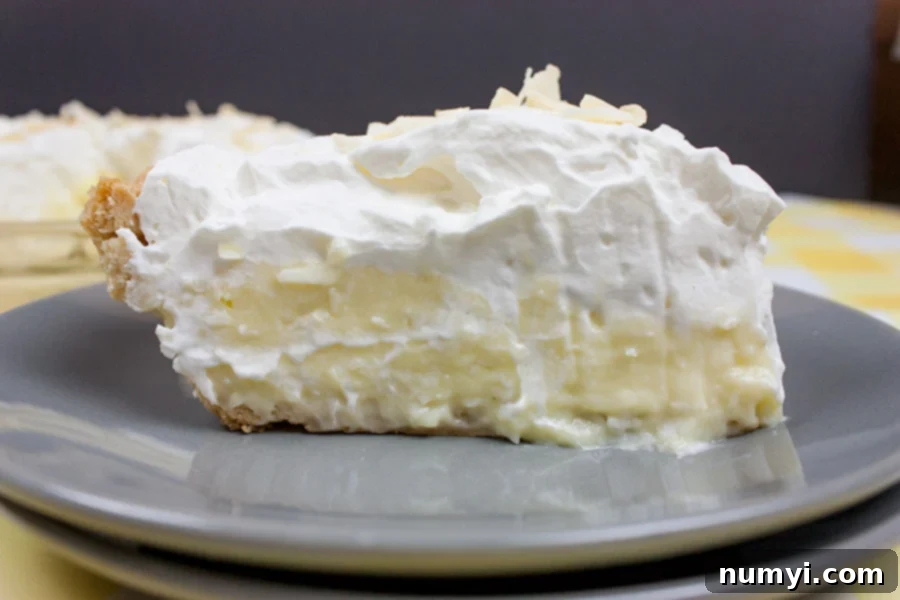
- It’s generously loaded with a creamy, velvety coconut custard that’s rich without being overly sweet, bursting with tropical essence.
- And it’s all perfectly topped with light, airy, homemade whipped cream and crunchy toasted coconut.
The combination is truly sublime! Whether you’re making it for a special occasion, a family gathering, or simply to treat yourself, this pie is guaranteed to impress and satisfy even the most discerning dessert lovers. Prepare to be delighted by this tropical masterpiece.
Coconut Cream Pie Recipe
Homemade Coconut Cream Pie
Print
Pin
Rate
Ingredients
- 1 9″ baked pie shell, 9″ or 10″
Coconut Custard Filling:
- 4 large egg yolks
- 1/3 cup plus 2 tsp corn starch
- 13.5 oz coconut milk + enough whole milk to equal 3 cups (1 – 13.5 oz can)
- 3/4 cup sugar
- 1/2 tsp salt
- 1 1/2 tsp pure vanilla extract
- 1 tsp pure coconut extract
- 2 Tbsp butter
- 1 cup finely shredded sweetened coconut*
Topping:
- 1/2 cup toasted sweetened coconut
- 1 1/2 cups whipping cream
- 3 Tbsp powdered sugar
- 1 tsp pure vanilla extract
Instructions
-
Bake the pie shell according to your chosen recipe or package directions, ensuring it’s golden brown and completely cooled before filling.
-
In a small bowl, whisk the egg yolks until smooth, then set aside.
-
In a medium saucepan, whisk together the cornstarch, granulated sugar, and salt until well combined.
-
Gradually whisk in the coconut milk and whole milk mixture (to equal 3 cups total) slowly, ensuring no lumps form. Continue to whisk constantly over medium heat until the mixture begins to thicken.
-
Once boiling, continue to cook and whisk for one full minute. Remove the saucepan from the heat. Scoop about 1 cup of the hot filling into the reserved egg yolks, whisking vigorously to temper the yolks. Pour the tempered egg yolk mixture back into the saucepan with the remaining filling. Return to medium heat and cook, boiling for another 2-3 minutes, whisking constantly until the custard is very thick and coats the back of a spoon. Remove from heat.
-
Stir in the pure vanilla extract, pure coconut extract, butter, and the finely shredded sweetened coconut until the butter is melted and all ingredients are incorporated.
-
Allow the filling to cool for 20-30 minutes, then pour it evenly into the cooled, baked pie shell. To prevent a skin from forming, place plastic wrap directly onto the surface of the custard, ensuring it touches the entire surface. Refrigerate for at least 3 hours, or preferably overnight, until the custard is completely set.
-
To toast coconut: Spread sweetened, flaked coconut in a single layer over a clean cookie sheet. Place into a preheated 400-degree Fahrenheit oven. Stir occasionally and shake the pan around until the coconut achieves a beautiful golden brown color. Watch very closely during this process, as coconut can burn extremely quickly. Remove from oven and cool completely before using as a topping.
-
In a chilled mixing bowl, combine the whipping cream, powdered sugar, and pure vanilla extract. Beat with an electric mixer until whipped to stiff peaks. Spread this homemade whipped cream generously over the chilled pie. Sprinkle with the cooled, toasted coconut before serving.
Notes
Nutrition
Recipe inspired by SpendWithPennies
