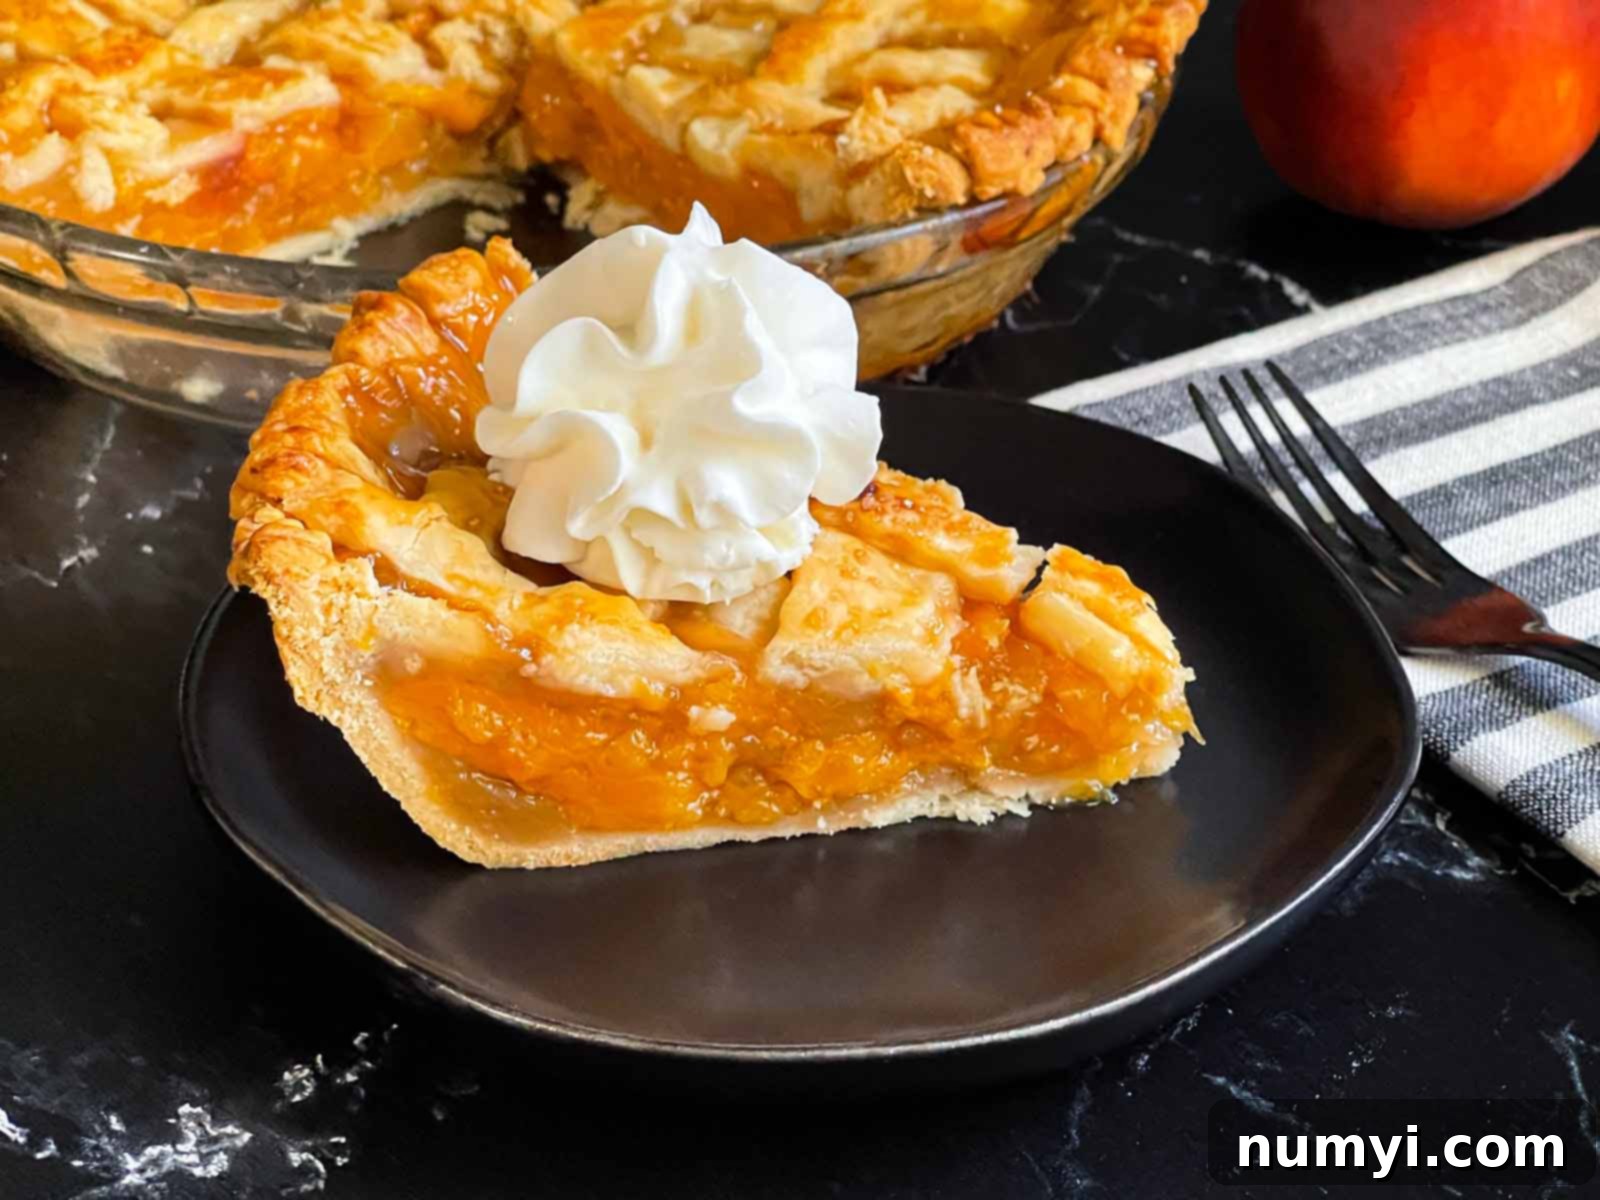
Easy Southern Peach Pie Recipe: Your Ultimate Guide to a Flaky, Juicy Summer Classic
There’s nothing quite like the taste of summer captured in a warm, comforting slice of homemade peach pie. This Easy Southern Peach Pie recipe isn’t just a dessert; it’s a celebration of seasonal bounty, bringing together the sweetest, juiciest peaches baked within a perfectly flaky, golden-brown crust. Crafted with love and simple ingredients, this pie promises to be the highlight of any summer gathering, delivering a taste that evokes warmth, tradition, and pure bliss.
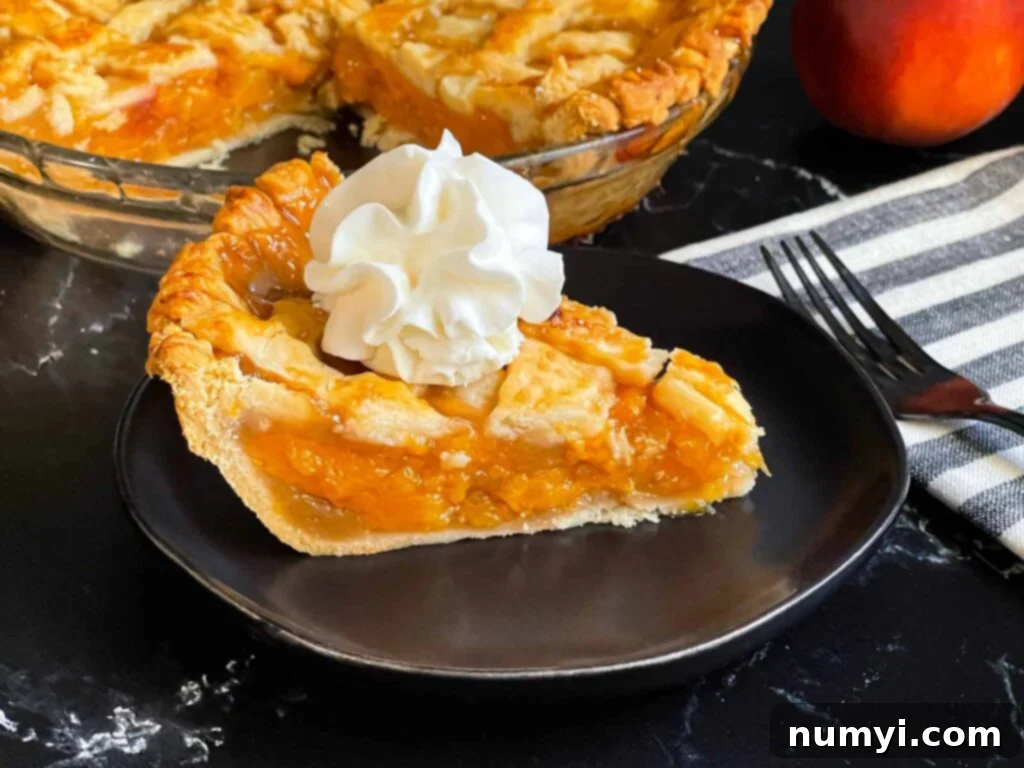
Why You’ll Adore This Easy Homemade Peach Pie
There are countless reasons why this Southern peach pie will become a fast favorite in your kitchen. First and foremost, it features **sweet, juicy peaches baked to perfection** in a rich, buttery, and incredibly flaky all-butter pie crust. This combination creates a symphony of textures and flavors that is simply irresistible.
Beyond its delicious taste, this is an **easy homemade peach pie recipe**, designed to be approachable even for novice bakers. While it delivers all the charm and satisfaction of a from-scratch dessert, the steps are straightforward and yield impressive results.
Furthermore, it’s a **classic peach pie made with fresh, simple ingredients**. We believe that the best recipes rely on the quality of their components, and this pie is no exception. Using fresh, ripe peaches and a homemade crust elevates this dessert to a truly special experience.
If you’re a pie enthusiast, we encourage you to explore some of our other favorite pie recipes. You might enjoy our Lattice Crust Apple Pie Recipe for another fruit-filled classic, the rich and decadent Pecan Pie Recipe without Corn Syrup, our generously sized Blueberry Slab Pie, or the fun and creamy Cookies and Cream Pie for a no-bake treat.
Essential Ingredients for the Best Peach Pie
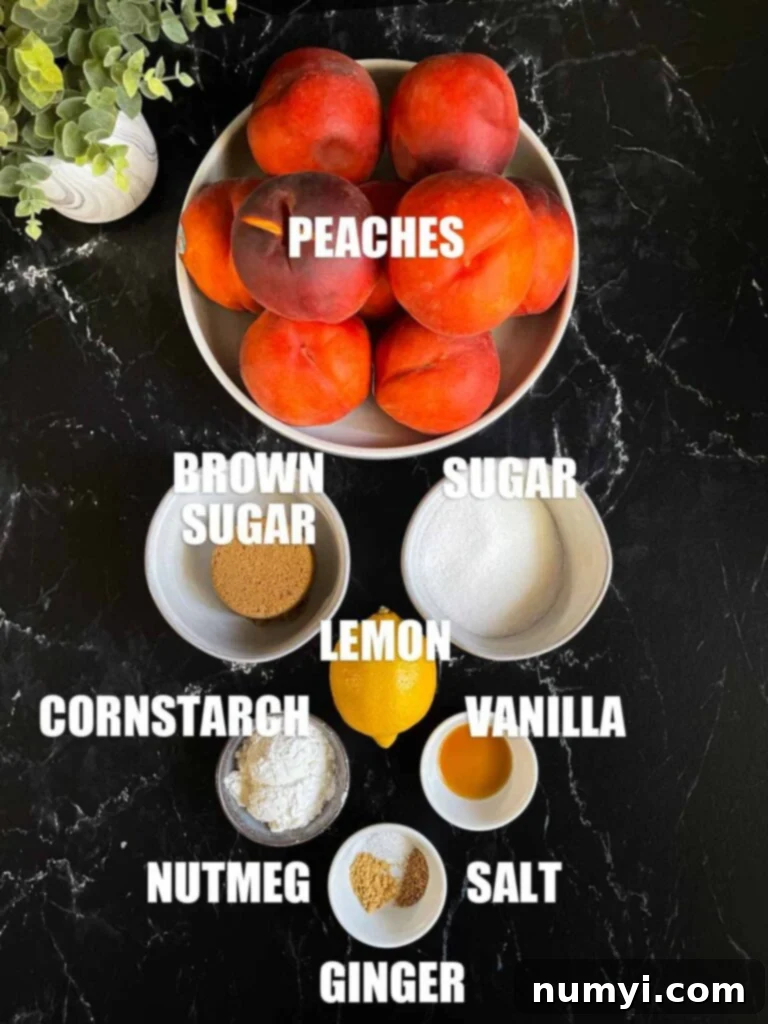
Crafting the perfect Southern peach pie starts with selecting the right ingredients. Below is a detailed look at what you’ll need. For a full list of quantities and detailed instructions, please refer to the comprehensive recipe card at the bottom of this post.
- Fresh Peaches – The star of the show! For the best flavor and texture, select yellow peaches that are slightly firm but not hard. Avoid any with soft spots, bruises, or mushy areas, as these will not hold up well during baking. It’s a good idea to buy a few extra in case some need more ripening or aren’t suitable. To ripen firm peaches, place them in a brown paper bag for a day or two. Check them frequently, as peaches can soften very quickly. The ideal peach for pie is ripe and aromatic but still holds its shape when gently squeezed.
- Pie Crust – Our recommended homemade pie crust is made with all-purpose flour, extremely cold unsalted butter (this is key for flakiness!), a touch of granulated sugar for subtle sweetness, kosher salt to balance flavors, and ice water to bring it all together without developing too much gluten. While a homemade all-butter crust provides superior flavor and texture, a high-quality store-bought double crust is a perfectly acceptable alternative for saving time without sacrificing too much quality. Ensure your crust is ready and chilled before you begin the filling.
- Flavorful Seasonings – A harmonious blend of spices and aromatics elevates the natural sweetness of the peaches. We use fresh lemon juice to brighten the flavor and prevent the peaches from oxidizing, pure vanilla extract for warmth, granulated sugar and dark brown sugar (packed) for a deep, rich sweetness, cornstarch to thicken the filling and prevent a watery pie, ground ginger for a hint of warmth, freshly grated nutmeg (which offers a far superior aroma than pre-ground) for earthy notes, and kosher salt to enhance all the flavors. While we don’t typically include cinnamon in our peach pie to let the peach flavor truly shine, if you enjoy a warm spice profile, feel free to add 1/2 teaspoon of ground cinnamon.
- Egg Wash – A simple mixture of one large egg beaten with one tablespoon of cold water. This egg wash is brushed over the top crust before baking to give your pie a beautiful, golden-brown, shiny, and glossy finish. It also helps in achieving a crispier crust.
Simple Methods for Peeling Peaches
Peeling peaches can sometimes feel like a daunting task, but with the right technique, it becomes quick and effortless. Here are three effective ways to get your peaches pie-ready:
- Sharp Paring Knife Method – For those who prefer a hands-on approach, a very sharp paring knife is your best friend. Start by cutting a small ‘X’ on the bottom of each peach. Then, carefully use the knife to peel the skin away from the ‘X’ upwards. This method requires a steady hand and works well for firm peaches.
- Sharp Vegetable Peeler Technique – This is often the quickest method, provided your peaches are not overly ripe and mushy. A high-quality, sharp vegetable peeler will glide through the skin with ease. The key here is indeed a *sharp* peeler; a dull one will only tear the peach flesh. This technique is ideal for peaches that are firm enough to withstand peeling without collapsing.
- Blanching Method – The most classic and often easiest way to peel peaches, especially if you have a larger batch. To blanch, bring a pot of water to a rolling boil. Carefully cut a small ‘X’ at the bottom of each peach. Submerge 2-3 peaches at a time into the boiling water for precisely 10-20 seconds. Immediately transfer them to an ice water bath to stop the cooking process. The sudden temperature change will cause the skin to loosen dramatically, allowing you to easily peel it off with your fingers or a paring knife. This method is particularly useful for achieving perfectly smooth, skinless peaches for your pie filling.
Step-by-Step Guide: How to Make This Delicious Peach Pie
Follow these detailed instructions to create a show-stopping Southern peach pie that will impress everyone.
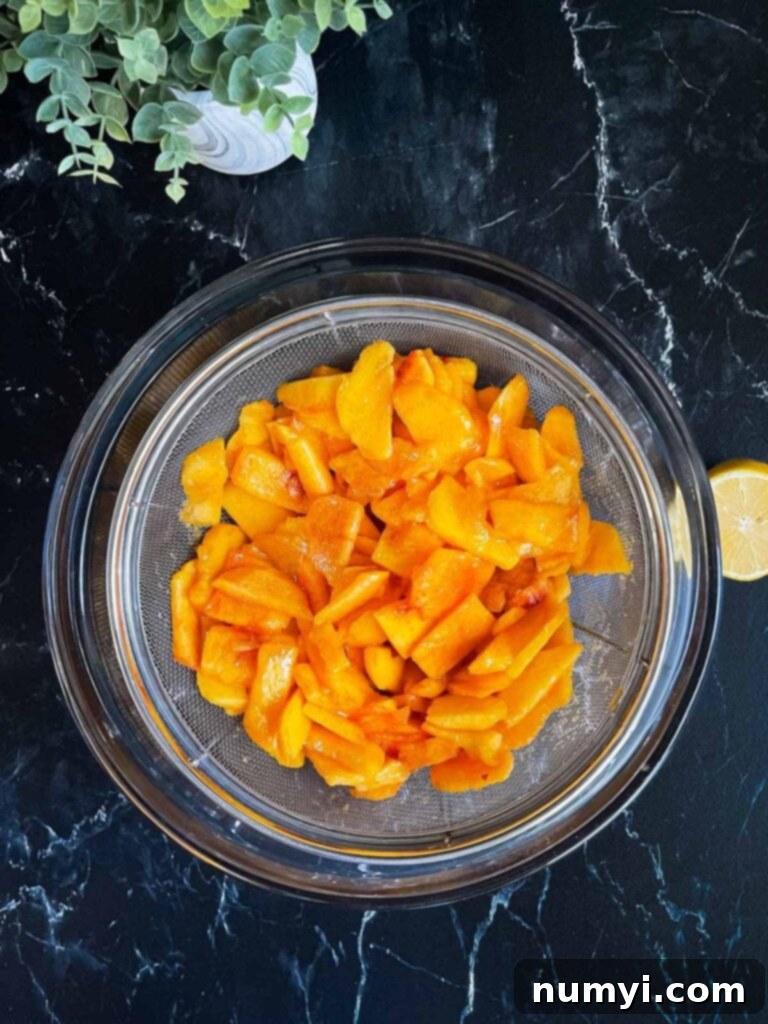
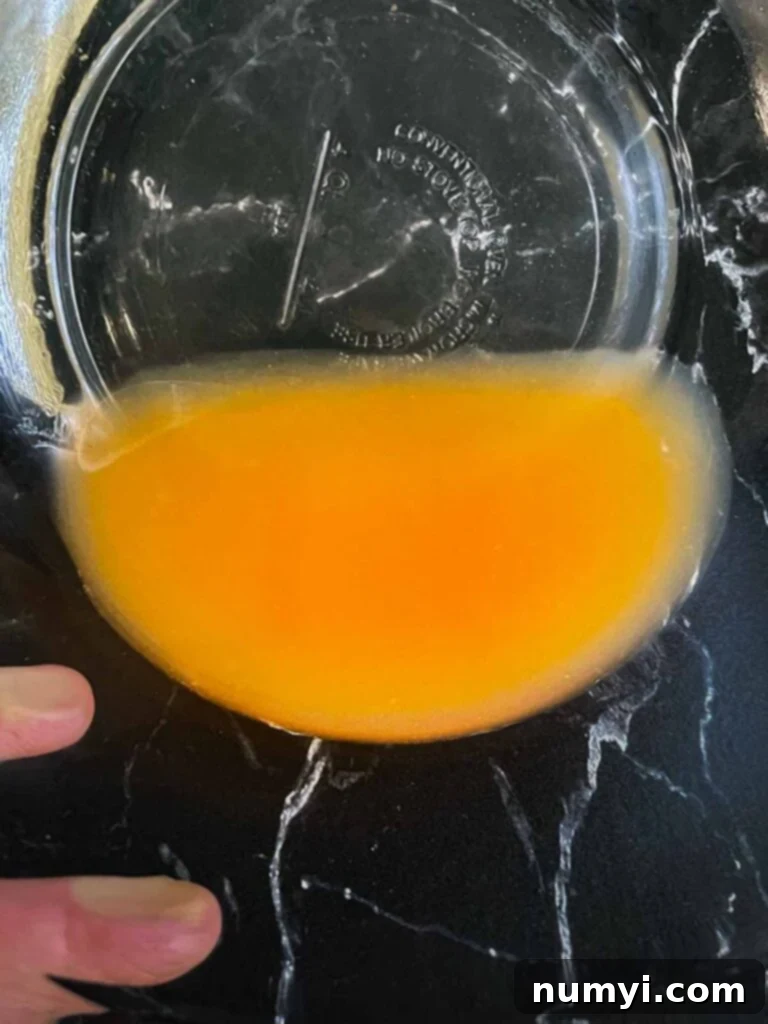
- **Prepare the Peaches for Draining**: Begin by peeling your fresh peaches using one of the methods described above. Once peeled, cut them into 1/4-inch slices and some chunks for a varied texture in your pie. Don’t worry about perfectly uniform slices; a mix of slices and small chunks often yields the best mouthfeel. Place the prepared peaches in a fine mesh strainer set over a large bowl. Drizzle the fresh lemon juice evenly over the peaches. Allow them to drain for a minimum of 30 minutes, or up to 1 hour. This crucial step removes excess moisture, preventing a soggy pie bottom and ensuring a perfectly set filling.
- **Prepare the Pie Crust and Oven**: While the peaches are draining, prepare your homemade pie crust dough according to the recipe, if you haven’t already. Ensure it’s thoroughly chilled in the refrigerator for at least one hour before you plan to roll it out. This chilling time is vital for a tender, flaky crust. Preheat your oven to 425 degrees F (218 degrees C). Line a sturdy baking sheet with aluminum foil or parchment paper. This will catch any potential drips from the pie during baking, making cleanup much easier.
- **Combine Dry Filling Ingredients**: In a small bowl, thoroughly whisk together the granulated sugar, dark brown sugar, cornstarch, ground ginger, ground nutmeg, and kosher salt. Cornstarch is essential here as it acts as a thickening agent, ensuring your peach pie filling sets up beautifully and isn’t watery.
- **Prepare the Egg Wash**: In a separate small bowl, beat one large egg with 1 tablespoon of cold water until well combined. This will be used to create that beautiful golden shine on your crust.
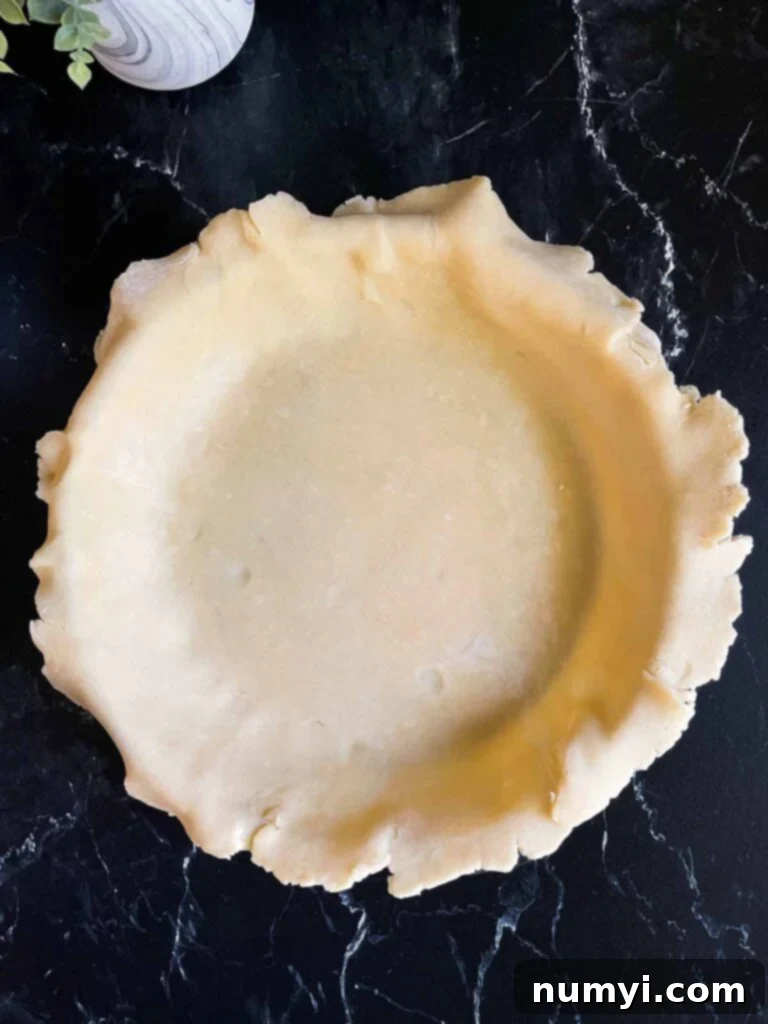
- **Prepare the Bottom Pie Crust**: Remove one disk of pie dough from the refrigerator. On a lightly floured, clean hard surface, roll the dough out into a 12-inch circle, ensuring it’s evenly thick. Carefully transfer the rolled dough to a 9-inch pie plate. Gently ease the dough into the contours of the pan without stretching it. Trim any excess dough around the edges, leaving about a 1/2-inch overhang. Brush some of the prepared egg wash over the bottom of the pie crust. This creates a protective barrier, helping to prevent a soggy bottom crust. Place the pie plate back in the refrigerator while you prepare the filling and the top crust.
- **Prepare the Top Pie Crust (Lattice)**: Roll out the second disk of pie dough to another 12-inch circle. Using a pizza cutter, a pastry wheel, or a sharp knife, cut the dough into approximately 1/2-inch wide strips. These strips will be used to create your decorative lattice top.
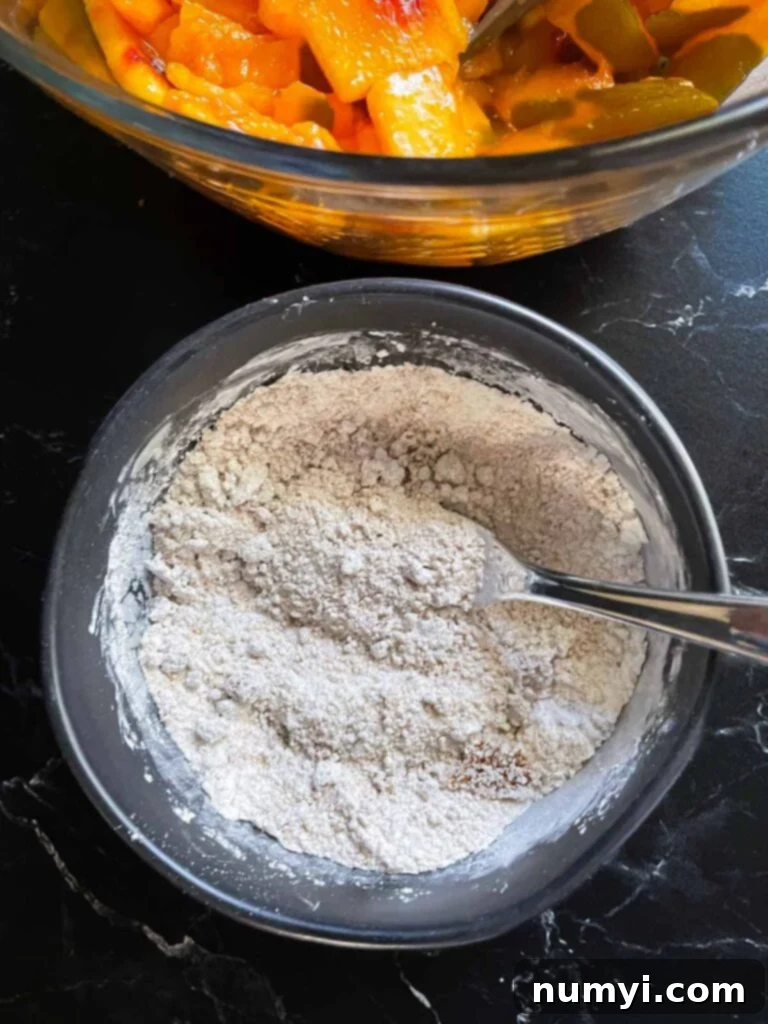
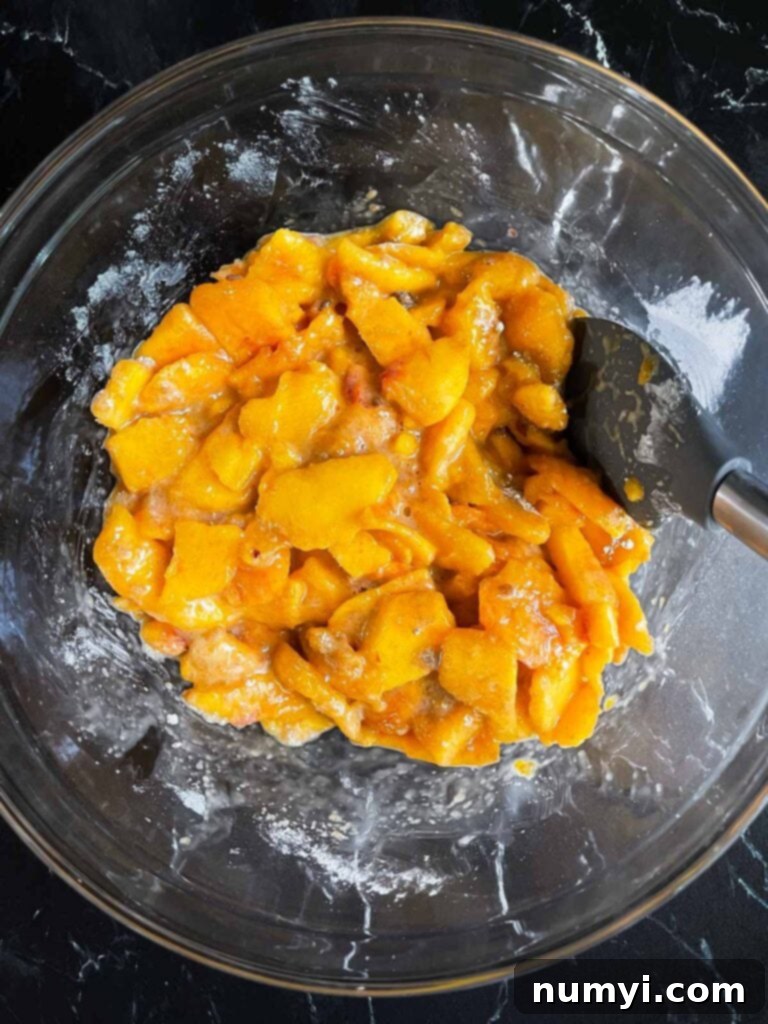
- **Create the Peach Filling**: Discard the accumulated peach juices from the large bowl. Pour the drained peaches into the now-empty bowl. Drizzle the vanilla extract over the peaches, then sprinkle the dry ingredient mixture (sugars, cornstarch, spices) evenly over them. Gently stir everything together with a spatula or your hands until the peaches are uniformly coated with the dry mixture. Be careful not to mash the peaches.
- **Assemble the Pie**: Retrieve the chilled bottom pie crust from the refrigerator. Pour the perfectly coated peach mixture into the prepared bottom pie crust, mounding it slightly in the center.
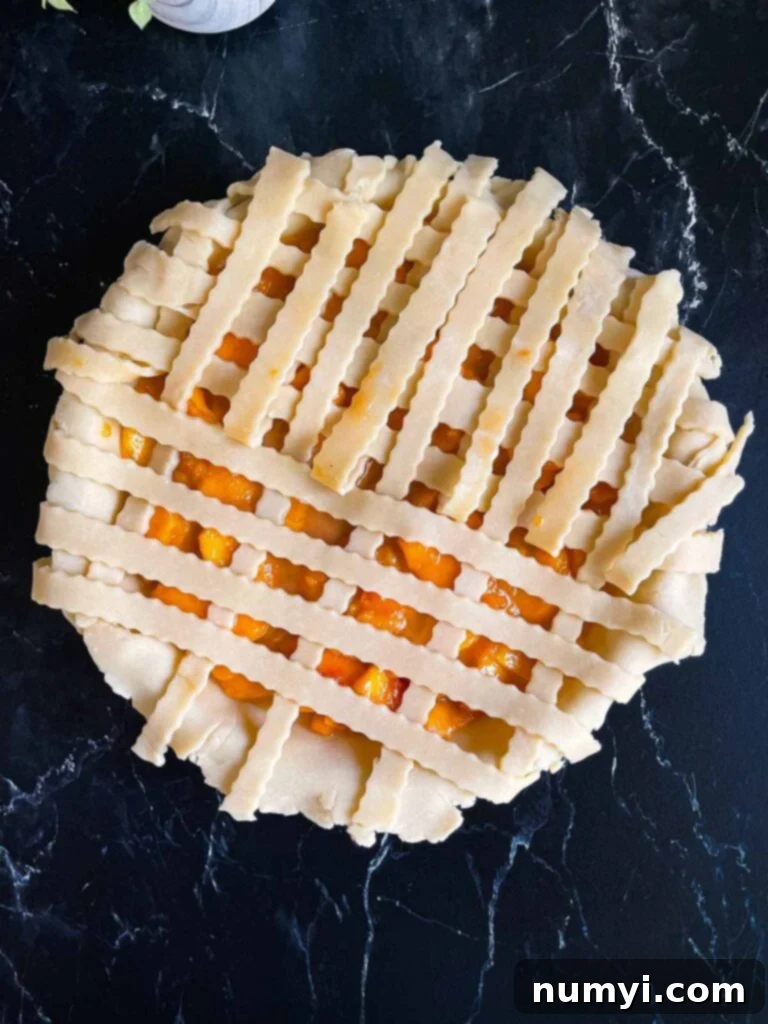
- **Weave the Lattice Top**: Arrange half of your pie dough strips vertically over the peach filling, spacing them evenly. Now, fold down every other vertical strip about halfway. Place one strip horizontally across the top, near the edge. Unfold the folded vertical strips back over the horizontal strip. Next, fold up the *remaining* vertical strips (the ones that were not folded down initially) about halfway. Lay another horizontal strip across. Continue this weaving pattern, alternating which vertical strips you fold, to create a beautiful lattice pattern. Once all strips are woven, trim any excess dough from the edges of the pie plate, leaving about a 1/2-inch overhang. Crimp the edges of the pie using your fingers or a fork to seal and decorate.
- **Chill the Assembled Pie**: For best results, freeze the unbaked pie for at least 10 minutes. This helps the butter in the crust firm up, ensuring a flakier texture and preventing excessive shrinkage during baking.
- **Final Preparations for Baking**: Place the chilled, formed pie on the prepared baking sheet. Brush the entire top crust (including the lattice strips) generously with the remaining egg wash. If desired, sprinkle a tablespoon of turbinado sugar over the top for an extra sparkle and crunchy texture.
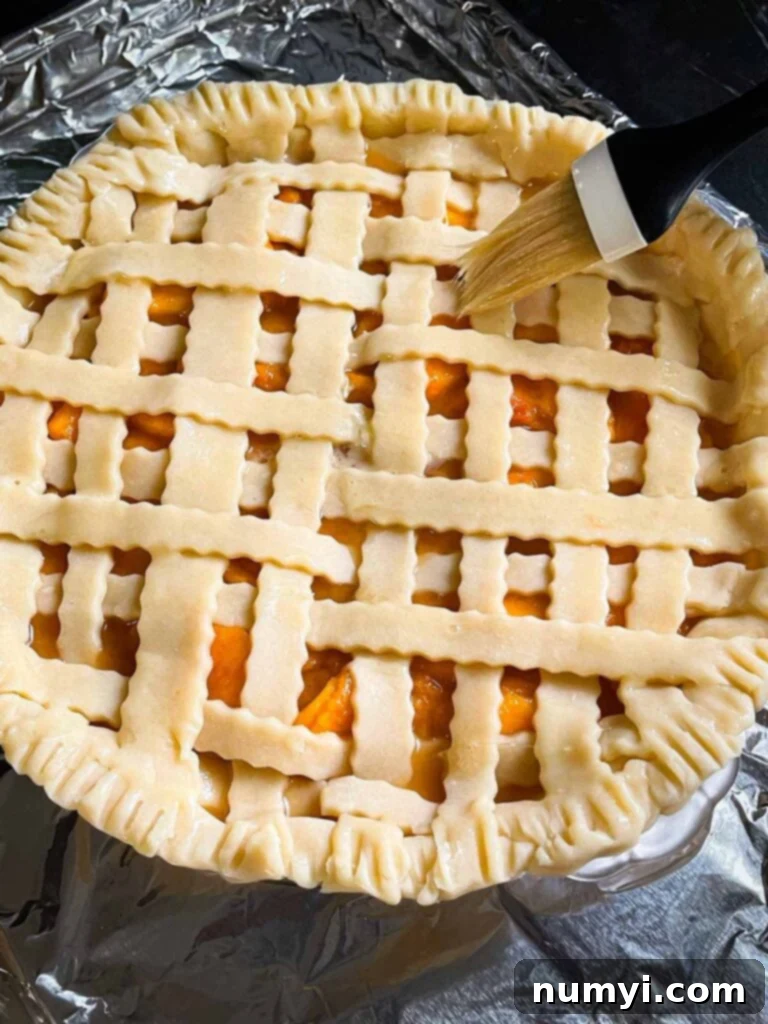
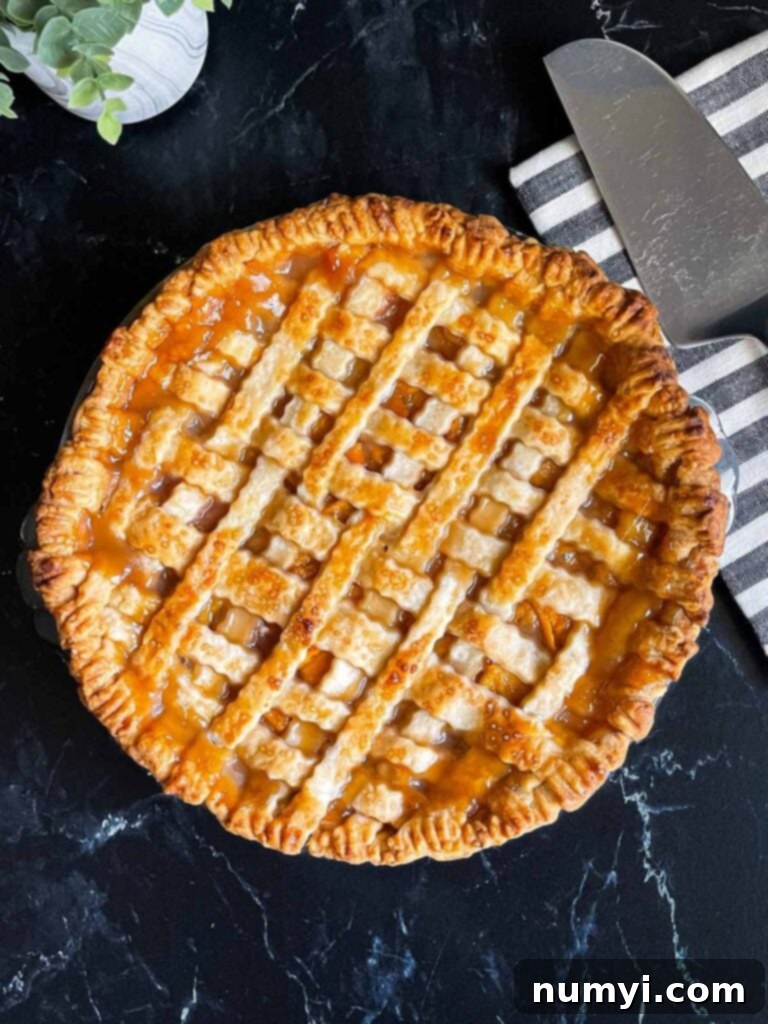
- **Bake the Pie**: Place the baking sheet with the pie into your preheated 425 degrees F (218 degrees C) oven. Bake for 20 minutes at this higher temperature. This initial blast of heat helps the crust set quickly and become beautifully flaky. After 20 minutes, reduce the oven temperature to 375 degrees F (190 degrees C) and continue baking for another 45-60 minutes. The pie is done when the entire pie filling is actively bubbling, especially in the center. The crust should be a deep golden brown. If the crust starts to brown too quickly, you can loosely tent the pie with aluminum foil or use a pie shield.
- **Cool Completely**: This step is absolutely critical! Once baked, remove the pie from the oven and transfer it to a wire rack to cool for a minimum of 4 hours. Ideally, let it cool completely to room temperature, which can take even longer. Resisting the urge to slice into a warm fruit pie is tough, but essential. Cutting a warm fruit-filled pie will result in a runny, unset filling because the cornstarch needs time to fully gel and set as it cools. Patience will be rewarded with perfect slices!
Delicious Serving Suggestions
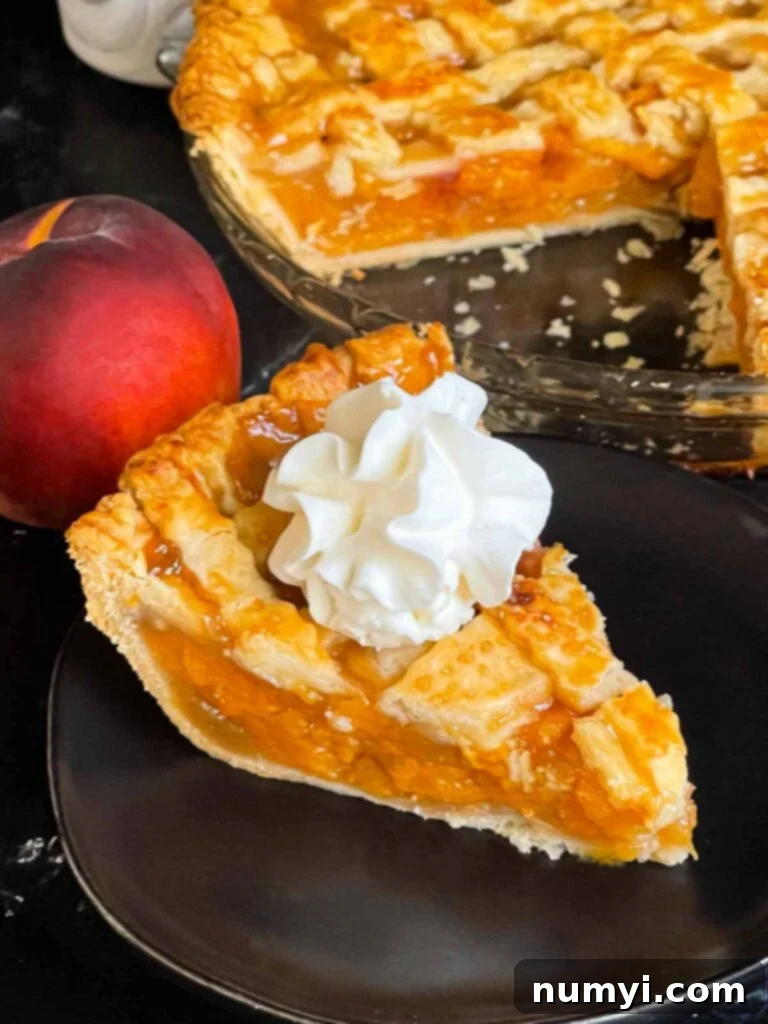
While a fresh slice of homemade Southern peach pie is undoubtedly delightful on its own, it truly shines when paired with a few classic accompaniments. For a creamy contrast that melts into the warm peaches, serve it with a generous dollop of freshly whipped cream. Alternatively, a scoop of premium vanilla bean ice cream creates a heavenly combination of warm fruit and cold, sweet decadence. A dusting of powdered sugar or a sprig of fresh mint can also add an elegant touch to your plated dessert.
Expert Tips for Your Best Peach Pie Yet
- Choose Your Peaches Wisely: Always opt for firm, ripe, and aromatic yellow peaches. Avoid any peaches that are bruised, overly soft, or mushy, as these will break down too much during baking, leading to a less appealing texture in your pie. Firmness is key for slices that hold their shape.
- Don’t Skip Draining: Draining the peaches after slicing and mixing with lemon juice is paramount. Peaches release a lot of liquid, and failing to drain them will result in a watery, runny filling and a soggy bottom crust. If preparing ahead, place them in a strainer inside a larger bowl and cover tightly with plastic wrap. However, aim to bake within a few hours, as prolonged draining can eventually lead to mushy peaches.
- Master the Pie Crust Ahead: A fantastic pie starts with a great crust. Our homemade all-butter pie dough can be made ahead of time. Store it tightly wrapped in plastic wrap in the refrigerator for up to 4 days, or freeze it for up to 3 months. Thaw frozen dough overnight in the refrigerator before rolling. This preparation step can significantly reduce your baking day workload.
- Protect Your Oven from Drips: Always place a baking sheet lined with aluminum foil or parchment paper underneath your pie pan before baking. Fruit pies, especially when generously filled, can sometimes bubble over and drip. This simple trick will save you from a messy oven cleanup.
- Prevent a Soggy Bottom Crust: The egg wash brushed over the bottom crust is not just for color; it creates a moisture barrier that helps prevent the crust from becoming soggy from the juicy peach filling. Ensure you apply a thin, even layer before adding the filling.
- Vent Your Top Crust: If you prefer a solid top crust instead of a lattice design, remember to cut several slits or decorative vents into the dough. These openings are crucial for allowing steam to escape during baking. Without them, the steam can build up, potentially causing the crust to puff up unevenly or even burst.
- Prevent Over-Browning: If your pie crust is browning too quickly before the filling is fully cooked, don’t fret! You can use a pie shield (a metal ring that covers the edges of the crust) or simply tent the entire pie loosely with aluminum foil for the remaining bake time. This will protect the crust from burning while the filling finishes cooking.
Frequently Asked Questions About Peach Pie
The key to a perfectly set peach pie filling lies in the cornstarch and proper baking. Cornstarch activates and thickens when it reaches a boiling point. Therefore, it’s crucial to bake the pie until the filling is visibly bubbling, not just around the edges, but all the way to the center of the pie. Once you see consistent bubbling in the middle, the pie is likely done. Equally important is allowing the pie to cool completely for at least 4 hours (or even overnight). The cornstarch needs this time to fully set and solidify the filling.
Yes, this easy peach pie recipe is often best made one day ahead. This allows the filling ample time to set up properly and the flavors to fully meld. You can prepare the pie dough several days in advance, storing it tightly wrapped in the fridge for up to 4 days or freezing it for up to 3 months. The peaches can be peeled and sliced, tossed with lemon juice, and placed in a strainer over a bowl, then refrigerated for a few hours before combining with the other filling ingredients and baking.
While the unparalleled flavor of fresh, in-season summer peaches is highly recommended for this recipe, you can use frozen peaches. If using frozen, make sure they are completely thawed and drained very well to remove excess liquid, which can lead to a watery pie. We generally do not recommend using canned peaches for this recipe. Canned peaches are typically packed in syrup and are already quite soft, often becoming mushy and losing their texture entirely once baked in a pie.
Because this peach pie recipe does not contain dairy in its filling, it can be safely stored at room temperature for up to 2 days. For longer freshness, or in warmer climates, it can be stored in the refrigerator for up to 4 days. Always ensure it is covered loosely with foil or plastic wrap.
This peach pie freezes beautifully! Once the pie has completely cooled to room temperature (this is essential), wrap it tightly in a double layer of plastic wrap, followed by a double layer of aluminum foil. You can also place the well-wrapped pie in a freezer-safe airtight resealable bag. Freeze for up to 3 months. To serve, thaw the pie overnight in the refrigerator, then warm gently in a low oven (around 300°F/150°C) if you prefer it warm.
Explore More Delicious Pie Recipes
If you loved this Southern Peach Pie, you’re sure to enjoy our other delectable pie creations. Each recipe is designed to bring joy to your kitchen and your taste buds.
Blueberry Pie
Homemade Coconut Cream Pie
Easy Key Lime Pie (Eggless)

Peach Pie Recipe
Print
Pin
Rate
Ingredients
Pie Crust
- 1 Pie Dough Recipe
Peach Pie Filling
- 3 1/2 lbs Fresh peaches (7 cups) peeled, sliced, and chunked
- 1 tbsp Fresh lemon juice
- 1/3 cup Dark brown sugar packed
- 1/3 cup Granulated sugar
- 1/4 cup Cornstarch
- 1/2 tsp Vanilla extract
- 1/4 tsp Ground ginger
- 1/4 tsp Nutmeg fresh grated is best
- 1/4 tsp Kosher salt
Egg Wash
- 1 large Egg
- 1 tbsp Water
- 1 tsp Turbinado sugar
Instructions
Pie Crust
Peach Pie
-
Place the peaches in a fine mesh strainer in a large bowl, drizzle the lemon juice over the peaches, and drain the peaches for 30 minutes up to 1 hour.3 1/2 lbs Fresh peaches, 1 tbsp Fresh lemon juice
-
Preheat the oven to 425 degrees F. Prepare a baking sheet with aluminum foil to catch any spillage.
-
In another small bowl beat the egg with 1 tablespoon of cold water.1 large Egg, 1 tbsp Water
-
In a small bowl combine the sugars, ground ginger, ground nutmeg, cornstarch, and kosher salt.1/3 cup Dark brown sugar, 1/3 cup Granulated sugar, 1/4 cup Cornstarch, 1/4 tsp Ground ginger, 1/4 tsp Nutmeg, 1/4 tsp Kosher salt
-
Using a 9-inch pie pan. Roll out 1 dough disk (leave the other on in the fridge) to a 12-inch circle. Transfer to the pie pan and gently ease it down into the pan. Brush some of the egg wash over the bottom pie crust and refrigerate.
-
Roll out the second dough disk to a 12-inch circle. Using a pizza cutter, pastry cutter, or sharp knife cut out 1/2″ strips of the dough.
-
Discard the peach juices from the large bowl, pour the drained peaches into the bowl, pour the vanilla extract over the peaches, and then sprinkle the dry ingredient mixture over the peaches and gently stir to evenly coat the peaches.1/2 tsp Vanilla extract
-
Pour the peach mixture into the prepared bottom pie crust.
-
Arrange half of the pie dough strips vertically over the filling. Fold down every other strip and place one strip horizontally across the top. Unfold the folded strips, and fold up the remaining strips. Lay another strip horizontally. Continue weaving the remaining strips to form a lattice top. Trim excess dough from the pie plate and crimp the edges of the pie.
Freeze the unbaked pie for at least 10 minutes.
-
Place the formed pie on the prepared baking sheet. Brush the top crust with egg wash and sprinkle with turbinado sugar over the top if desired.1 tsp Turbinado sugar
-
Bake the pie for 20 minutes at 425 degrees F, then reduce the oven temperature to 375 degrees F and bake for 45 – 60 minutes until the entire pie filling is bubbling especially in the center. Use a pie shield or tent with aluminum foil to keep the crust from browning too much.
-
Remove to a wire rack to cool for a minimum of 4 hours. The pie needs to cool completely before slicing. Cutting a warm fruit-filled pie will result in a runny filling.
Notes
If you prefer to use a solid top crust be sure to cut slits in the dough to release steam.
Storing – Because this pie does not contain dairy you can store it at room temperature for 2 days or in the fridge for up to 4 days.
Freezing – Let the pie cool completely, wrap in two layers of plastic wrap, and then two layers of aluminum foil, and freeze for up to 3 months.
