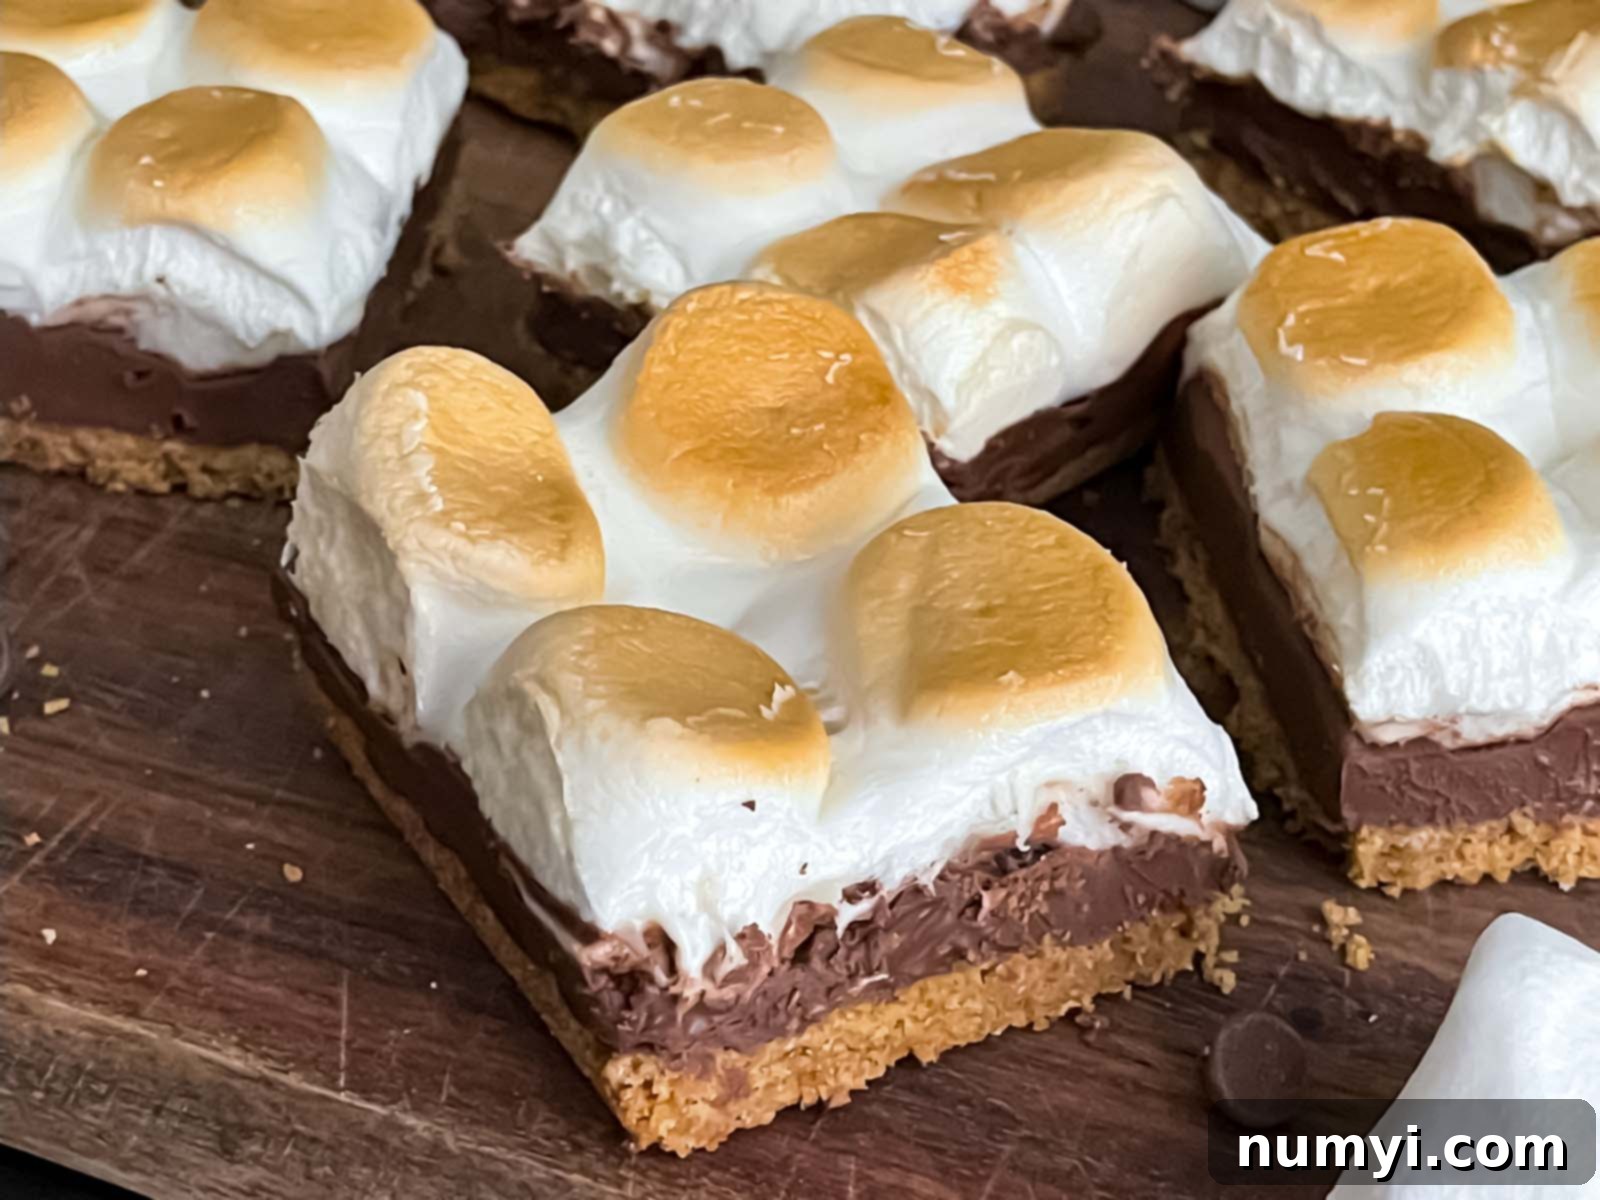
Easy Homemade S’mores Bars: Your Go-To Recipe for a No-Campfire Treat
Craving the classic taste of s’mores but don’t have a campfire handy? Look no further! These incredibly simple five-ingredient s’mores bars are the ultimate dessert, delivering that nostalgic experience of crispy graham crackers, luscious melted chocolate, and perfectly toasted marshmallows, all from the comfort of your kitchen. They’re a perfect summer treat that effortlessly transitions into a delightful indulgence any time of the year. Forget the hassle of outdoor fires; these easy-to-make bars bring the magic of s’mores right to your plate, making them an instant crowd-pleaser for any gathering or a cozy night in.

Why You’ll Absolutely Love These S’mores Bars
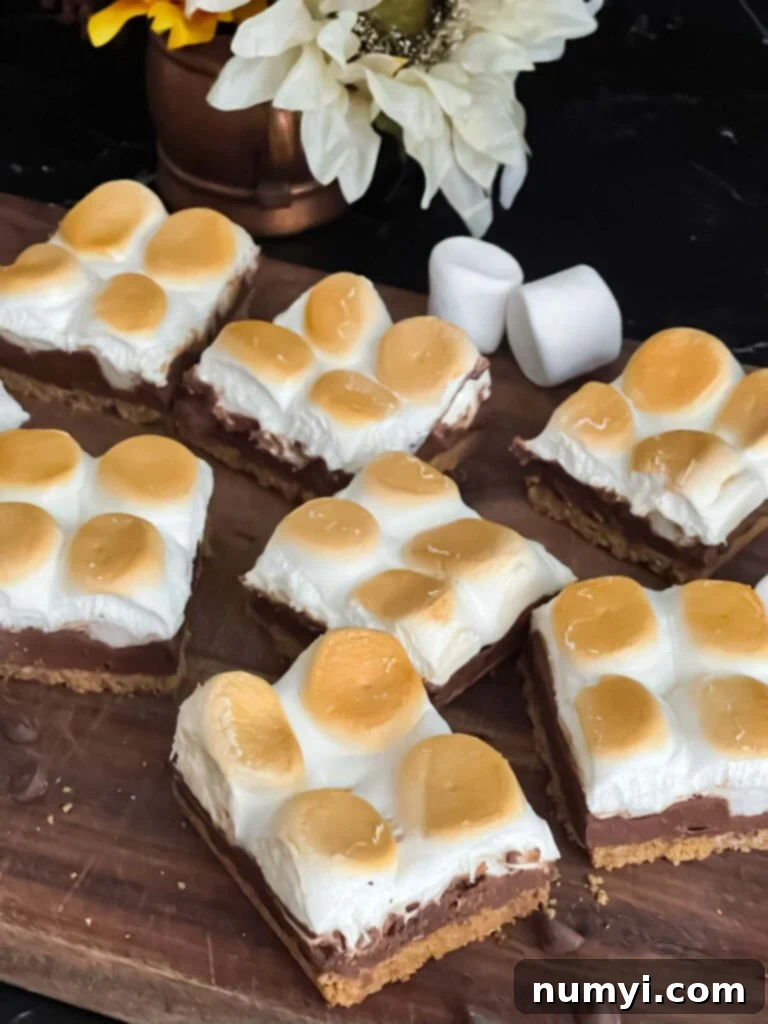
These S’mores bars offer a delightful twist on a beloved classic, making them incredibly appealing for countless reasons. First and foremost, they provide all the iconic flavors and textures of traditional s’mores without the need for a campfire, smoke, or sticky fingers. You can whip up a batch of these glorious bars anytime the craving strikes, rain or shine, summer or winter. Each bite delivers a perfect harmony: a sturdy, buttery graham cracker base, a generous, smooth layer of rich milk chocolate that melts in your mouth, and a topping of beautifully golden, gooey marshmallows. It’s a truly irresistible combination!
Beyond their amazing flavor, these bars are also incredibly practical. This recipe is designed to easily feed a crowd, making it ideal for parties, potlucks, or family gatherings. Plus, it’s highly customizable to suit everyone’s preferences:
- Adjust Your Chocolate Layer: You have complete control over the amount of chocolate, allowing you to create a thick, decadent layer or a more subtle ribbon, tailored to your family’s desired indulgence. Feel free to use your favorite chocolate – semi-sweet, milk, or even a rich dark chocolate for an elevated flavor profile!
- Perfectly Toasted Marshmallows: Achieve your preferred level of marshmallow toastiness, from gently golden to deeply caramelized. The oven ensures even browning without the risk of burnt spots.
- Spice Up the Crust: For an extra layer of warmth and complexity, consider adding a hint of ground cinnamon to your graham cracker crust mixture. This simple addition elevates the flavor beautifully.
- Experiment with Chocolate Varieties: While milk chocolate is classic, don’t hesitate to use semi-sweet chocolate for a less sweet bar, or indulge in dark chocolate for a more sophisticated and intense chocolate experience. Chocolate chunks or finely chopped chocolate bars can also be used for varied textures.
For more delicious dessert inspiration, be sure to explore some of our other favorite dessert recipes like Chai Biscotti, Apple Butter Pie, Coconut Cream Lush, Monster Cookies, and Chewy Snickerdoodle Bars.

Before diving into the detailed steps, please refer to the comprehensive recipe card below for the complete list of ingredients, precise quantities, and step-by-step instructions for these incredible s’mores bars.
How to Make Easy S’mores Bars: A Step-by-Step Guide
- Prepare Your Pan and Oven: Begin by preheating your oven to a steady 350ºF (175ºC). This ensures even baking from the start. Next, take a 9×9 inch baking pan and line it generously with parchment paper. Make sure to leave an overhang on the sides – this thoughtful detail will act as “handles,” making it incredibly easy to lift the entire batch of s’mores bars out of the pan once they’ve cooled, preventing any sticking or crumbling.
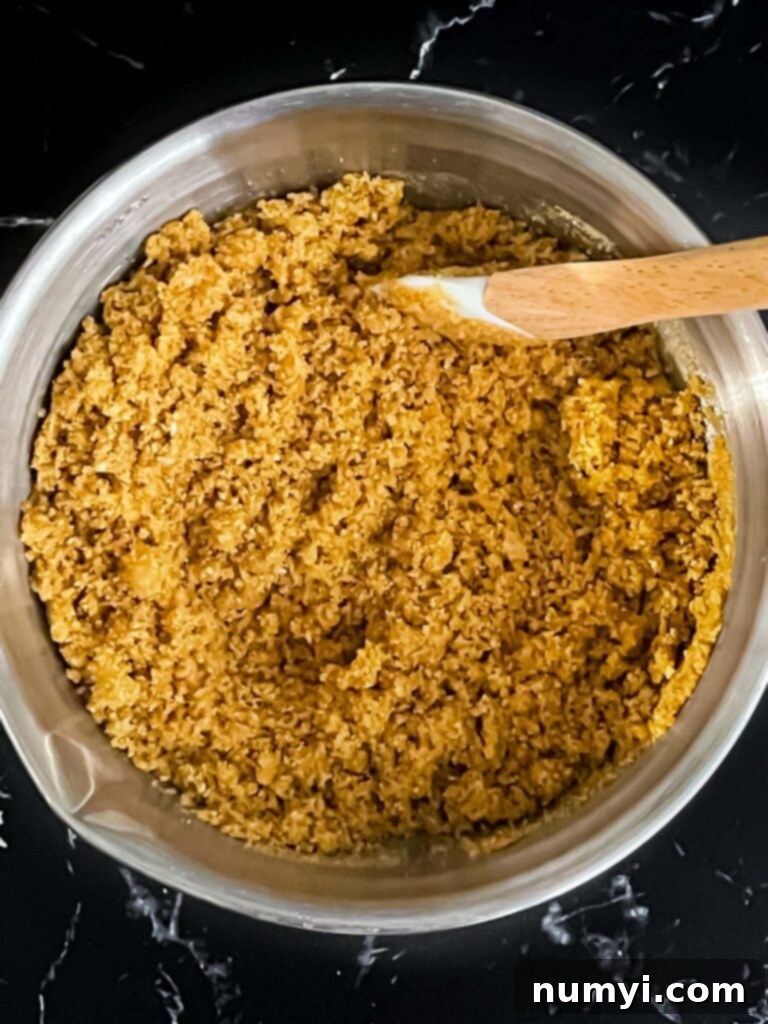
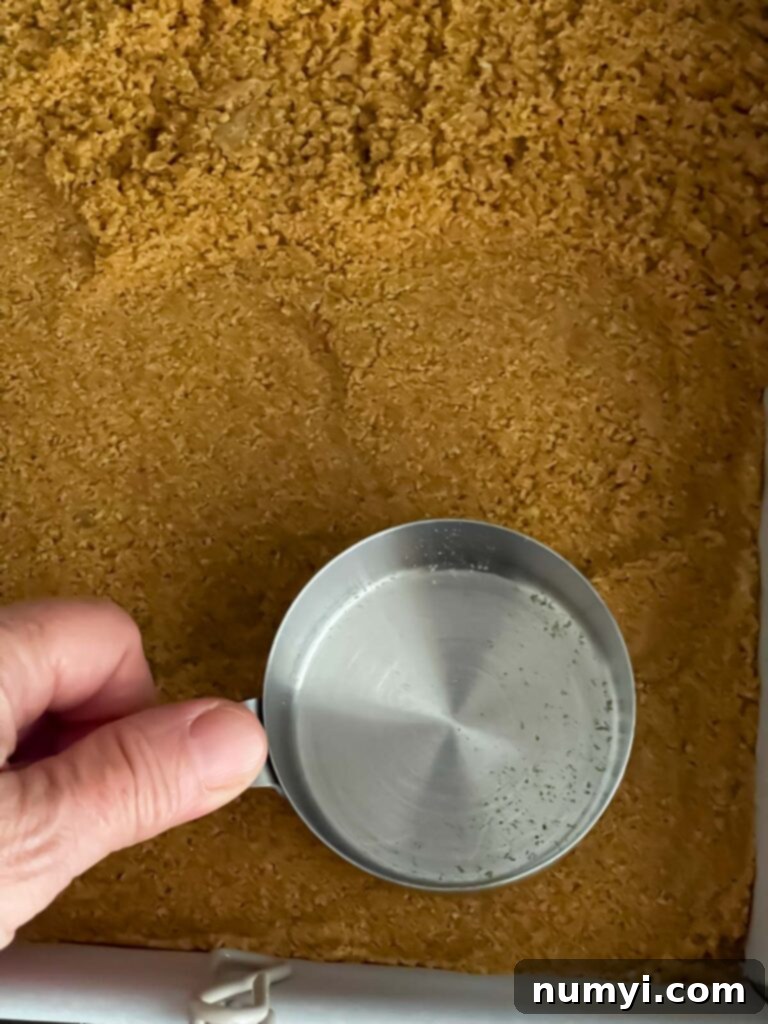
- Craft the Graham Cracker Crust: In a medium-sized mixing bowl, combine the graham cracker crumbs, granulated sugar, and melted unsalted butter. Stir these ingredients together thoroughly until all the crumbs are uniformly moistened, resembling wet sand. This ensures a cohesive crust. Transfer this mixture into your prepared baking pan. Using the bottom of a glass or your fingers, firmly and evenly press the mixture across the entire base of the pan. A well-packed crust will be less likely to crumble when sliced. Bake this crust for 8-10 minutes, or until you see the edges turn a delicate golden brown. This pre-baking step is crucial for achieving that delightful crispy foundation.
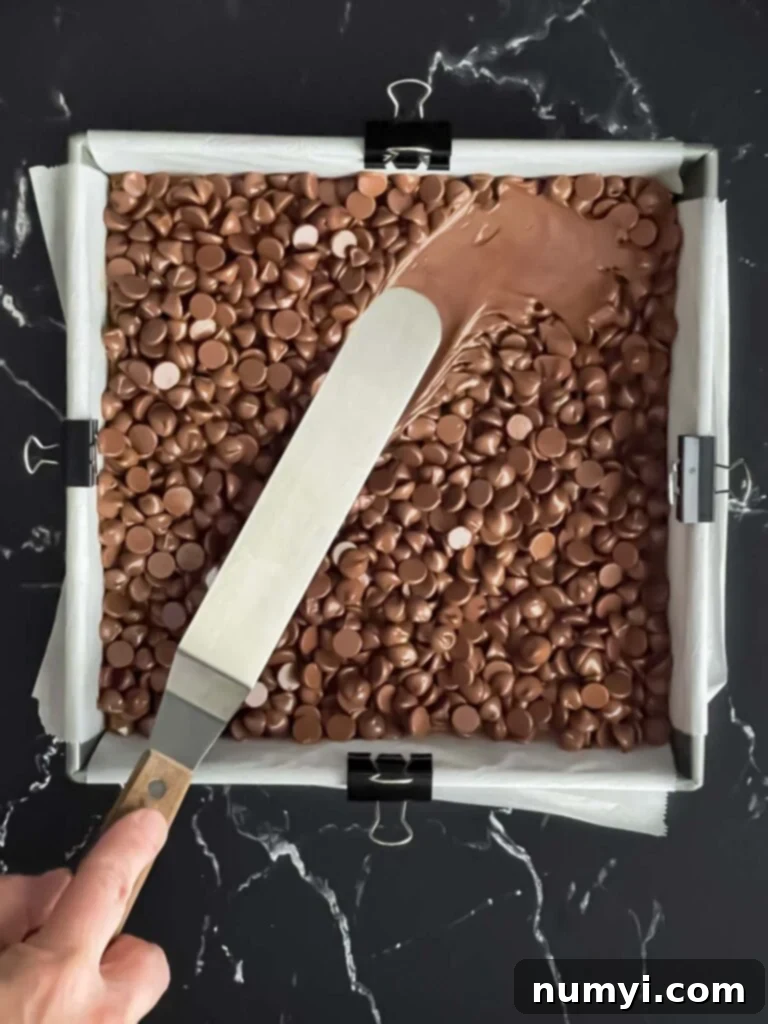
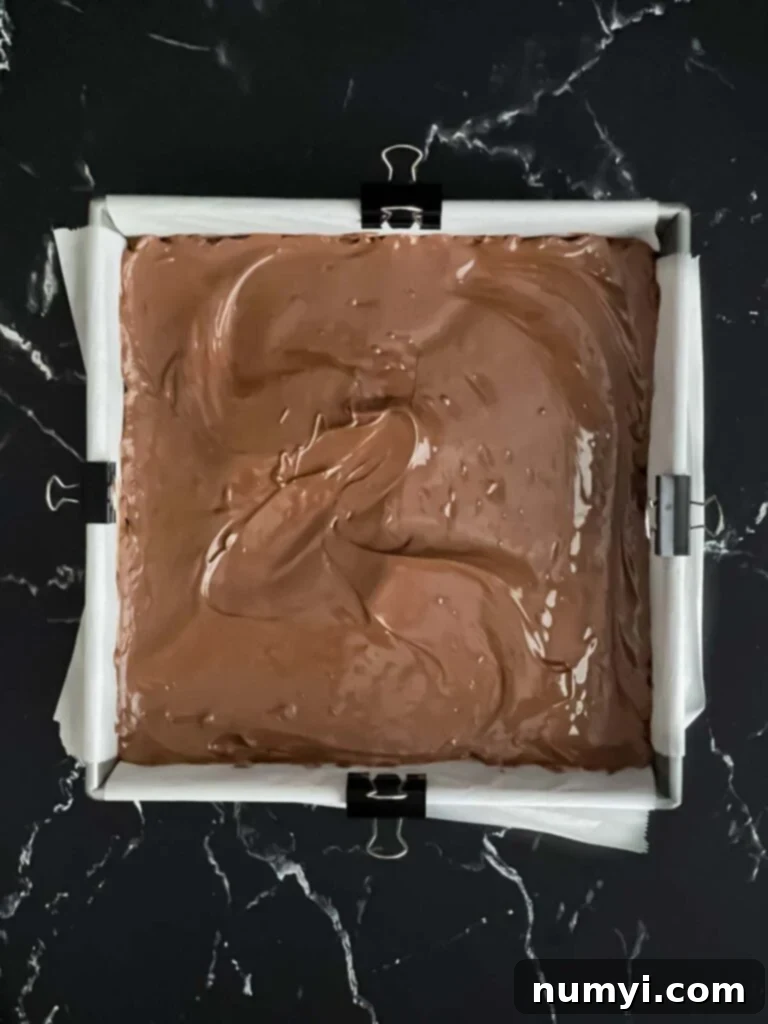
- Melt the Chocolate Layer: Once the graham cracker crust is lightly browned, remove the pan from the oven. Evenly sprinkle your chosen milk chocolate chips (or other chocolate variations) over the warm crust. Return the pan to the oven for a short period of 2-3 minutes. This brief bake time is just enough for the chocolate chips to soften and become slightly melty, making them easy to spread. Remove the pan again and, using an offset spatula or the back of a spoon, gently spread the softened chocolate into a smooth, even layer across the entire crust. This will form the rich, fudgy heart of your s’mores bars.
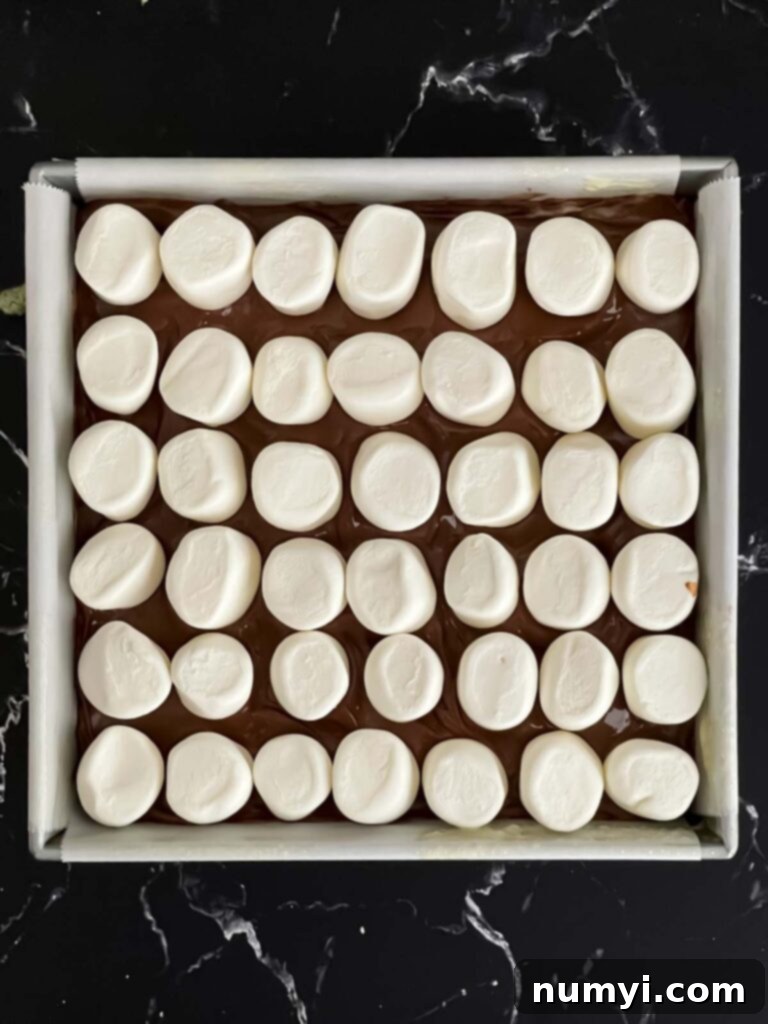
- Toast the Marshmallows: Carefully arrange your marshmallows in a single layer over the melted chocolate. For best results, don’t pack them too tightly; leave a small amount of space between each one, as they will expand significantly when heated. Return the pan to the oven and bake for another 8-10 minutes. Keep a close eye on them during this stage! You’re looking for the marshmallows to puff up beautifully and develop that iconic golden-brown, toasted hue. Once achieved, immediately remove the pan from the oven and transfer it to a wire rack to cool completely. Allowing them to cool gradually helps the chocolate set and makes for cleaner slices.
Expert Tips for Perfect S’mores Bars Every Time
- Prep Your Parchment Paper: To avoid a sticky situation, lightly butter or spray the top part of the parchment paper (the overhang) with a nonstick cooking spray before you begin. Toasted marshmallows are famously sticky, and this small step will make it much easier to lift the bars out of the pan without any messy tearing or adherence to the paper.
- Ensure a Firm Crust: The key to a non-crumbling s’mores bar is a well-compacted graham cracker crust. Take your time to press the mixture down firmly and evenly into the pan. The tighter and more solid the crust, the better it will hold together when you slice and serve your delicious treats.
- Achieve Clean Slices: For perfectly neat and tidy s’mores bars, a warm, clean knife is your best friend. Before each slice, run your knife under hot water for a few seconds, then quickly wipe it clean with a paper towel. The warmth helps the knife glide through the sticky marshmallows and set chocolate, resulting in beautifully clean cuts every time.
- Strategic Marshmallow Placement: When placing the marshmallows on top of the chocolate layer, resist the urge to pack them too tightly. Leaving a little breathing room between each marshmallow is important because they will puff up and expand significantly during baking. This expansion will naturally cause them to join together, creating a perfectly cohesive, gooey top layer without being overly dense.
- Consider Mini Marshmallows: While large marshmallows are classic, mini marshmallows are a fantastic alternative. They melt and toast more quickly, offering a slightly different texture and visual appeal. If using mini marshmallows, be sure to watch them extra closely during the toasting phase, as their baking time may be slightly shorter.
- Elevate with Brown Sugar: For a deeper, more complex flavor profile in your graham cracker crust, swap out the granulated sugar for dark brown sugar. This subtle change will infuse the crust with rich, caramel-like notes that perfectly complement the chocolate and marshmallow layers.
- Understand Cooling for Texture: The cooling process is crucial for the final texture of your s’mores bars. If you prefer a slightly softer, ooey-gooey texture, cool them only to room temperature; the chocolate will remain delightfully soft and slightly melted. For firmer, cleaner slices and a fully set chocolate layer, allow the bars to cool completely, potentially in the refrigerator for a short period, before cutting.
- Add a Pinch of Salt: A tiny pinch of flaky sea salt sprinkled over the melted chocolate layer before adding the marshmallows can truly elevate these bars. The salt provides a wonderful contrast, cutting through the sweetness and enhancing the rich chocolate flavor.
- Storage Best Practices: Store your cooled s’mores bars in an airtight container at room temperature for up to 4 days to maintain their freshness and ideal texture. Avoid refrigerating them, as this can cause the chocolate to harden too much and the marshmallows to become tough.
Frequently Asked Questions About S’mores Bars
Absolutely! S’mores bars are an excellent make-ahead dessert, perfect for easing your party prep. You can prepare them up to 2 days in advance. To keep them at their best, store them in an airtight container at room temperature. It’s important to avoid refrigeration, as the cold can cause the chocolate to become too hard and the marshmallows to lose their tender, gooey texture, making the bars less enjoyable.
While technically you *can* freeze s’mores bars, I strongly advise against it for the best eating experience. Freezing tends to alter the texture of both the marshmallows and the graham cracker crust. The marshmallows can become tough or rubbery, and the crust might lose its delightful crispness. These bars are truly best enjoyed fresh or within a couple of days of baking at room temperature.
Milk chocolate chips are the classic choice for a sweet and creamy s’mores experience. However, feel free to experiment! Semi-sweet chocolate chips offer a slightly less sweet option, while dark chocolate chips can add a rich, sophisticated depth. You can also chop up your favorite chocolate bars for an extra special touch.
Using the broiler can certainly toast marshmallows quickly, but it requires extreme caution and constant vigilance. Marshmallows can go from perfectly golden to burnt in a matter of seconds under a broiler. For a more controlled and even toast, baking them in the oven as directed is generally recommended. If you do use the broiler, place the pan on a top rack, keep the oven door ajar, and do not walk away for even a second.
More Delicious Chocolate Dessert Bar Recipes
Oatmeal Fudge Bars
Peanut Butter Pretzel Bars
Ultimate Turtle Brownies

Ultimate Homemade S’mores Bars Recipe
Print
Pin
Rate
Ingredients
- 1 1/2 cups graham cracker crumbs
- 1/2 cup Unsalted butter melted
- 1/4 cup Granulated sugar
- 3 cups Milk chocolate chips (2 1/2 cups to 3 cups, depending on desired thickness)
- 10 ounces Marshmallows (regular or mini size)
Instructions
-
Preheat your oven to 350ºF (175ºC). Line a 9×9 inch baking pan with parchment paper, ensuring there’s enough overhang on the sides to easily lift the finished bars out later. This prevents sticking and makes removal simple.
-
In a medium bowl, thoroughly mix the graham cracker crumbs, melted unsalted butter, and granulated sugar until all crumbs are evenly moistened and resemble wet sand. Transfer this mixture to the prepared pan and press it down very firmly and evenly across the bottom using your hands or the back of a flat glass. This firm packing is crucial for a stable crust. Bake for 8-10 minutes, or until the edges are lightly golden brown.1 1/2 cups graham cracker crumbs, 1/2 cup Unsalted butter, 1/4 cup Granulated sugar
-
Remove the crust from the oven. Evenly sprinkle the milk chocolate chips over the hot graham cracker crust. Return the pan to the oven for just 2-3 minutes, allowing the chocolate chips to soften but not fully melt. Once softened, remove from the oven and, using an offset spatula or the back of a spoon, gently spread the chocolate into a smooth, even layer over the crust.3 cups Milk chocolate chips
-
Carefully arrange the marshmallows on top of the melted chocolate layer. To ensure they puff up nicely and merge without becoming overly crowded, leave a small gap between each marshmallow. For a 9×9 inch pan, you can typically fit about 7 rows of 7 regular-size marshmallows. This allows them space to expand and toast evenly.10 ounces Marshmallows
-
Return the pan to the oven and bake for another 8-10 minutes, or until the marshmallows are beautifully puffed up and acquire a golden-brown, toasted hue. Keep a close watch to prevent burning. Once toasted to your liking, remove from the oven and place the pan on a wire rack to cool completely to room temperature. This cooling period is essential for the chocolate to set properly and for easier, cleaner slicing.
Notes
For optimal freshness and texture, store your s’mores bars in an airtight container at room temperature for up to 4 days. Remember, it is crucial not to refrigerate them, as the cold temperature can cause the chocolate to harden excessively and the marshmallows to become firm or rubbery, detracting from the classic gooey s’mores experience.
