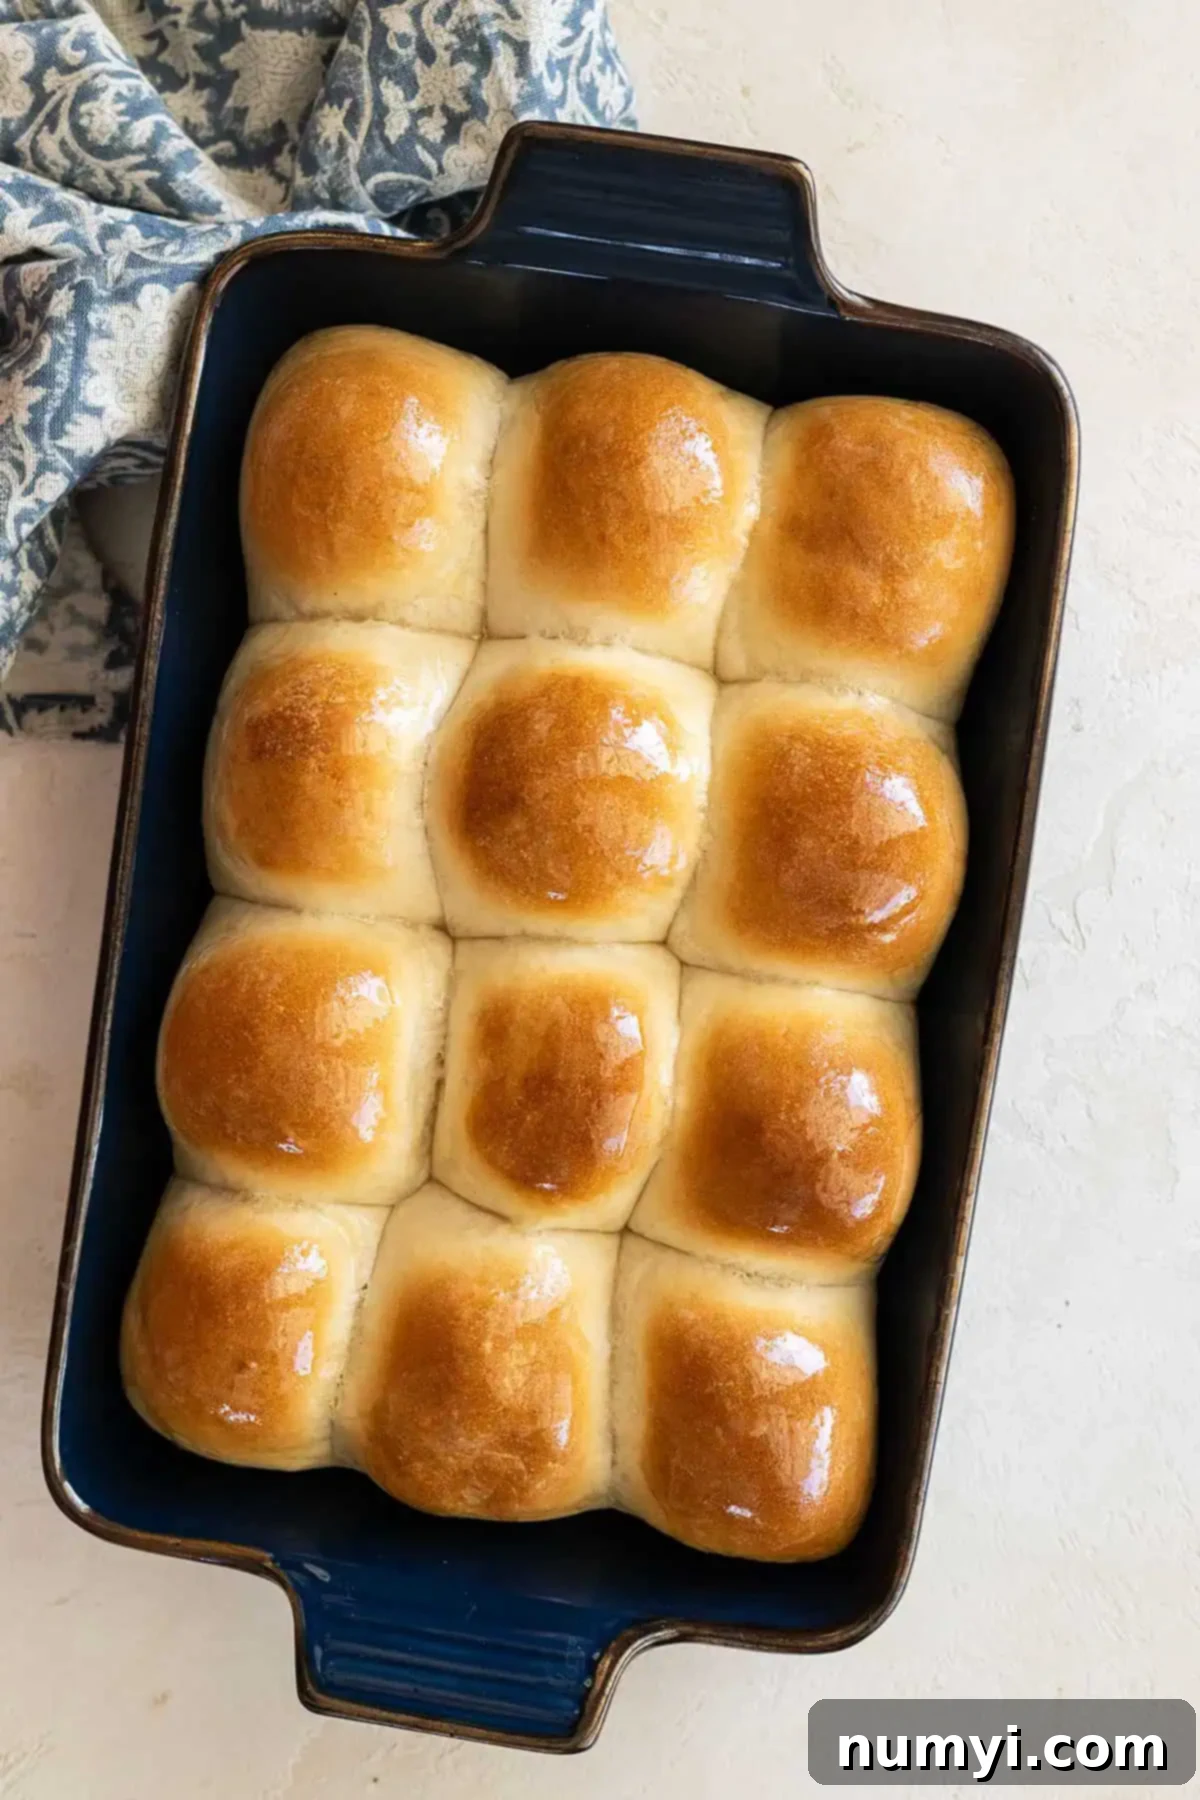
The Ultimate Soft Dinner Rolls Recipe: Grandma’s Tried-and-True Secret for Pillowy Perfection
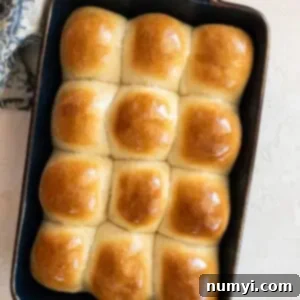
Indulge in the comfort of homemade bread with my grandmother’s treasured dinner roll recipe. These rolls are famously soft, wonderfully pillowy, and boast a delicate golden crust, making them the perfect accompaniment for any meal, from a casual weeknight dinner to the most festive holiday spread.
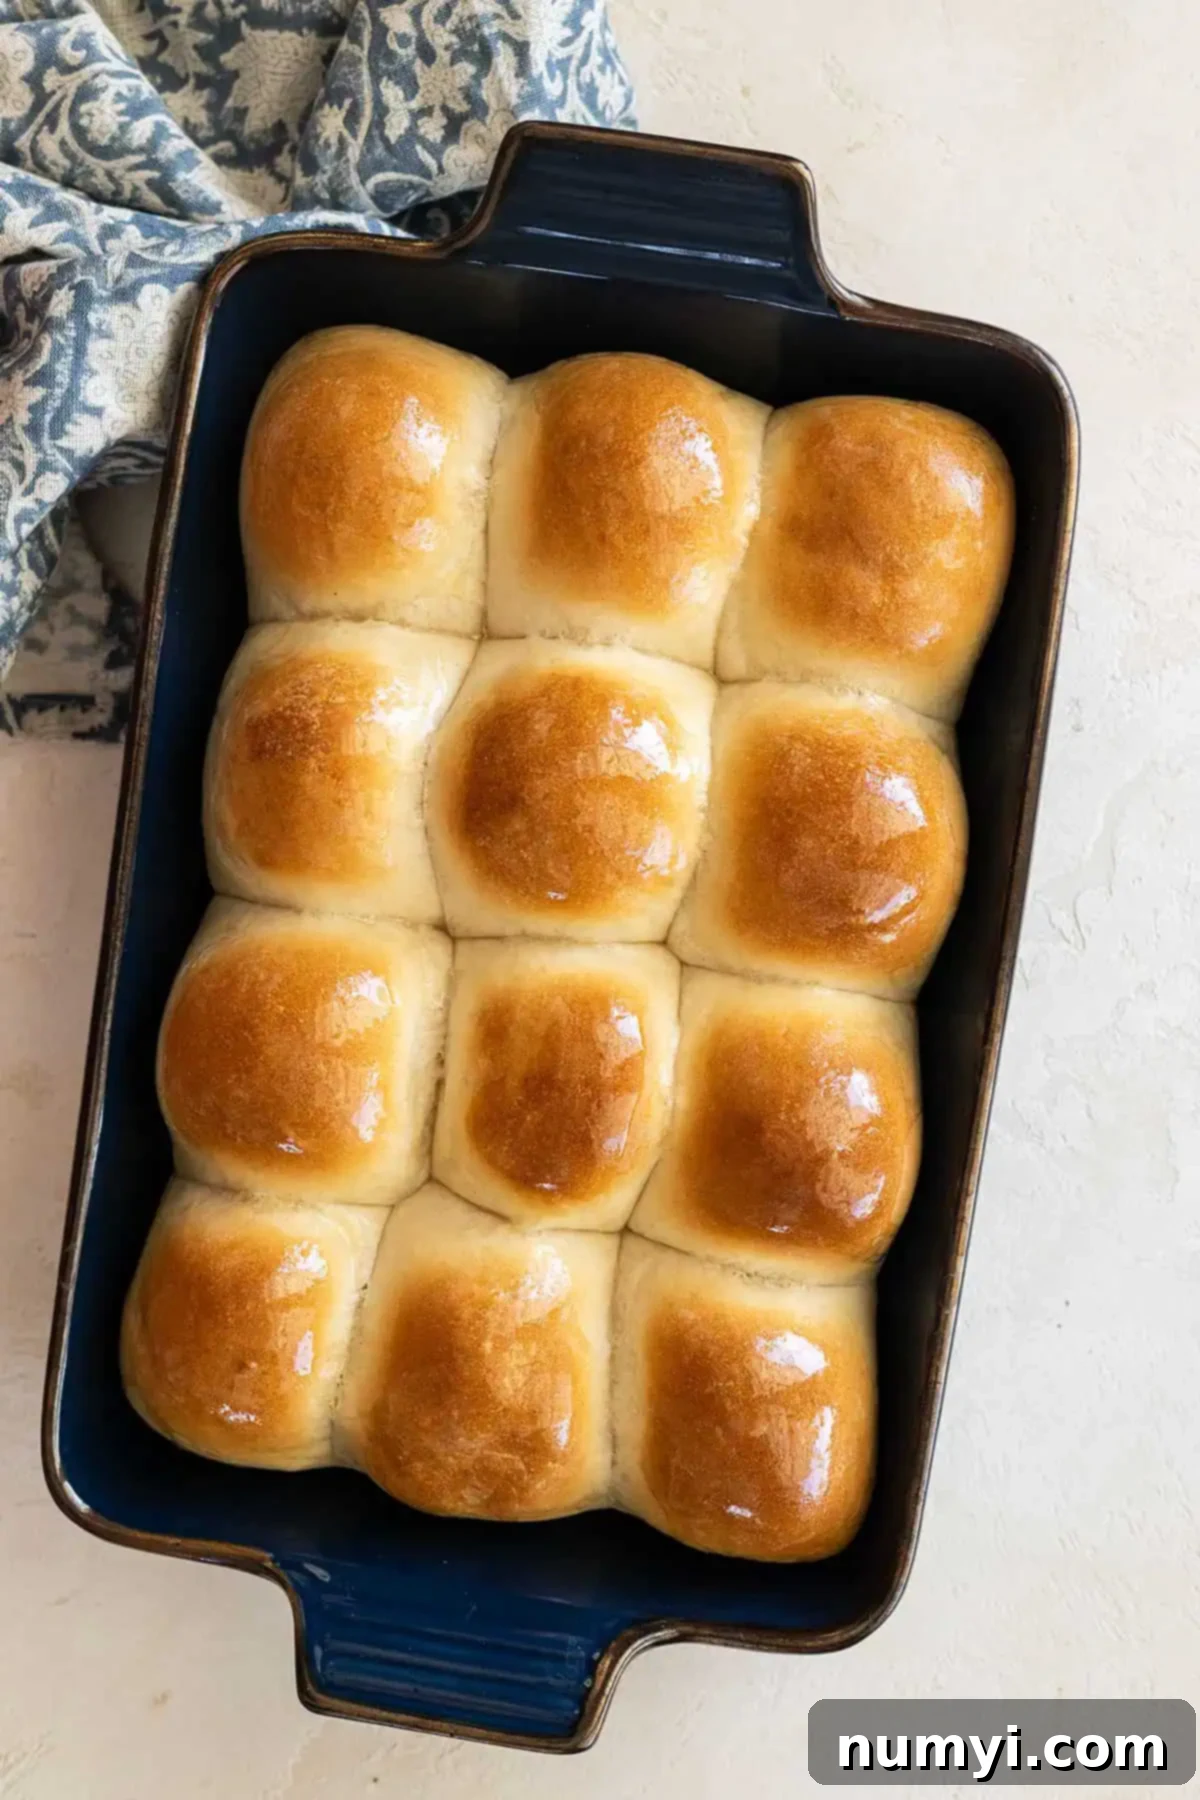
There’s a special kind of magic that fills a home when fresh bread is baking, and for my family, that magic almost always comes from my grandma’s dinner rolls. This isn’t just a recipe; it’s a legacy, a comforting presence at every holiday gathering, birthday, and countless Sunday dinners. These soft dinner rolls are more than just a side dish; they’re a centerpiece, known for their irresistible texture and subtly sweet flavor. While they shine brightly at special occasions, I often find myself baking them just to elevate a simple meal. They are truly exceptional alongside a hearty Chicken Noodle Soup or my robust Instant Pot Beef and Barley Soup. Get ready to bake the best homemade dinner rolls you’ve ever tasted!
Why This Dinner Roll Recipe Stands Out:
- **Perfect for Any Occasion:** Whether it’s a grand holiday feast like Thanksgiving or Christmas, or simply a cozy weeknight dinner, these easy dinner rolls fit in perfectly. Their versatile appeal means they’re always a welcome addition to the table, bringing warmth and comfort throughout the year.
- **Beginner-Friendly and Straightforward:** Don’t be intimidated by yeast baking! This recipe is designed to be incredibly easy to follow, even if you’re new to making bread. With clear, simple steps, you’ll achieve impressive results that will make you feel like a seasoned baker.
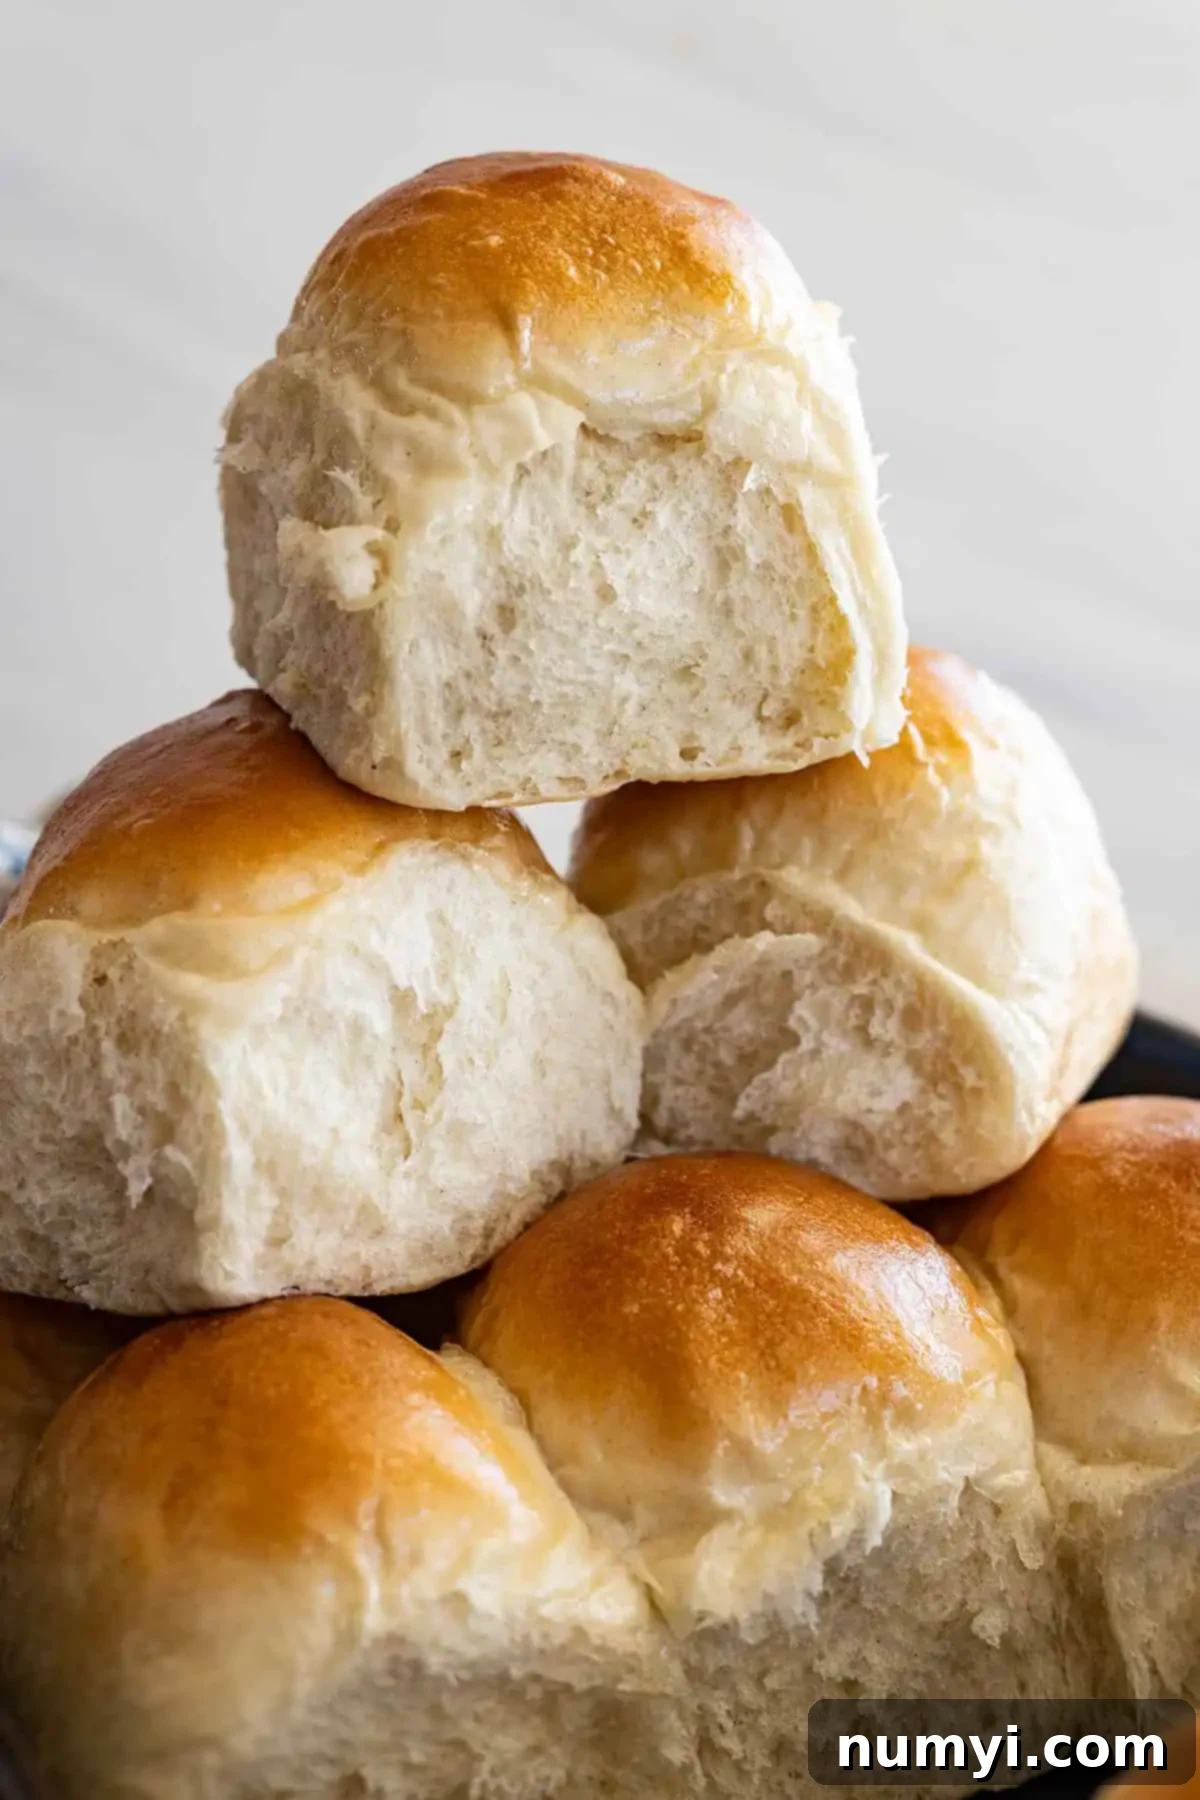
- **Unbelievably Soft, Buttery, and Slightly Sweet:** Imagine a roll that melts in your mouth – that’s what you get here. These dinner rolls are known for their pillowy softness, rich buttery flavor, and just the right hint of sweetness. Many say they are reminiscent of the beloved Texas Roadhouse rolls, a true testament to their deliciousness!
- **A Tried-and-True Family Favorite:** This isn’t a new-fangled recipe; it’s a timeless classic passed down through generations. Made countless times with consistent success, it has garnered numerous compliments over the years, solidifying its place as the best soft dinner roll recipe in our family.
Essential Ingredient Notes for Perfect Rolls:
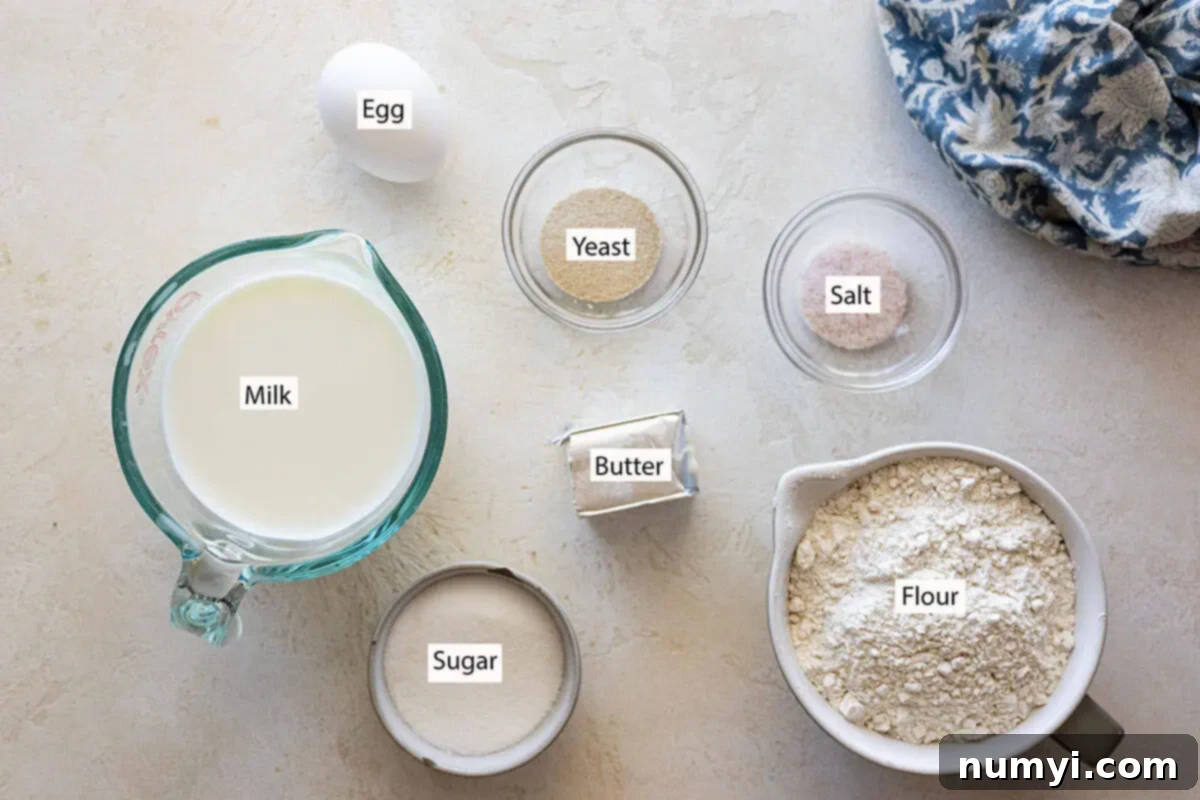
Understanding the role of each ingredient is key to achieving the best possible dinner rolls. Here’s a closer look at what makes this recipe work so well:
FLOUR: For this recipe, I highly recommend using **bread flour**. It contains a higher protein content compared to regular all-purpose flour, which is crucial for developing stronger gluten networks. This results in a dough with better elasticity and structure, yielding a chewier, airier, and overall superior roll. However, if bread flour isn’t available, don’t fret! I’ve successfully made these rolls with **all-purpose flour**, and they are still wonderfully delicious, just perhaps a touch less chewy.
SALT: Please do not be tempted to reduce or eliminate the amount of salt specified in this recipe. Salt is incredibly important for two main reasons: it enhances the overall flavor of the rolls, preventing them from tasting bland, and it plays a vital role in regulating yeast activity. Without enough salt, yeast can become overactive, leading to an over-proofed dough and a less desirable texture.
SUGAR: Sugar is a multi-tasking ingredient in bread baking. Firstly, it provides the subtle sweetness that makes these rolls so appealing. Secondly, it acts as “food” for the yeast, helping it to activate and multiply, which is essential for the dough’s rise. While salt helps to control the yeast’s growth, sugar gives it the energy it needs to “grow.” It’s all about finding that perfect balance. You can experiment with alternatives like coconut sugar or honey, but be aware that they will impart a different flavor profile to the final rolls.
MILK: Unlike many bread recipes that use water, this recipe calls for milk exclusively. The fat and sugars in milk contribute significantly to a richer, more tender, and softer dough. It also helps to achieve that beautiful golden-brown crust. Ensure your milk is warmed to the correct temperature for yeast activation, usually around 105-115°F (40-46°C).
BUTTER: Butter is fundamental for both flavor and texture. It adds a delicious richness and helps keep the dough incredibly soft and tender. Melded butter is incorporated directly into the dough, and a final brush of melted butter after baking makes the crust extra supple and shiny.
EGG: The addition of a large egg provides several benefits. It contributes to the dough’s structure, adds richness and a beautiful yellow hue, and helps to create a slightly finer crumb, resulting in a more luxurious and flavorful roll.
How To Make Grandma’s Delicious Dinner Rolls:
This section provides a simplified overview of the process. For precise measurements and detailed step-by-step instructions, please refer to the printable recipe card located at the very bottom of this post.
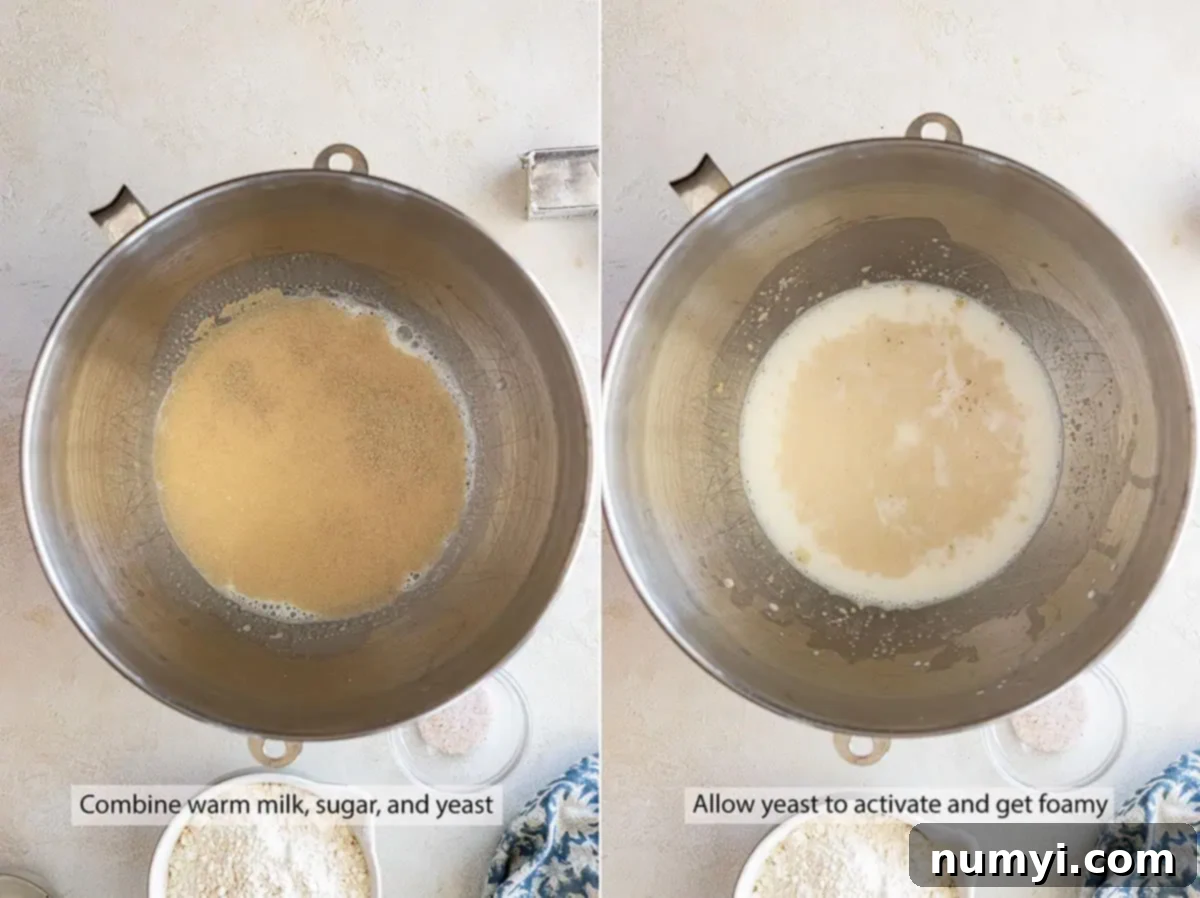
STEP 1: Activate the Yeast. In a large bowl or the bowl of your stand mixer, combine the warm milk, sugar, and active dry yeast. Give it a gentle stir. Now, let the mixture sit for 5-10 minutes. This crucial step is called “blooming” the yeast. You’ll know your yeast is active and healthy if a foamy layer appears on the surface, resembling a creamy head. If you don’t see any foam, your yeast is likely inactive, and you’ll need to start again with fresh yeast to ensure your rolls rise properly.
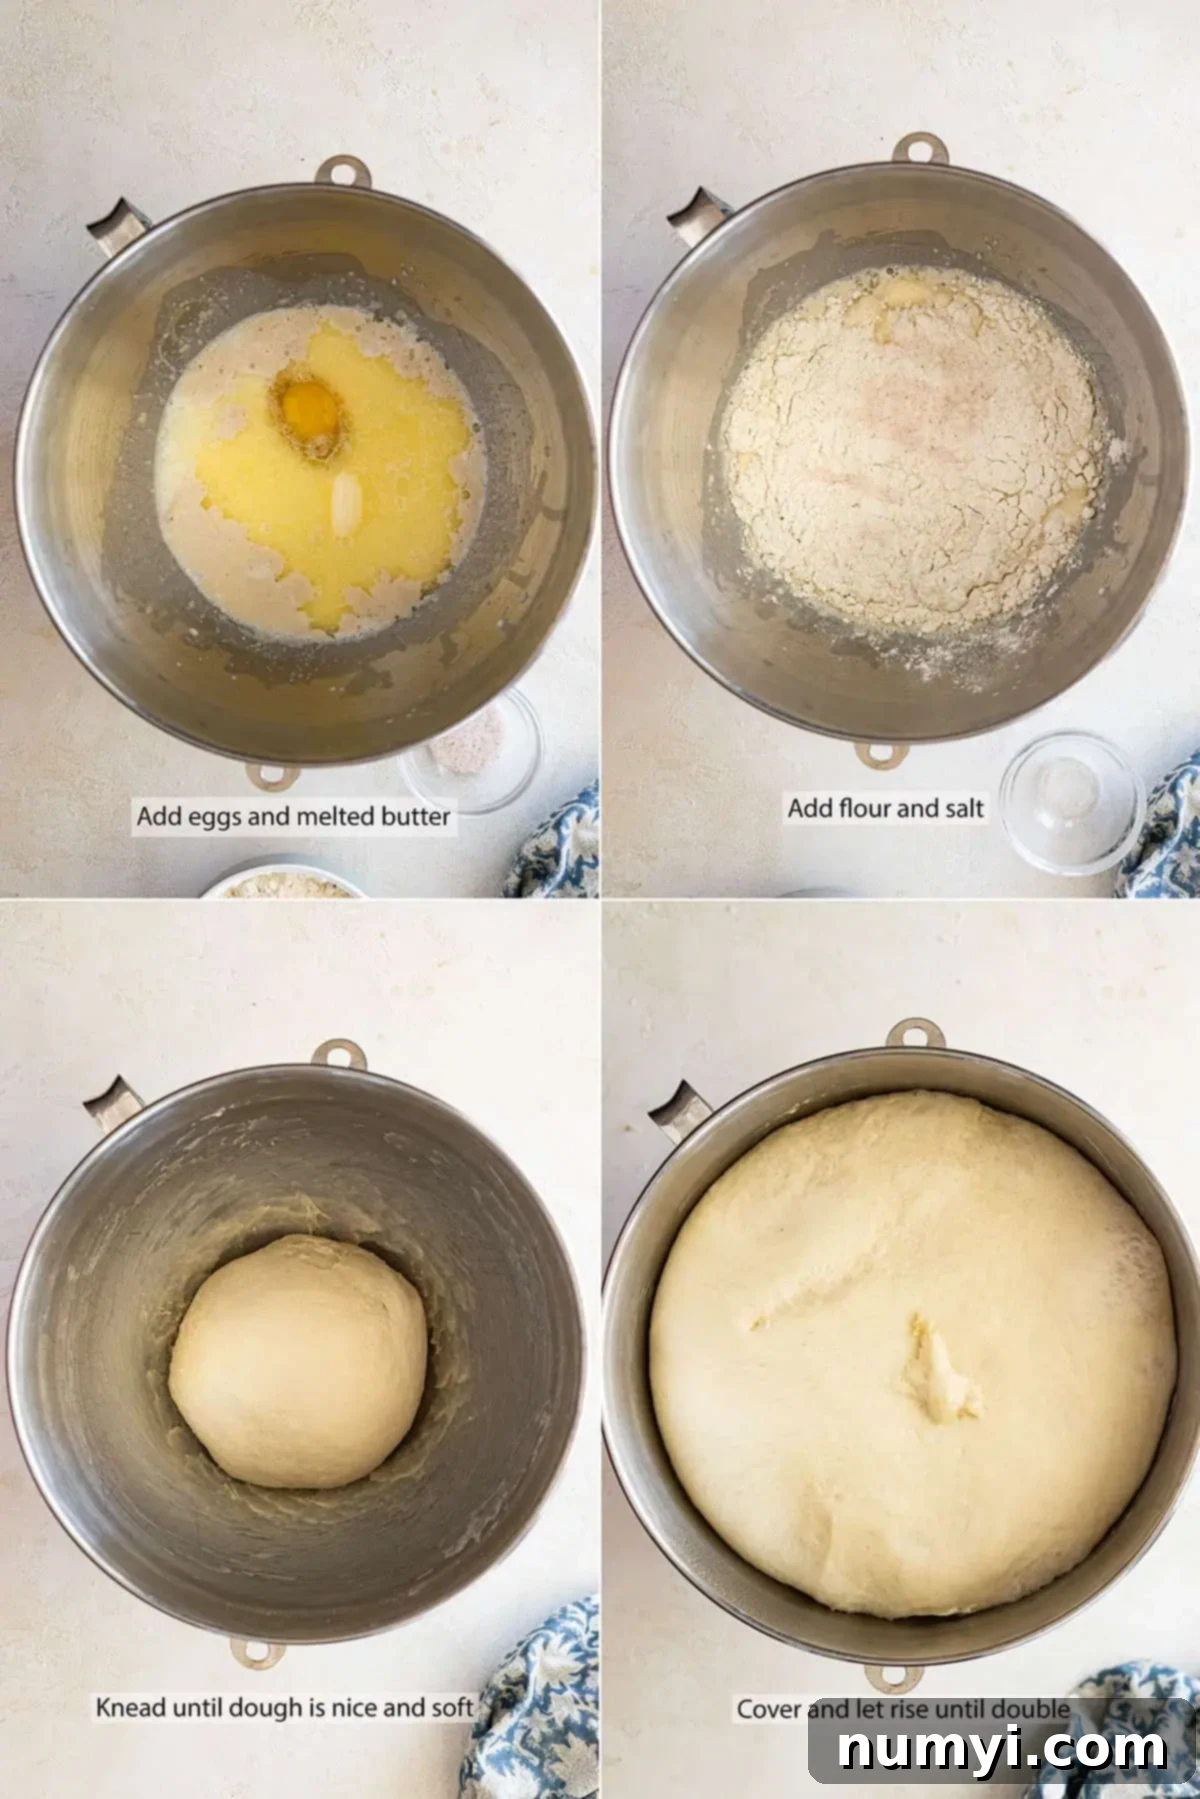
STEP 2: Mix and Knead the Dough. Once your yeast is beautifully bloomed, add the remaining ingredients – egg, melted butter, bread flour, and salt – to the bowl. Stir everything together briefly until just combined. Attach the dough hook to your stand mixer and knead the dough on a low speed for about 8-10 minutes. The goal is to achieve a dough that is smooth, elastic, and pulls cleanly away from the sides of the bowl. If kneading by hand, this might take closer to 15-20 minutes. Cover the bowl with plastic wrap or a clean kitchen towel and place it in a warm, draft-free spot. Allow the dough to rise until it has visibly doubled in size. This first rise, also known as bulk fermentation, typically takes 1-2 hours depending on the warmth of your environment.
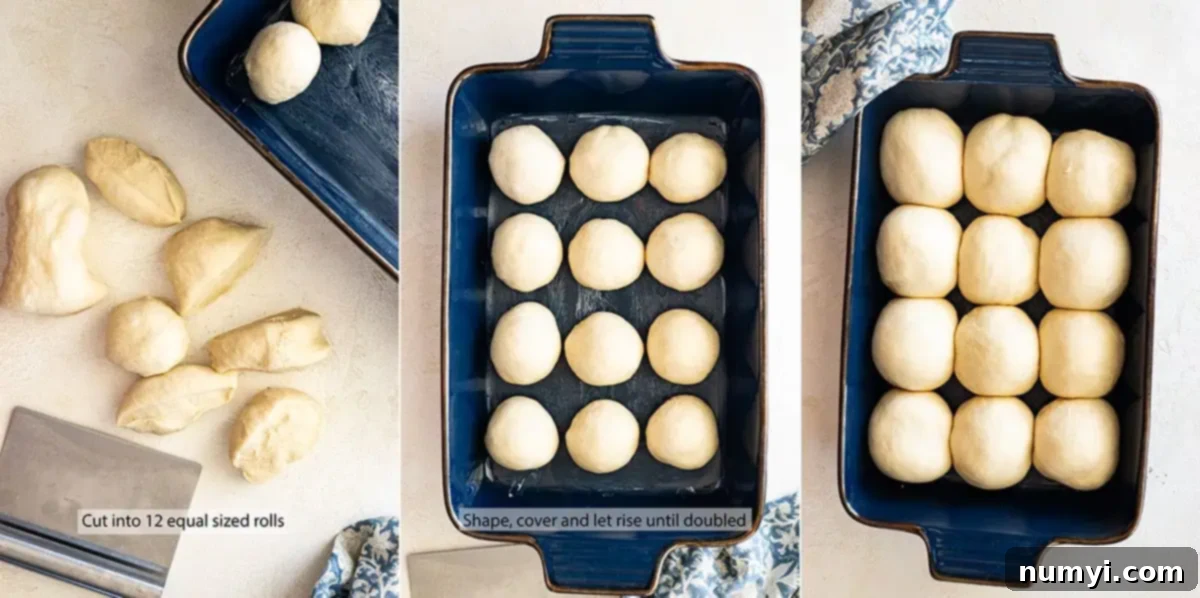
STEP 3: Divide and Shape the Rolls. Gently punch down the risen dough to release the air. Transfer it to a lightly floured surface. Divide the dough into 12 equal-sized pieces. For consistent baking and appearance, you can use a kitchen scale to ensure each piece weighs roughly the same. Take each piece of dough and shape it into a smooth, tight ball. This is done by gently pulling the edges of the dough underneath itself and rolling it between your palm and the counter to create surface tension. Arrange these perfectly shaped dough balls in a lightly greased 9×13-inch baking dish. Cover the dish with plastic wrap or a clean towel once more.
STEP 4: Second Rise (Proofing). Let the shaped rolls rise again in a warm place until they have doubled in size and look visibly puffy. This second rise, or proofing, is crucial for achieving light and fluffy dinner rolls. It can take anywhere from 45 minutes to 1.5 hours, again depending on the temperature of your kitchen. The rolls should look airy and springy when gently poked.
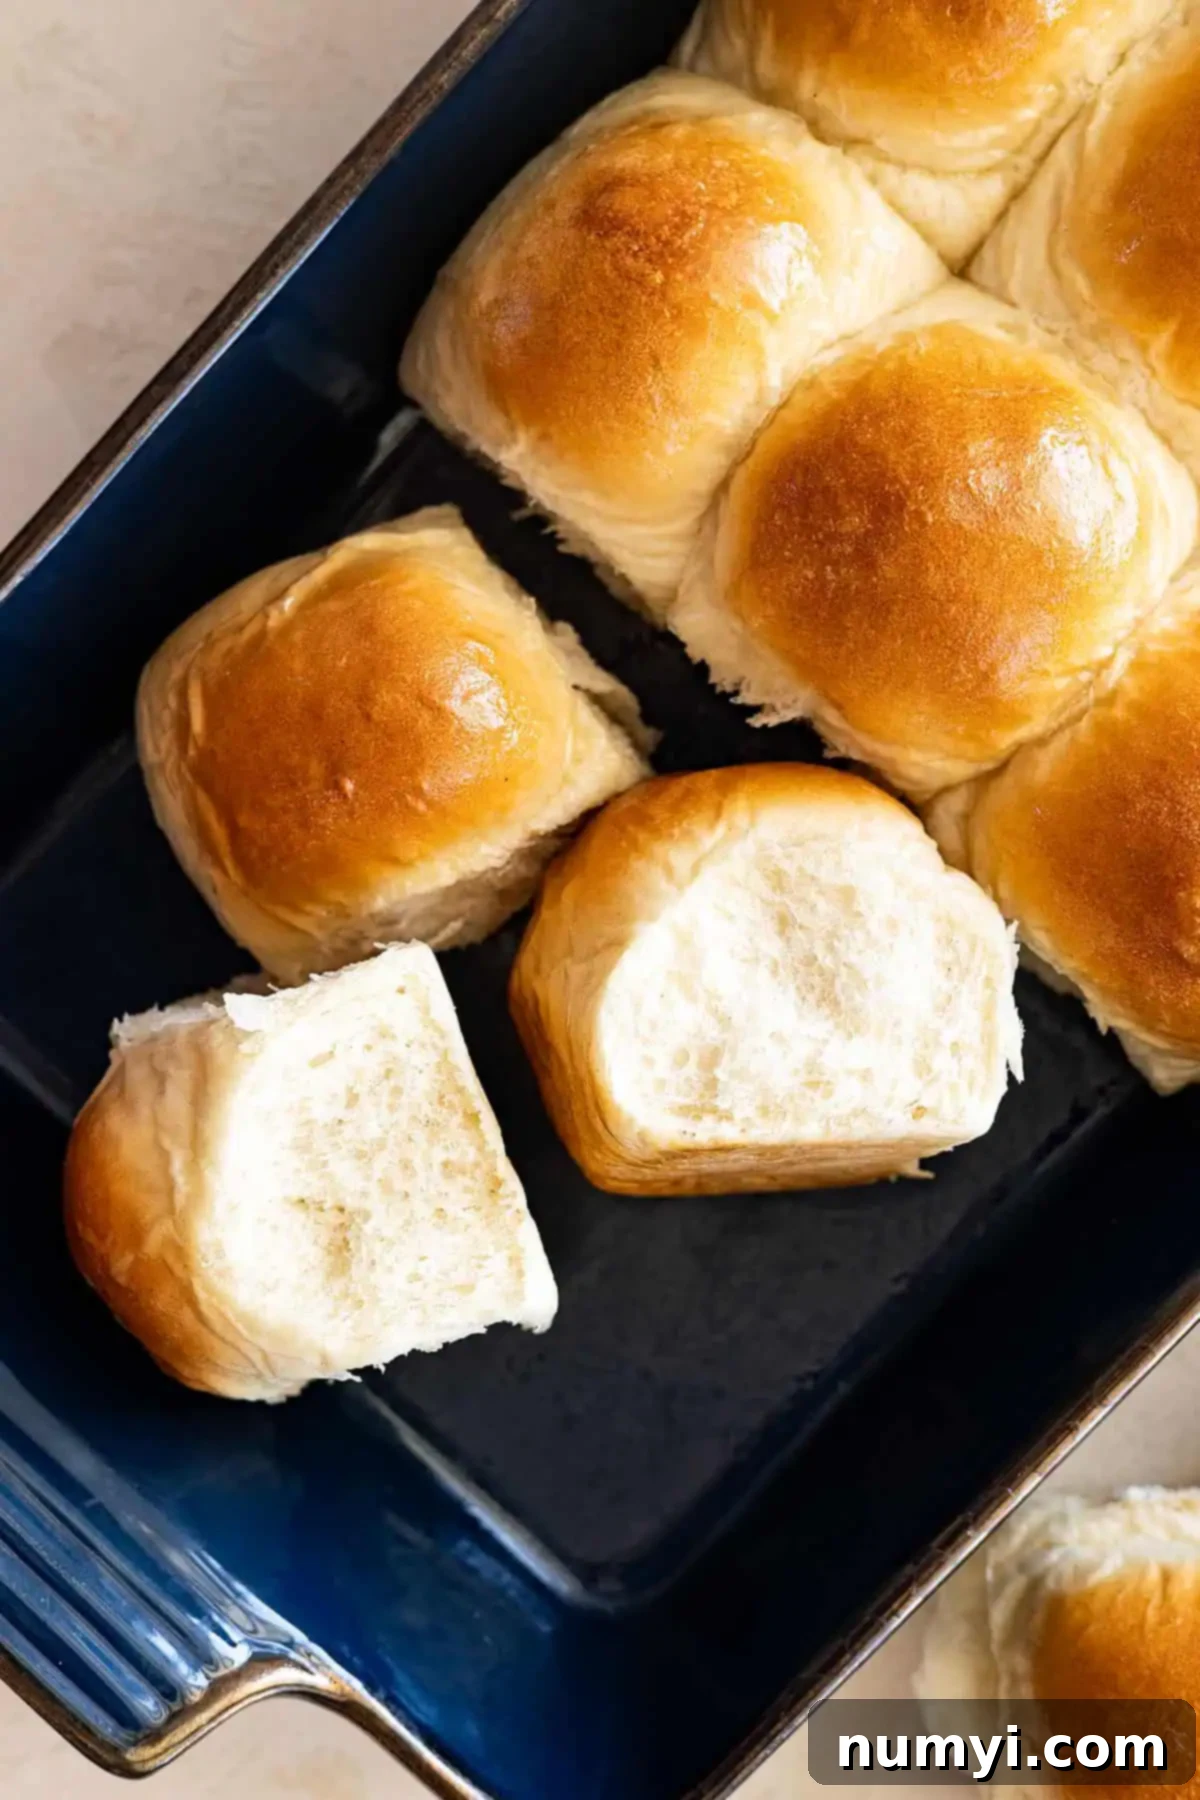
STEP 5: Bake and Finish. Preheat your oven to 350°F (175°C). Bake the rolls for 20-25 minutes, or until they are beautifully golden brown on top and cooked through. As soon as they come out of the oven, generously brush the tops of the hot rolls with additional melted butter. This step is key for an extra-soft, glistening crust and adds another layer of delicious buttery flavor. Allow the rolls to cool for 5-10 minutes in the pan before serving warm.
Tips for Baking the Best Homemade Dinner Rolls:
- **Temperature is Key:** Ensure your milk is warm (105-115°F or 40-46°C) for activating yeast, but not too hot, which can kill it. A warm, draft-free environment (around 75-85°F or 24-29°C) is ideal for proofing dough.
- **Don’t Skimp on Kneading:** Proper kneading develops the gluten, which gives the rolls their structure and chewiness. Knead until the dough is smooth, elastic, and passes the windowpane test (stretch a small piece of dough; if it stretches thin enough to see light through without tearing, it’s ready).
- **Perfect Proofing:** Under-proofed dough results in dense rolls, while over-proofed dough can collapse. Look for the dough to double in size and feel light and airy. A gentle poke with your finger should leave a slight indentation that slowly springs back.
- **Avoid Overbaking:** Overbaked rolls can become dry and tough. Bake until golden brown. An instant-read thermometer inserted into the center of a roll should read around 200-210°F (93-99°C).
- **Brush with Butter:** The melted butter bath after baking isn’t just for flavor; it helps soften the crust and gives the rolls a beautiful shine.
Serving Suggestions for Your Homemade Dinner Rolls:
These incredibly versatile rolls pair wonderfully with almost anything! Beyond soups and stews, consider serving them:
- Alongside a succulent roasted chicken or turkey.
- With a hearty pot roast or any rich gravy dish.
- As sliders for mini sandwiches with leftover ham or turkey.
- For breakfast, split and toasted with jam or honey.
- To soak up the delicious juices from a pan of sautéed vegetables.
- Perfect for any holiday meal, from Easter brunch to Christmas dinner.
FAQs about Grandma’s Dinner Rolls
While many modern bread recipes, especially those using instant yeast, suggest that blooming isn’t strictly necessary, I strongly recommend taking this extra step. It acts as a crucial “proof” that your yeast is active and alive before you commit all your other ingredients. This simple check can save you the disappointment and expense of a failed batch of dough, ensuring your rolls rise beautifully every time. It’s a small investment of time for guaranteed success!
Dense rolls are a common issue, and it usually boils down to two main culprits. The primary problem is often **under-proofing**, meaning the dough wasn’t allowed enough time to rise. Bread dough needs to relax and expand until it has visibly doubled in size during both the first and second rise. Not allowing sufficient rise time (often called underproofing) prevents the yeast from producing enough gas to create that airy, light structure. Another common cause is that the dough wasn’t **kneaded enough**. Proper kneading develops the gluten, which creates the elastic network necessary to trap the gases produced by the yeast. Ensure your dough is kneaded until it is smooth, soft, and pulls away from the bowl, indicating good gluten development.
To maintain their freshness and softness, store cooled dinner rolls in an airtight container or a plastic Ziploc bag at room temperature for up to 3 days. While they will remain edible, they do tend to get drier with each passing day, so minimizing air exposure is key. For best results, gently reheat them in a warm oven (around 300°F/150°C) for a few minutes to restore some of their original texture and warmth before serving.
Absolutely! While a stand mixer with a dough hook makes the process easier and quicker, you can certainly knead this dough by hand. Expect to knead for a longer period, typically 15-20 minutes, to achieve the same smooth, elastic texture. You’ll know it’s ready when the dough is no longer sticky, feels springy, and passes the windowpane test (where you can stretch a small piece of dough thin enough to see light through it without tearing).
Make-Ahead & Freezer-Friendly Dinner Rolls:
Life can be busy, and I completely understand that not everyone has hours to dedicate to baking dinner rolls, especially around holidays! That’s why I’ve included these fantastic make-ahead options to help you enjoy freshly baked rolls with minimal last-minute fuss. These methods are particularly helpful for big events like Thanksgiving or Christmas!
OPTION #1: Freeze Fully Baked Rolls.
Cool your freshly baked rolls completely on a wire rack. Once cooled, wrap them tightly in plastic wrap, then an additional layer of heavy-duty aluminum foil. This double-layer protection helps prevent freezer burn. You can freeze the rolls for up to 2 months. To serve, thaw them overnight at room temperature. To reheat, cover the rolls well with foil to prevent them from drying out and warm them in a 325°F (160°C) oven for 5-10 minutes, or until heated through and soft to your liking. They’ll taste almost as good as fresh from the oven!
OPTION #2: Freeze Unbaked Shaped Dough.
Prepare the dough according to the recipe, allowing it to complete its first rise until doubled in size. Gently punch it down, then divide and shape the rolls as directed. Place the shaped rolls on a baking sheet lined with parchment paper, ensuring they don’t touch. Freeze for about 1 hour, or until the rolls are solid. Once frozen, transfer the solid rolls from the baking sheet into a freezer-safe bag or container, removing as much air as possible. Freeze for up to 2 months.
TO USE: Remove the desired number of frozen rolls from the freezer bag and arrange them in a lightly greased 9×13-inch baking dish. Cover the dish loosely with plastic wrap or foil. Allow them to thaw and complete their second rise until doubled in size. This can take a significant amount of time, typically 5-6 hours, depending on how warm your kitchen is. Once risen, bake according to the recipe instructions.
OPTION #3: Refrigerate Unbaked Shaped Dough.
Prepare the dough and let it complete its first rise until doubled in size. Gently punch it down, then shape the rolls and place them in a lightly greased 9×13-inch baking pan. Cover the pan tightly with plastic wrap to prevent the dough from drying out. Refrigerate for up to 24 hours. When you’re ready to bake, remove the rolls from the refrigerator at least 2 hours before baking. This allows them to come to room temperature and complete their second rise. Bake as directed.
I hope this beloved recipe brings as much joy and deliciousness to your table as it has to ours. Happy baking!
HUNGRY FOR MORE? Subscribe to my newsletter and follow along on Pinterest, Facebook, and Instagram for all my latest updates!
Dinner Roll Recipe
Ingredients
- 1¼ cups (295ml) warm milk (about 110℉)
- ¼ cup (55g) granulated sugar
- 1¼ teaspoons active dry yeast
- 1 large egg
- 3 tablespoons butter, melted
- 3½ cups (460g) bread flour
- 1 teaspoon salt
Instructions
-
Whisk the warm milk, sugar, and yeast in the bowl of a stand mixer. Set aside to “bloom” or activate the yeast. If the yeast is not foamy after 5 minutes your yeast is no good and you will need to get new yeast.
-
After the yeast has become foamy, add the remaining ingredients and give it a little stir to start to combine the flour with the wet ingredients. Place on the stand mixer fitted with the dough hook and knead on low until dough comes together and is nice and smooth. It should pull away from the sides of the bowl. This can take around 10 minutes.
-
Cover bowl with plastic wrap and allow to rise until doubled in a warm place. This can take 1-2 hours depending on how warm your house is. Punch the dough down and divide it into 12 equal sized pieces of dough. You can eyeball this or weigh them out. Shape each piece into a smooth ball and place into a lightly greased 9×13 baking pan. Cover with plastic wrap and allow to rise until doubled in a warm place.
-
Preheat oven to 350℉ and bake rolls for 20-25 minutes or until rolls are golden brown. Brush tops of rolls with butter for ultra soft rolls. Allow rolls to cool for 5-10 minutes before serving.
Notes
- Can be made into 15 smaller rolls as well.
- Be sure to read the post on how to store and freeze your rolls. There is also information on how to make these rolls ahead!!
- NUTRITION: Since different brands of ingredients have different nutritional information, the information shown is just an estimate. This website is not intended as nutritional advice, or a diet or health plan. Readers of this website are ultimately responsible for all decisions pertaining to their health.
