Irresistible Pumpkin Cheesecake Bars: Your Ultimate Fall Dessert Recipe
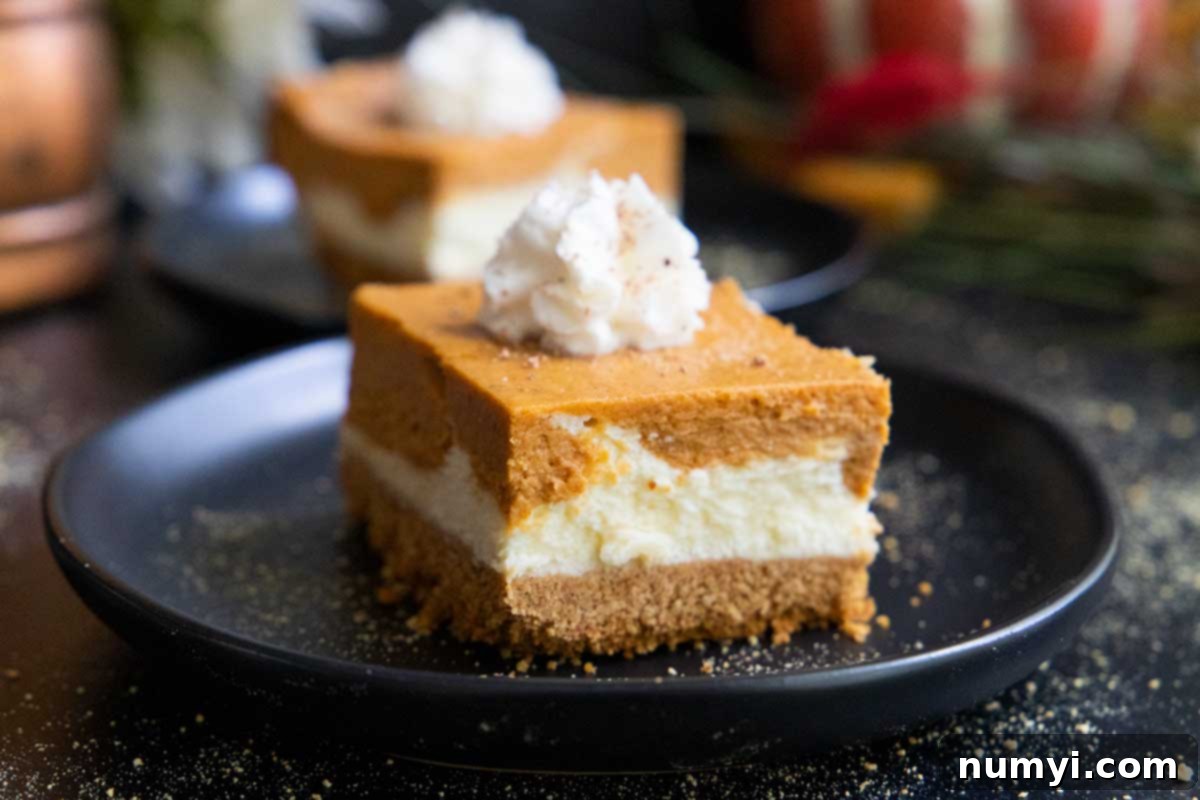
Prepare to fall in love with these rich, creamy, and utterly irresistible pumpkin cheesecake bars! This delightful dessert seamlessly blends the comforting flavors of a classic pumpkin pie with the luxurious, smooth texture of a traditional cheesecake, creating a treat that’s truly the best of both worlds. Perfect for cozy autumn evenings, festive holiday gatherings, or any time you crave a taste of spiced pumpkin goodness, these bars are guaranteed to be a crowd-pleaser and a standout addition to your dessert repertoire.
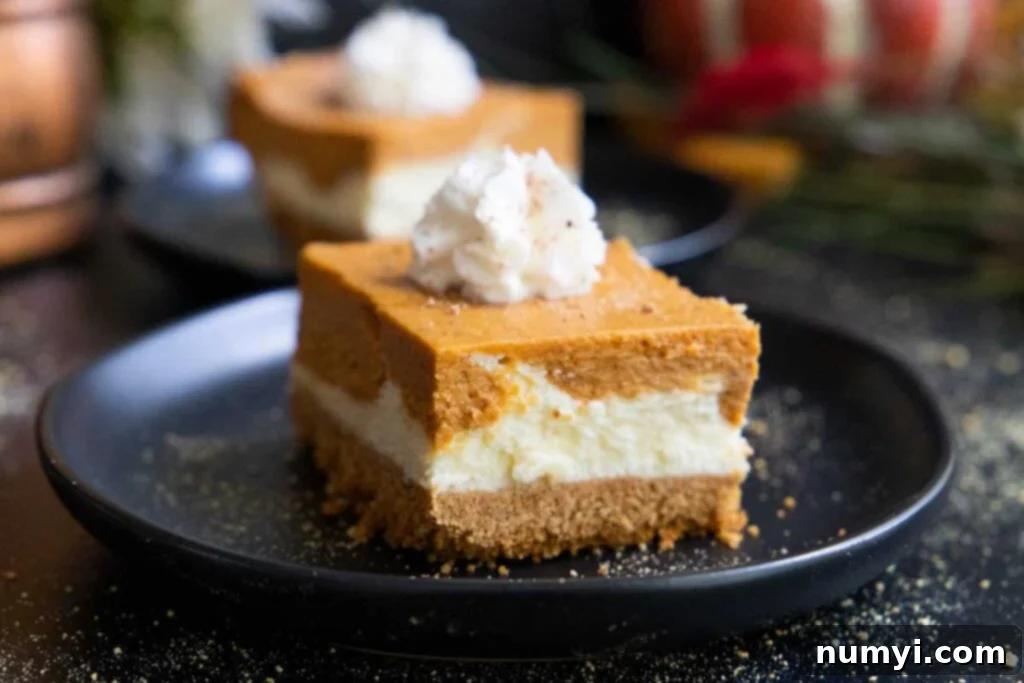
Imagine a buttery, crunchy graham cracker crust, topped with a luscious layer of vanilla-infused cheesecake, and then crowned with a vibrant, warmly spiced pumpkin cheesecake layer. Each bite offers a symphony of flavors and textures that dance on your palate. Forget the dilemma of choosing between pumpkin pie and cheesecake; with this easy-to-make recipe, you get to enjoy both in one magnificent, shareable dessert!
Why These Pumpkin Cheesecake Bars Are a Must-Make Recipe
These pumpkin cheesecake bars aren’t just a dessert; they’re an experience. There are so many reasons why this recipe will quickly become a cherished favorite in your kitchen:
- **The Quintessential Fall Dessert:** With their warm spices and rich pumpkin flavor, these bars capture the very essence of autumn. They are an absolute showstopper for Halloween parties, a comforting indulgence for Thanksgiving dinner, a festive treat for Christmas celebrations, or simply a cozy dessert for any cool weather day. They promise to impress your guests and leave a lasting memory.
- **A Harmonious Blend of Flavors:** The brilliant marriage of classic pumpkin pie spices—cinnamon, ginger, nutmeg, and allspice—with the tangy sweetness of cream cheese creates a flavor profile that is truly sublime. It’s a sophisticated yet comforting taste that will have everyone asking for the recipe.
- **Surprisingly Simple to Prepare:** Despite their elegant appearance and complex flavor, these pumpkin cheesecake bars are incredibly easy to make. You might find yourself skipping the traditional pumpkin pie this year (or at least making room for both!) thanks to the straightforward steps and minimal fuss involved in preparing these delightful squares.
- **Perfectly Portable for Potlucks:** Unlike a whole cheesecake that can be tricky to transport, these bars are designed for easy slicing and serving, making them ideal for potlucks, bake sales, or bringing to a friend’s gathering.
Expert Tips & Creative Variations for Your Pumpkin Cheesecake Bars
Achieving bakery-quality pumpkin cheesecake bars is simple with a few key tips and an open mind to creative variations. Elevate your baking game and customize this recipe to your heart’s content:
- **Spice It Up (or Keep it Classic):** While our meticulously balanced spice blend is highly recommended for its depth and warmth, you can certainly adapt it. For a simpler approach, use 1 teaspoon of pumpkin pie spice combined with 1/2 teaspoon of ground cinnamon. However, we encourage you to try our specific mixture of cinnamon, ginger, nutmeg, and allspice to experience the full spectrum of fall flavors.
- **Always Use Pumpkin Puree, Not Pumpkin Pie Filling:** This is a crucial distinction! Pumpkin puree is simply cooked, mashed pumpkin. Pumpkin pie filling, on the other hand, comes pre-sweetened and pre-spiced, which can throw off the carefully calibrated flavors and sweetness of this recipe. Look for cans labeled “100% Pure Pumpkin” to ensure you’re using the correct ingredient.
- **Sweet Potato Swap:** For an interesting twist on flavor and a slightly different texture, feel free to substitute sweet potato puree for the pumpkin. The earthy sweetness of sweet potato pairs wonderfully with the cheesecake and spices, offering a delicious alternative for those who love variety.
- **Room Temperature Ingredients are Key:** This tip applies to almost all cheesecake recipes. Using room temperature cream cheese and eggs is absolutely essential. Cold ingredients will not blend smoothly, leading to a lumpy batter and potentially a cracked cheesecake. Allow your cream cheese to sit on the counter for at least an hour (or microwave in short bursts if you’re in a hurry) and your eggs for 30 minutes before starting. This ensures a silky, lump-free, and perfectly creamy cheesecake layer.
- **Preventing Cracks: The Golden Rules:** Overmixing introduces too much air into the batter, which can cause the cheesecake to puff up and then crack as it cools. Overbaking dries out the cheesecake, leading to a similar issue. To achieve a smooth, crack-free top, mix until just combined and remove the bars from the oven when the edges are set but the very center still has a slight, delicate jiggle.
- **Get Creative with Your Crust:** The graham cracker crust provides a wonderful classic base, but don’t limit yourself! Crushed gingersnaps will add a spicy kick that complements the pumpkin beautifully. Sugar cookies create a sweeter, buttery foundation, while chocolate cookies (like Oreos, with or without the cream filling) offer a decadent contrast to the pumpkin and cream cheese. Experiment to find your favorite combination!
- **Achieving Perfect Slices:** To get clean, sharp slices that look professional, use a thin, sharp knife. Dip the knife in hot water before each cut, wipe it clean with a paper towel, make one swift cut, and then repeat the dipping and wiping process for every single slice. This prevents the cheesecake from sticking to the knife and creates beautifully defined edges.
How to Make Delicious Pumpkin Cheesecake Bars Step-by-Step
Crafting these heavenly pumpkin cheesecake bars is a straightforward process, broken down into three main stages: the crust, the classic cheesecake layer, and the spiced pumpkin layer. Follow these detailed instructions for a perfect batch every time.
Crust Preparation
First, begin by preheating your oven to 325 degrees F (160°C). This ensures the oven is at the correct temperature for even baking of your crust and cheesecake. Next, line an 8×8 inch baking pan with parchment paper. Make sure to leave a generous overhang on two opposite sides. These overhangs will serve as convenient “handles” later, allowing you to easily lift the cooled and set bars out of the pan without any sticking or crumbling.
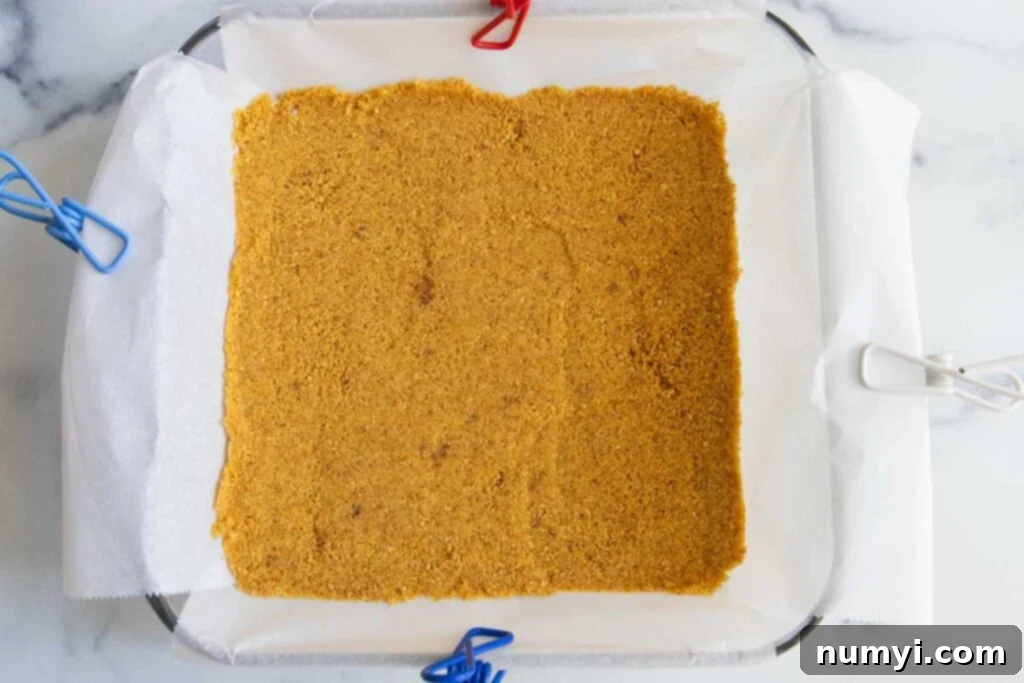
In a medium-sized bowl, combine the graham cracker crumbs, dark brown sugar, and melted unsalted butter. Mix these ingredients thoroughly until the crumbs are evenly moistened and resemble wet sand. This ensures a cohesive and flavorful crust. Once combined, pour the mixture into your prepared baking dish and use the back of a spoon or your fingers to press it firmly and evenly into the bottom. A compact crust is essential for holding the layers above it.
Bake this crust in the preheated oven for 5-6 minutes. This brief bake time helps to set the crust, making it crisp and preventing it from becoming soggy once the cheesecake layers are added. After baking, remove the pan from the oven and set it aside to cool completely while you prepare the cheesecake batters. (And yes, if you’re like me and use clips to hold the parchment down, remember to remove them before baking! Lesson learned from experience.)
Cheesecake Layer
In a large mixing bowl, using an electric hand mixer, beat the softened cream cheese on medium speed until it is smooth, light, and wonderfully creamy. This step is crucial for eliminating any lumps and ensuring a velvety cheesecake texture.
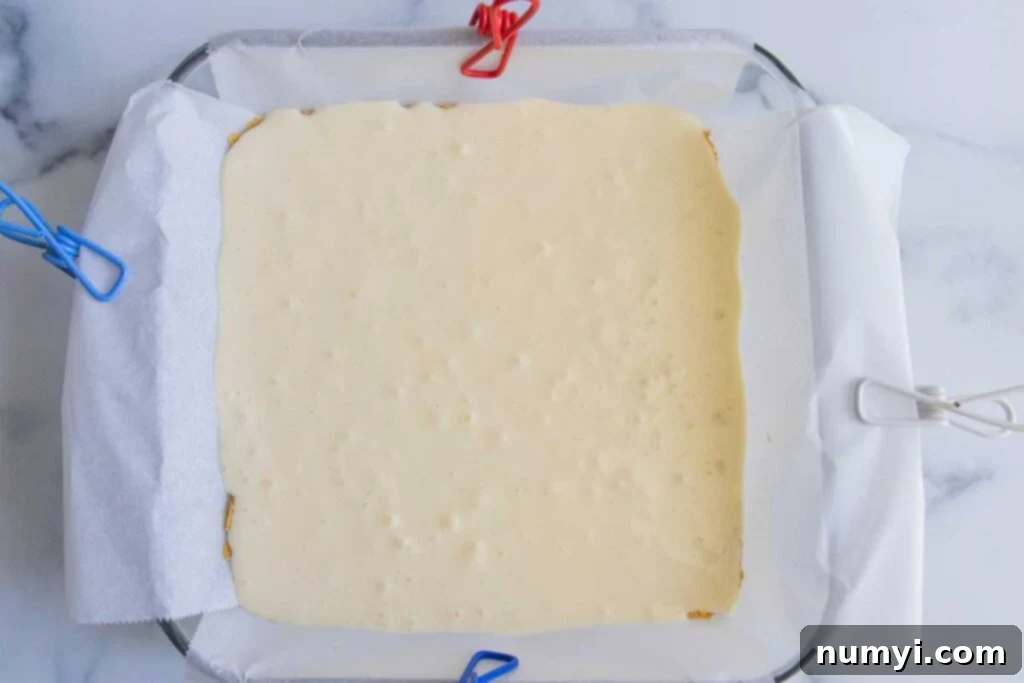
Next, add the granulated sugar and vanilla extract to the cream cheese mixture. Continue mixing until these ingredients are well incorporated and the sugar has dissolved. Then, crack in the large, room temperature eggs. Mix on low speed *just* until the eggs are combined into the batter. Be careful not to overmix at this stage, as too much air can lead to cracks in your baked cheesecake. This forms your silky smooth cheesecake base.
Carefully pour about two-thirds of this cheesecake mixture over the cooled graham cracker crust in an even layer. Use an offset spatula or the back of a spoon to gently smooth the surface. Set this aside temporarily while you prepare the pumpkin layer.
Pumpkin Layer
To the remaining one-third of the cheesecake batter still in your large bowl, add the pumpkin puree. Mix with your electric hand mixer until the pumpkin is fully incorporated and the mixture is uniformly orange. This is where the magic happens!
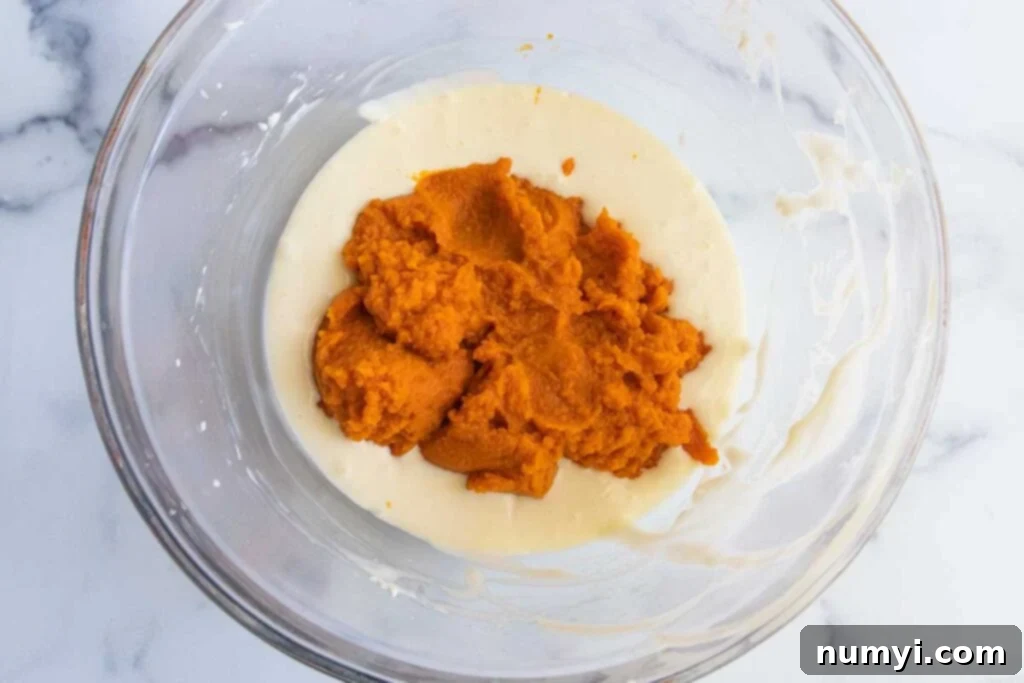
Now, it’s time to infuse it with those irresistible fall flavors. Add the dark brown sugar, ground cinnamon, ground ginger, ground nutmeg, ground allspice, and a pinch of salt to the pumpkin cheesecake mixture. Mix thoroughly until all the spices are evenly distributed and the batter is fragrant and smooth. The dark brown sugar deepens the flavor and adds moisture.
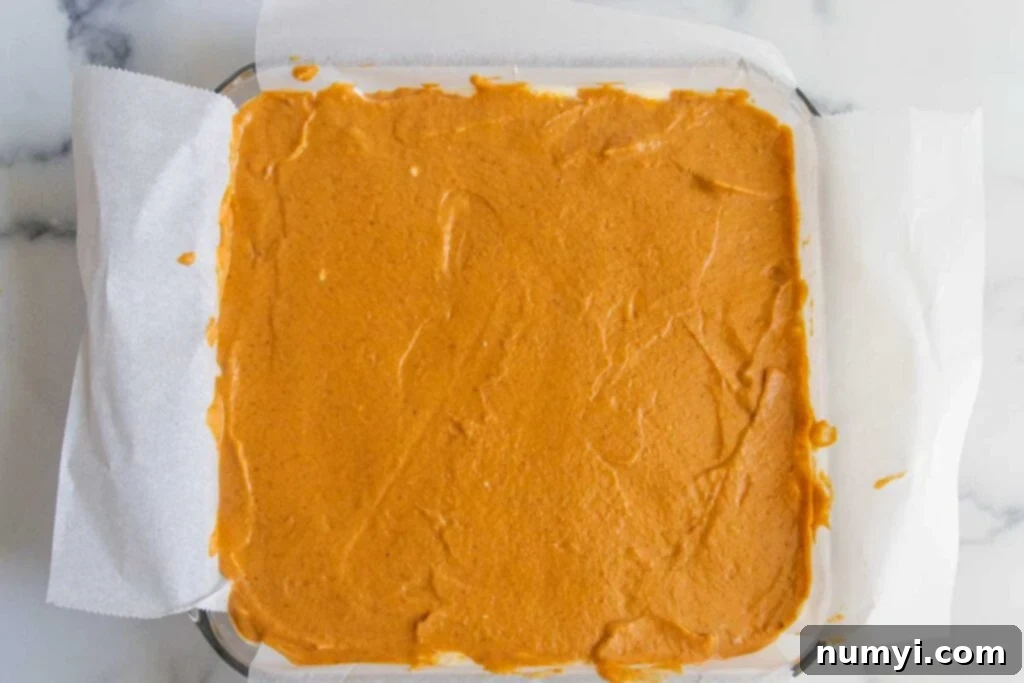
Carefully pour this spiced pumpkin mixture over the plain cheesecake layer in your baking pan. Gently smooth the top with your spatula to create an even pumpkin layer. You can also use a knife to swirl the layers for a marbled effect if desired, but be gentle to avoid disturbing the crust.
Bake the bars for approximately 55 to 60 minutes. The cheesecake is done when the edges are set and appear slightly puffed, but the very center still has a slight, delicate jiggle when you gently shake the pan. This slight jiggle is a sign of a perfectly baked, creamy cheesecake. Do not overbake, as this can lead to a dry texture and cracks.
Once baked, remove the pan from the oven and transfer it to a wire rack to cool completely at room temperature. This slow cooling process is important for preventing cracks. After reaching room temperature, cover the pan loosely with plastic wrap and refrigerate. For the best texture and flavor, chilling overnight is highly recommended, but a minimum of 4 hours in the refrigerator will allow the bars to set properly.
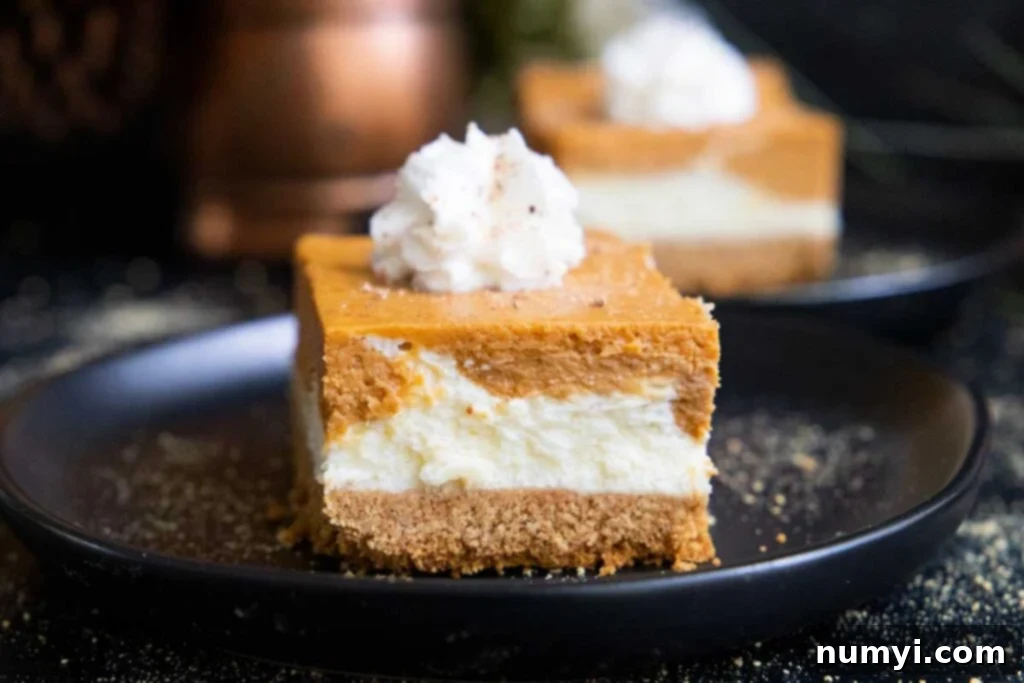
Once fully chilled and set, use the parchment paper overhangs to lift the entire block of cheesecake bars out of the pan. Place it on a cutting board, then slice into individual bars using the hot knife method described in the tips section. Serve chilled and enjoy!
No, you absolutely do not need to use a water bath for these pumpkin cheesecake bars. Traditional cheesecakes often benefit from a water bath to provide a moist, even heat that prevents cracking and ensures a silky texture. However, these bars have a thinner cheesecake layer compared to a full-sized cheesecake, which naturally reduces the risk of cracking. The shorter baking time and specific layering technique also contribute to a beautifully smooth finish without the extra effort of a water bath.
To determine if your pumpkin cheesecake bars are perfectly baked, observe the texture in the oven. The sides of the cheesecake should appear set and slightly puffed, indicating that they are firm. However, the very center of the cheesecake should still have a slight, delicate jiggle when you gently shake the baking pan. This subtle movement in the center is the key indicator that the cheesecake is cooked through but not overbaked, ensuring a creamy, moist texture without dryness or cracks. The residual heat will continue to cook the center as it cools.
Absolutely! In fact, making these pumpkin cheesecake bars ahead of time is highly recommended for the best results. Like many cheesecakes, they benefit greatly from ample chilling time. Preparing them a day in advance allows the flavors to meld and deepen, and the cheesecake layers to fully set and firm up. Chilling overnight in the refrigerator (a minimum of 4 hours is essential) ensures they are perfectly sliced, firm, and incredibly delicious when you’re ready to serve, making them an ideal dessert for entertaining.
Proper storage is crucial to maintain the freshness and quality of your pumpkin cheesecake bars. After baking, allow them to cool completely to room temperature on a wire rack. Once cooled, store the bars in an airtight container or cover the entire pan tightly with plastic wrap. They must be kept refrigerated and will stay fresh for up to 4 days. A helpful tip to prevent condensation from dripping onto the bars (which can make the crust soggy) is to place a layer of paper towels directly over the surface of the cheesecake before covering it tightly with plastic wrap or the lid of an airtight container. Change the paper towels daily if storing for longer periods.
Yes, these pumpkin cheesecake bars freeze beautifully, making them an excellent make-ahead option! To freeze, first ensure the bars have completely set and chilled in the refrigerator, preferably overnight. Once firm, remove the entire cheesecake slab from the pan using the parchment paper handles. Carefully place the slab (or individual cut bars) on a baking sheet and freeze for at least 2 hours, or until solid. After they are fully frozen, wrap each individual bar or the entire slab tightly in plastic wrap, then wrap again in aluminum foil. This double layer of protection prevents freezer burn. They can be stored in the freezer for up to 2 months. When you’re ready to enjoy them, simply thaw the frozen bars in the refrigerator overnight. Slice and serve when fully defrosted.
More Delightful Pumpkin Dessert Recipes to Try
If you’re a true pumpkin enthusiast, your culinary adventure doesn’t have to end with these amazing cheesecake bars. Explore these other fantastic pumpkin-inspired dessert recipes that are perfect for any occasion:
- Creamy Pumpkin Pie Bars: A classic pie experience in a convenient bar form, rich and smooth.
- Better Than Starbucks Pumpkin Bread Recipe: Moist, flavorful, and perfectly spiced – a fantastic treat for breakfast or a snack.
- Easy Pumpkin Cheesecake: For those who prefer a traditional round cheesecake, this recipe is a breeze to make.
- Bakery Style Pumpkin Muffins: Big, fluffy, and full of pumpkin goodness, just like your favorite coffee shop.
- Gingersnap Crust Pumpkin Pie: A delightful twist on the traditional pumpkin pie, offering a spicy, crunchy crust.
- Easy Pumpkin Cake with Cream Cheese Filling: A wonderfully moist cake bursting with pumpkin flavor, complemented by a luscious cream cheese filling.
- Pumpkin Coffee Cake: Perfect for brunch or an afternoon pick-me-up, with a delightful crumb topping and warm spices.
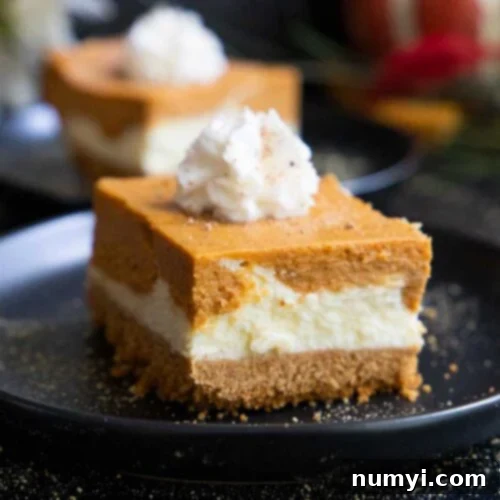
Ultimate Pumpkin Cheesecake Bars Recipe
Print
Pin
Rate
Ingredients
For the Graham Cracker Crust
- 1 1/2 cups Graham cracker crumbs
- 3 tbsp Dark brown sugar
- 4 tbsp Unsalted butter melted
For the Cheesecake Layer
- 16 oz Cream cheese softened to room temperature
- 3/4 cup Granulated sugar
- 2 large Eggs at room temperature
- 1/2 tsp Vanilla extract
For the Pumpkin Layer
- 15 oz Pumpkin puree (ensure it’s not pumpkin pie mix)
- 1/4 cup Dark brown sugar
- 1/2 tsp Vanilla extract
- 1 1/2 tsp Ground cinnamon
- 1/2 tsp Ground ginger
- 1/2 tsp Ground nutmeg
- 1/8 tsp Ground allspice
- 1/8 tsp Salt
Instructions
Crust Preparation
-
Preheat oven to 325°F (160°C). Line an 8×8 inch baking pan with parchment paper, leaving an overhang on two sides to create handles for easy removal.
-
In a medium bowl, combine graham cracker crumbs, dark brown sugar, and melted butter. Mix until well combined. Press this mixture firmly into the bottom of the prepared baking dish to form an even crust.
-
Bake the crust for 5-6 minutes. Remove from the oven and set aside to cool completely while you prepare the cheesecake layers.
Cheesecake Layer Preparation
-
In a large bowl, beat the softened cream cheese with an electric hand mixer until it is smooth and creamy, ensuring no lumps remain.
-
Add the granulated sugar and vanilla extract to the cream cheese mixture and mix well until fully combined. Next, add the room temperature eggs, mixing just until they are incorporated into the batter. Be careful not to overmix. Pour about two-thirds of this cheesecake mixture over the cooled graham cracker crust and spread it into an even layer. Set aside.
Pumpkin Layer & Baking
-
To the remaining one-third of the cheesecake batter, add the pumpkin puree and mix until completely combined and smooth. Then, add the dark brown sugar, ground cinnamon, ground ginger, ground nutmeg, ground allspice, and salt. Mix thoroughly until all the spices are evenly distributed.
-
Carefully pour and spread the pumpkin mixture over the plain cheesecake layer in the baking pan, smoothing the top gently to create an even layer.
-
Bake for 55 to 60 minutes, or until the edges are set and slightly puffed, but the very center still shows a slight, delicate jiggle. Do not overbake.
-
Remove the pan from the oven and transfer it to a wire rack to cool completely at room temperature. Once cooled, cover the pan and refrigerate for at least 4 hours, or ideally overnight, to allow the bars to fully set and for flavors to deepen.
