The Ultimate Homemade Strawberry Shortcake Recipe: Sweet Biscuits, Fresh Berries & Whipped Cream
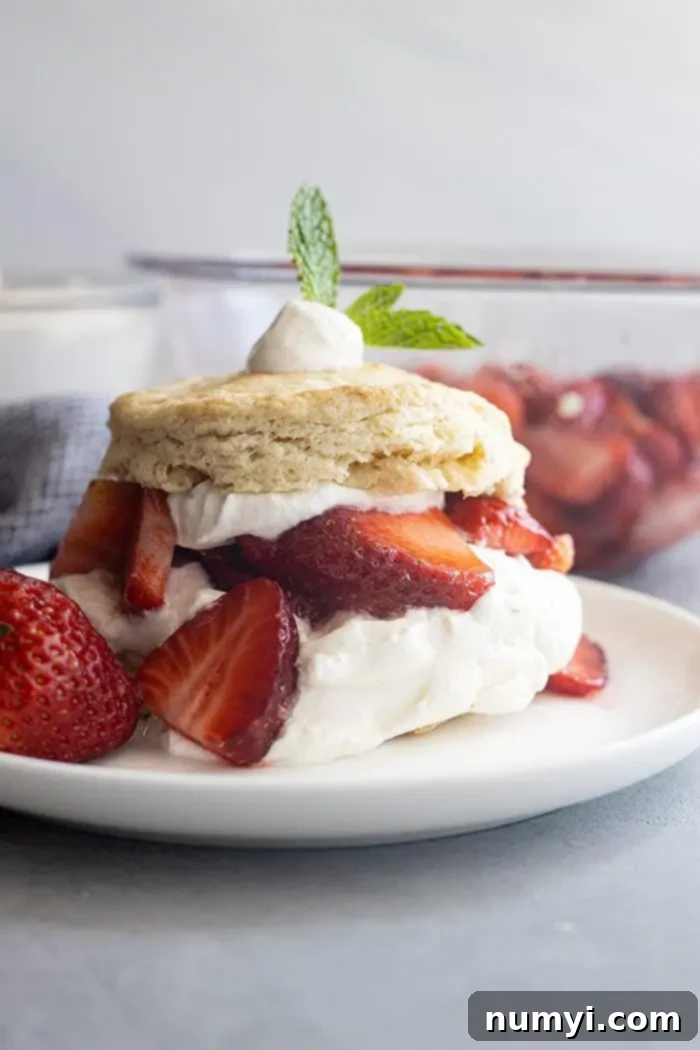
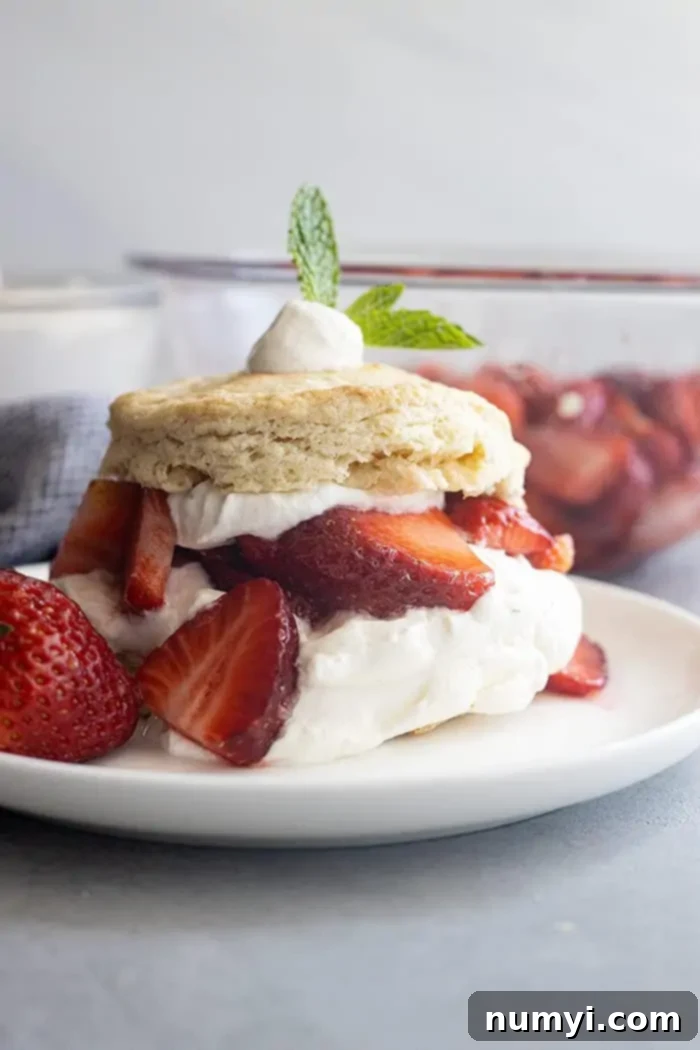
Experience the pure joy of summer with this unforgettable Strawberry Shortcake. Imagine a tender, buttery sweet biscuit – perfectly baked, giving way to an explosion of sweet, juicy macerated strawberries and a cloud of homemade, velvety whipped cream. It’s more than just a dessert; it’s a memory in the making, a quintessential treat that celebrates the simple perfection of fresh, seasonal ingredients.
*Originally published April 2014. Photos, text, and recipe updated for enhanced clarity and deliciousness.*
When the warmer months roll around, few desserts capture the essence of the season quite like a classic strawberry shortcake. This iconic treat, deeply rooted in American culinary tradition, evokes feelings of nostalgia, picnics, and sun-drenched days. While some variations call for a spongy cake base, our recipe firmly embraces the beloved biscuit or scone. There’s just something inherently special about the flaky, slightly crumbly texture of a sweet biscuit that perfectly complements the soft fruit and creamy topping. For me, this very recipe is the epitome of what strawberry shortcake should be: simple, fresh, and utterly irresistible.
Many home bakers might feel a touch of apprehension when faced with making biscuits from scratch, or even whipping their own cream. But let me assure you, this homemade strawberry shortcake recipe is surprisingly straightforward, and the results are astronomically better than anything you could ever buy from a store. I promise you an unparalleled flavor and texture experience that will make you wonder why you ever settled for less. The “extra” effort is truly minimal compared to the immense reward of a dessert that tastes genuinely homemade and bursts with fresh flavors.
Why Homemade Strawberry Shortcake is Always the Best Choice
The beauty of homemade cooking lies in the control you have over the ingredients and the freshness of the final product. This is especially true for strawberry shortcake, where each component shines independently and then harmonizes to create a masterpiece. Store-bought biscuits often lack the tender crumb and buttery richness, and pre-made whipped cream can be full of unnecessary additives and a watery consistency. By dedicating a little time to each element, you elevate this simple dessert to gourmet status. You’re not just baking; you’re crafting an experience that speaks volumes of care and quality ingredients, ensuring every bite is pure bliss.
Crafting the Perfect Sweet Biscuits for Your Shortcake
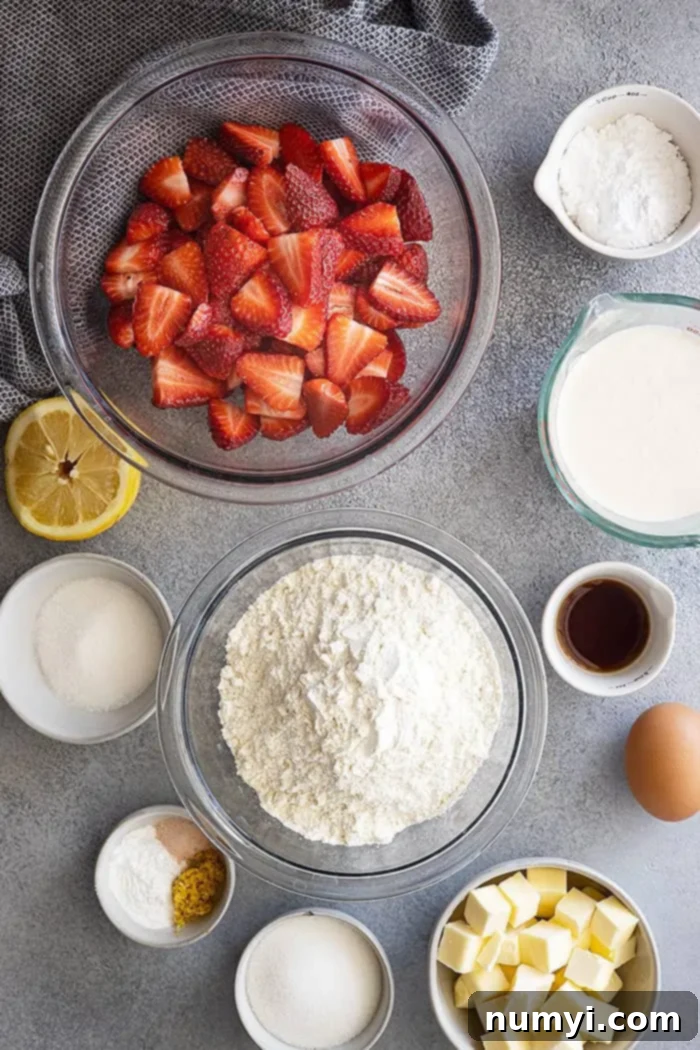
Do not let the idea of homemade biscuits deter you! These sweet, tender biscuits are the foundation of an authentic strawberry shortcake, and they are 1000% worth the minimal extra effort. They provide the perfect counterpoint to the sweet berries and cream, offering a slight chew and a rich, buttery flavor that a cake simply can’t replicate. You’ll only need a few basic pantry ingredients to create these delightful golden rounds:
- All-purpose flour
- Granulated sugar (for that perfect touch of sweetness)
- Baking powder (for a beautiful rise)
- A pinch of salt (to balance the flavors)
- Lemon zest (this is a game-changer, adding a bright, aromatic note)
- Cold butter (essential for flakiness)
- Heavy cream
- An egg (for richness and binding)
- Pure vanilla extract
The process is straightforward and forgiving. Here are the simple steps to achieve perfect, flaky biscuits every time:
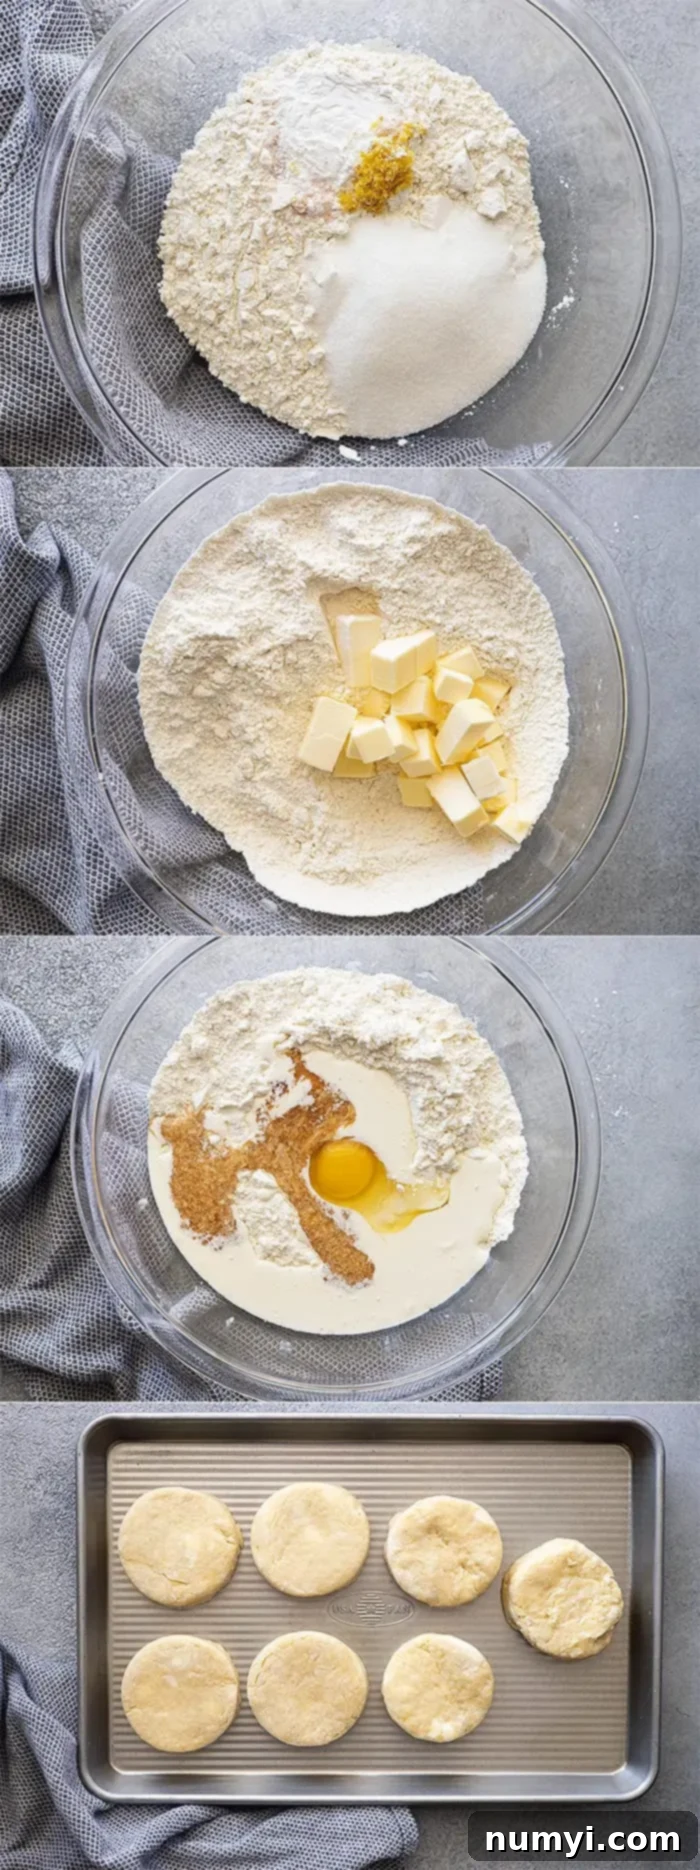
- Combine Dry Ingredients: In a large mixing bowl, whisk together the flour, sugar, baking powder, salt, and the aromatic lemon zest.
- Cut in Cold Butter: This step is crucial for flaky biscuits. Using a pastry blender, two knives, or even your fingertips, cut the cold, cubed butter into the dry mixture until it resembles coarse crumbs. The goal is to leave small pea-sized pieces of butter, which will create steam pockets during baking, resulting in those desirable flaky layers.
- Incorporate Wet Ingredients: Gently stir in the lightly beaten egg, heavy cream, and vanilla extract. Mix just until the ingredients start to come together into a shaggy dough. Avoid overmixing!
- Light Kneading: Transfer the dough to a lightly floured work surface. Knead it gently just a few times (5-10 short kneads) to fully combine the dry and wet ingredients. Overworking the dough develops gluten, leading to tough biscuits, so be gentle.
- Shape, Cut, and Bake: Pat the dough into a ½-inch thick circle. Using a 3-inch round cookie cutter, cut out your biscuits. For taller biscuits, place them relatively close together (even touching) on your baking sheet. This helps them rise upwards instead of spreading out. For an extra golden top and a touch of sparkle, brush the tops with a little extra heavy cream and sprinkle with coarse sugar before baking. Bake until golden brown and puffed up!
These sweet biscuits are incredibly versatile. You can make them a few days in advance and store them at room temperature, warming them slightly just before serving. They also freeze beautifully, making it easy to have homemade deliciousness on hand whenever a shortcake craving strikes.
Fresh Strawberries: The Star Topping for Your Shortcake!
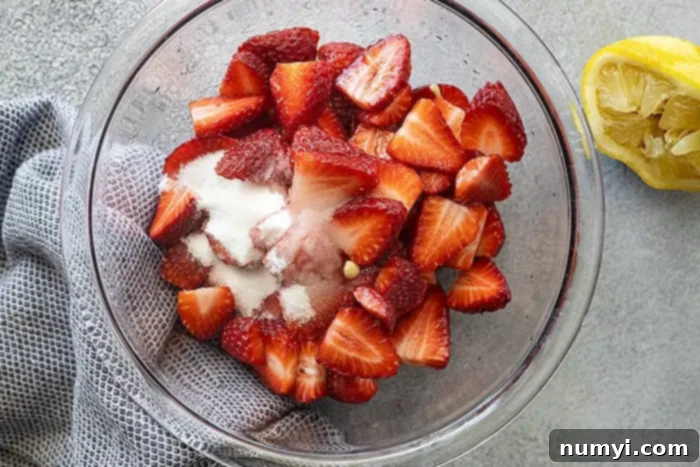
The success of any strawberry shortcake hinges on the quality of its namesake fruit. For the absolute best flavor, aim to find the ripest, most fragrant strawberries available. Peak season berries will be naturally sweeter and more flavorful, meaning you’ll need less added sugar to macerate them. This process of maceration is simple yet magical: it draws out the berries’ natural juices, creating a luscious, vibrant syrup that mingles perfectly with the biscuits and cream.
I like to add a small squeeze of fresh lemon juice to my strawberries. This optional step isn’t just for tartness; it helps to brighten and enhance the natural strawberry flavor, making it pop even more. The subtle citrus note is a fantastic complement to the sweetness of the berries and the richness of the cream.
Here are a few essential tips to help you select truly ripe and delicious strawberries:
- Color: Look for strawberries that are bright, uniform red all over. Avoid berries with green or white “shoulders” near the stem, as these indicate under-ripeness.
- Firmness: They should feel firm to the touch, but not hard. Steer clear of any berries that are soft, mushy, or show signs of bruising.
- Leaves: The green caps and leaves should be fresh, vibrant, and unwilted. Brown or dry leaves suggest older berries.
- Smell: Don’t be afraid to smell your strawberries! Ripe berries will have a sweet, distinct strawberry fragrance. If they don’t smell like much, they likely won’t taste like much either.
- Container Check: Always check the bottom of the container for any signs of mold, juice stains, or squished berries. One bad berry can quickly spoil the whole bunch.
- Source: If possible, buy local strawberries when they are in season. Farmers’ markets are a fantastic place to find freshly picked, flavorful berries that haven’t traveled far.
The Dreamy Homemade Whipped Cream: A Must-Have
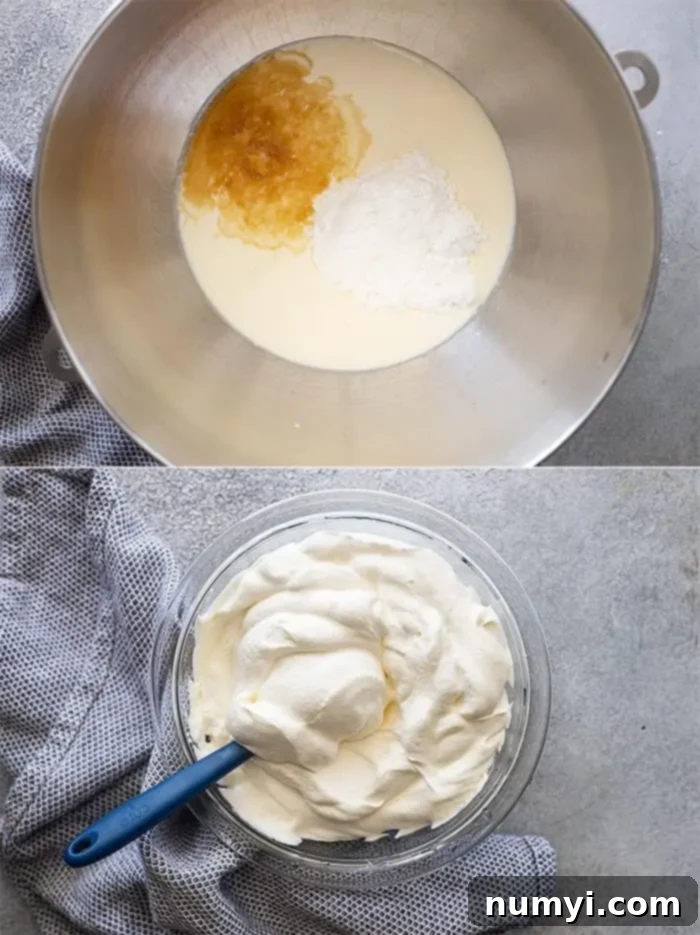
No strawberry shortcake is truly complete without a generous dollop (or two!) of freshly whipped cream. Making it at home is incredibly simple, takes mere minutes, and is vastly superior to any store-bought alternative. Forget the canned stuff or tubs of “whipped topping” – they simply can’t compare to the rich flavor and airy texture of real cream. You only need three essential ingredients:
- Heavy whipping cream
- Powdered sugar (also known as confectioners’ sugar)
- Pure vanilla extract
For the absolute best homemade whipped cream, keep these tips in mind:
- Use Heavy Whipping Cream: This is key! Heavy whipping cream (or heavy cream) must have a butterfat content of 36-40%. This high fat content is what allows the cream to whip up beautifully, doubling in volume and holding its shape without deflating quickly. Lighter creams won’t achieve the same stability or richness.
- Keep Everything Cold: Cold cream whips up faster, taller, and more stable. For best results, chill your mixing bowl (preferably a metal one) and whisk attachment (if using a stand mixer) in the freezer for 10-15 minutes before you begin.
- Powdered Sugar for Stability: While granulated sugar can be used, powdered sugar is often preferred for whipped cream. The fine particles dissolve more easily, and the cornstarch sometimes found in powdered sugar helps to stabilize the cream, making it less likely to weep or collapse.
- Don’t Over-Whip: Whip until stiff peaks form. This means when you lift the whisk, the cream holds its shape firmly. Be careful not to over-whip, or you’ll end up with butter! The transition from perfectly whipped cream to over-whipped butter can happen quickly.
- Flavor Variations: While vanilla is classic, feel free to experiment with other extracts like almond or a splash of liqueur for a different flavor profile.
How To Assemble Your Perfect Strawberry Shortcake: A Symphony of Flavors
Assembling your strawberry shortcake is where all the delightful components come together to create a truly magical dessert. While I personally adore a warm biscuit – the slight warmth melting ever so slightly into the cream and strawberries – a cold biscuit is equally delicious. The choice is yours!
The assembly is simple and satisfying:
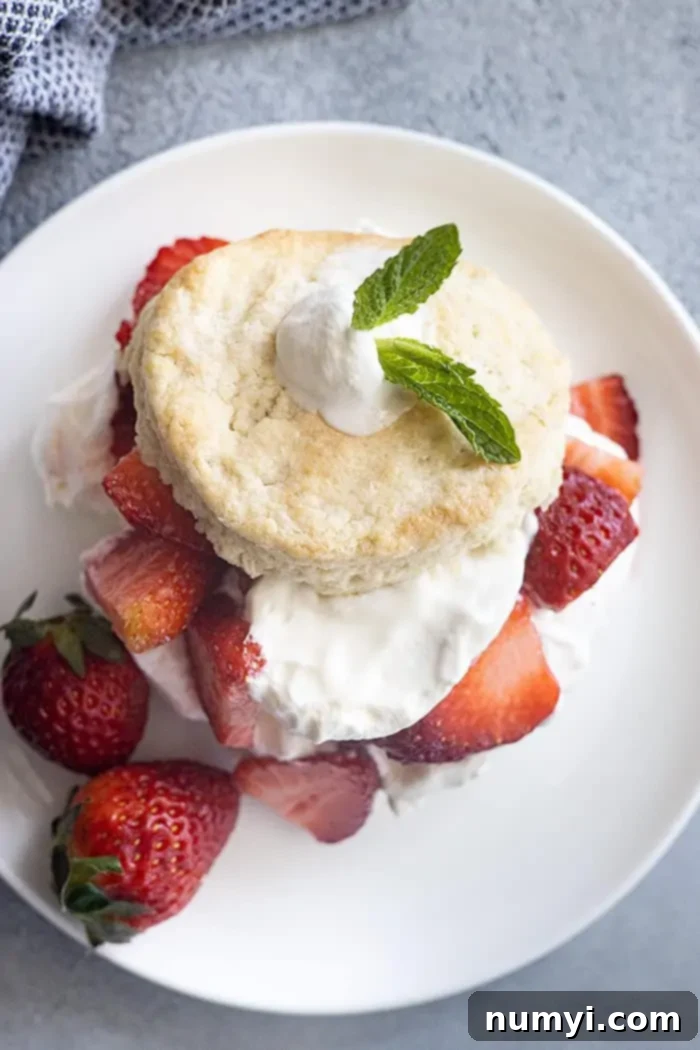
- Slice the Biscuit: Carefully slice each sweet biscuit in half horizontally.
- Layer with Cream: Place the bottom half of the biscuit on your serving plate. Add a generous serving of the freshly whipped cream. Don’t be shy here; the cream provides a beautiful contrast to the fruit.
- Add Strawberries: Spoon a hearty portion of the macerated strawberries, along with their delicious syrup, over the whipped cream.
- Top and Serve: Place the other half of the biscuit on top. For an extra touch of indulgence, add another dollop of whipped cream and a few more strawberries on top. Serve immediately to enjoy the freshest textures and flavors.
Each bite offers a wonderful combination: the tender, buttery biscuit, the refreshing burst of sweet strawberries, and the light, airy cream. It’s a sensory experience that defines summer dessert perfection.
Make-Ahead & Storage Tips for Convenience
While this strawberry shortcake is undeniably best when freshly assembled, there are a few ways to prepare components in advance to make serving easier:
- Biscuits: The baked sweet biscuits can be made up to 3 days in advance and stored in an airtight container at room temperature. For serving, you can enjoy them as is, or briefly warm them in the microwave (10-15 seconds) or a low oven for that fresh-baked feel.
- Strawberries: While the macerated strawberries are best prepared the day of serving, they can be made up to 1 day in advance and stored in the refrigerator. The texture might soften slightly, but the flavor will still be fantastic.
- Whipped Cream: Homemade whipped cream can be prepared a few hours ahead of time and stored covered in the refrigerator. If it loses some of its stiffness, you can give it a quick whisk before serving.
- Freezing Biscuits: Cooked and cooled biscuits freeze wonderfully for up to 3 months in a freezer-safe bag or container. Thaw them overnight at room temperature before serving or reheating.
More Delicious Summer Dessert Recipes:
- Fresh Strawberry Pie
- No Churn Strawberry Ice Cream
- Strawberry Cheesecake Fluff
- Easy Fruit Pizza
- Easy Berry Cheesecake Cups
HUNGRY FOR MORE? Subscribe to my newsletter and follow along on Pinterest, Facebook, and Instagram for all my latest updates!
Strawberry Shortcake
Ingredients
STRAWBERRIES:
- 2 pounds (908g) strawberries, sliced
- 2 tablespoons sugar (this may very depending on the sweetness of your berries)
- juice from ½ a lemon, optional
BISCUITS:
- 2¼ cups (300g) all purpose flour
- ¼ cup (50g) sugar
- 2 tsp baking powder
- ¼ teaspoon salt
- zest of 1 lemon
- ½ cup (113g) butter, cold and cubed
- ½ cup (120ml) heavy whipping cream
- 1 large egg, lightly beaten
- 1 tablespoon vanilla
WHIPPED CREAM:
- 1½ cups (355ml) heavy whipping cream, cold
- 3 tablespoons powdered sugar
- 1 teaspoon vanilla
Instructions
STRAWBERRIES:
-
Place sliced strawberries in a medium bowl and sprinkle with sugar. Add lemon juice if desired. Toss to coat; set aside.
BISCUITS:
-
Preheat oven to 400°F.
-
In a large bowl combine the flour, sugar, baking powder, salt, and lemon zest. Cut the butter into the dry ingredients until it resembles coarse crumbs. This can be done with a pastry blender, 2 knives, or your fingers. Add the cream, egg, and vanilla and mix just until it starts to come together.
-
Transfer to a work surface and knead dough gently 5-10 times and then pat into a ½” circle. With a 3 inch round cookie cutter, cut out rounds and place the biscuits on a baking sheet. Reroll scraps if desired. Bake for about 15 – 18 minutes or until lightly brown.
WHIPPED CREAM:
-
Place the cream, sugar, and vanilla in the bowl of your stand mixer, fitted with the whisk attachment (can also use a hand mixer or wire whisk). Whip until stiff peaks form. The whipped cream can be covered and stored in the refrigerator for a few hours.
SERVING:
-
Slice the biscuits in half and layer with strawberries and whipped cream. Serve immediately.
Notes
- MAKE AHEAD: The biscuits can be made up to 3 days in advance and stored at room temperature. The strawberries and whipped cream can be made no more than 1 day in advance. However I prefer to make the strawberries the day of.
- FREEZER FRIENDLY: Cool the biscuits completely and store in a freezer safe container or bag. Freeze up to 3 months. Thaw at room temperature overnight.
- BISCUIT TIPS: For taller biscuits place them side by side (touching each other) on the baking sheet. This will help them hold their shape and rise taller. To make the biscuits extra special brush the tops with a little extra cream and sprinkle with coarse sugar before baking.
- I think this is best served with a warm biscuit but cold biscuits are good too. You can also briefly heat a biscuit in the microwave to warm it.
Nutrition
Carbohydrates: 65g |
Protein: 8g |
Fat: 31g |
Saturated Fat: 19g |
Trans Fat: 1g |
Cholesterol: 126mg |
Sodium: 237mg |
Potassium: 499mg |
Fiber: 5g |
Sugar: 23g |
Calcium: 139mg |
Iron: 3mg
