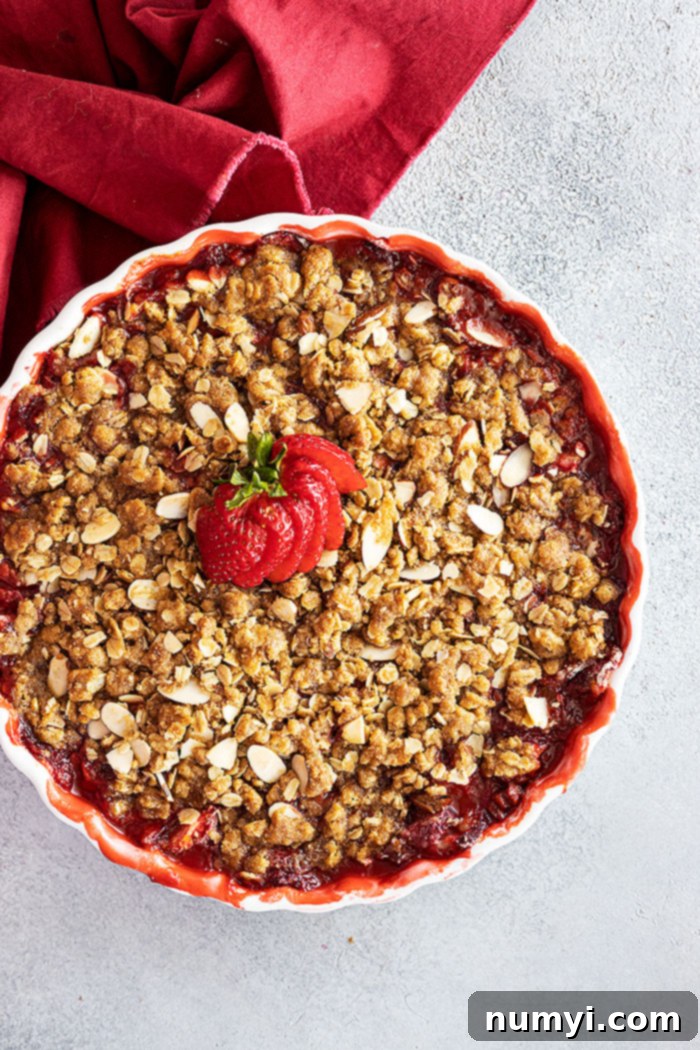
The Ultimate Easy Strawberry Crisp Recipe: Fresh or Frozen, Always Delicious!
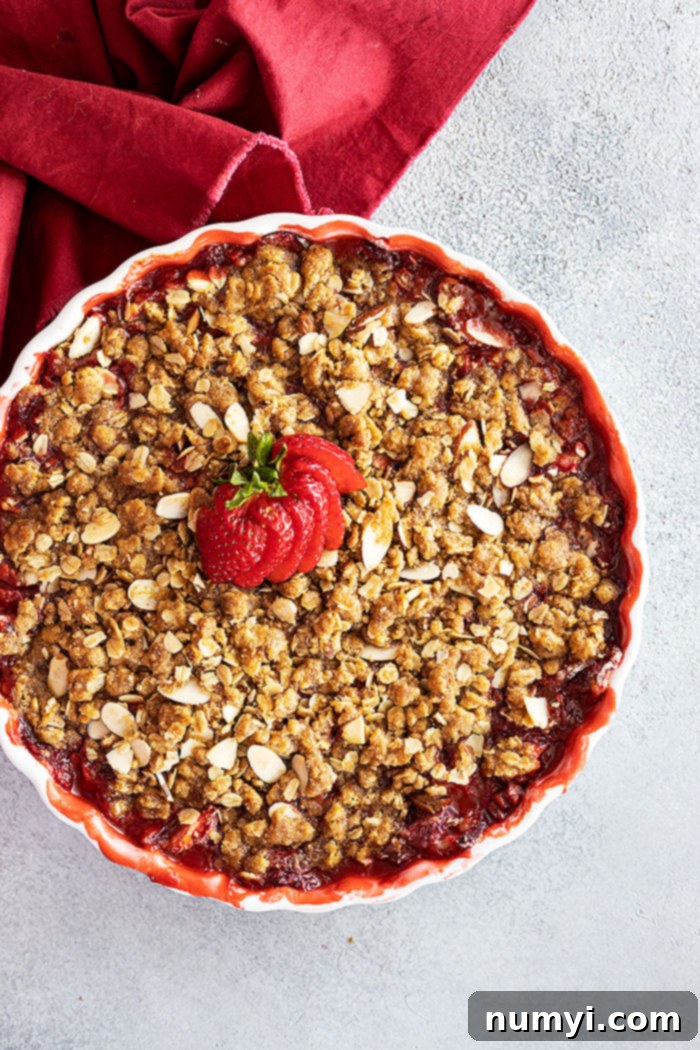
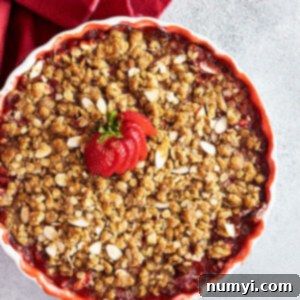
There’s something incredibly comforting and satisfying about a warm fruit crisp. That delightful combination of tender, sweet fruit bubbling beneath a golden, crunchy oat topping is simply irresistible, especially when paired with a generous scoop of melting ice cream. While many fruit crisps shine in their season, this easy Strawberry Crisp truly stands out, offering a burst of summery flavor whether you use fresh, peak-season berries or convenient frozen ones.
This recipe is designed for simplicity without sacrificing flavor. It’s the perfect dessert for busy weeknights, a casual gathering, or when you just crave something sweet and wholesome. Imagine the aroma filling your kitchen as it bakes, promising a dessert that’s both rustic and elegant. We absolutely adore serving this with a scoop of creamy ice cream. While classic vanilla is always a hit, for an extra special treat, consider pairing it with this No-Churn Cinnamon Ice Cream or a vibrant No-Churn Strawberry Ice Cream for a double berry delight!
Why You’ll Fall in Love with This Strawberry Crisp Recipe
This isn’t just another dessert; it’s a go-to recipe that promises delicious results every time. Here’s why this Strawberry Crisp will become a staple in your kitchen:
- Effortlessly Easy: If you’re looking for a dessert that requires minimal fuss but delivers maximum flavor, this is it! The preparation involves just a few simple steps: slicing strawberries and mixing the topping. The oven does most of the work, making it perfect for both novice bakers and seasoned pros. It’s truly one of the easiest, yet most rewarding, desserts you can whip up.
- Fresh or Frozen, Always Flavorful: You don’t have to wait for strawberry season to enjoy this treat. This recipe is incredibly versatile, working beautifully with either fresh, ripe strawberries or frozen ones. Frozen strawberries are often picked at their peak ripeness and flash-frozen, locking in their vibrant flavor, making them an excellent choice when fresh berries aren’t available or are out of season.
- Irresistibly Crunchy Oat Topping: The star of any crisp is its topping, and this one does not disappoint. It’s a buttery, sweet, and cinnamon-spiced streusel made with old-fashioned oats that bakes up perfectly golden and crunchy. It’s so good, you might find yourself sneaking spoonfuls of it straight from the bowl before it even hits the oven! This textural contrast against the soft, warm berries is what makes every bite a pure delight.
- Simple, Accessible Ingredients: You won’t need any fancy ingredients for this recipe. Everything on the list is easy to find at your local grocery store, ensuring that you can make this delicious crisp whenever the craving strikes.
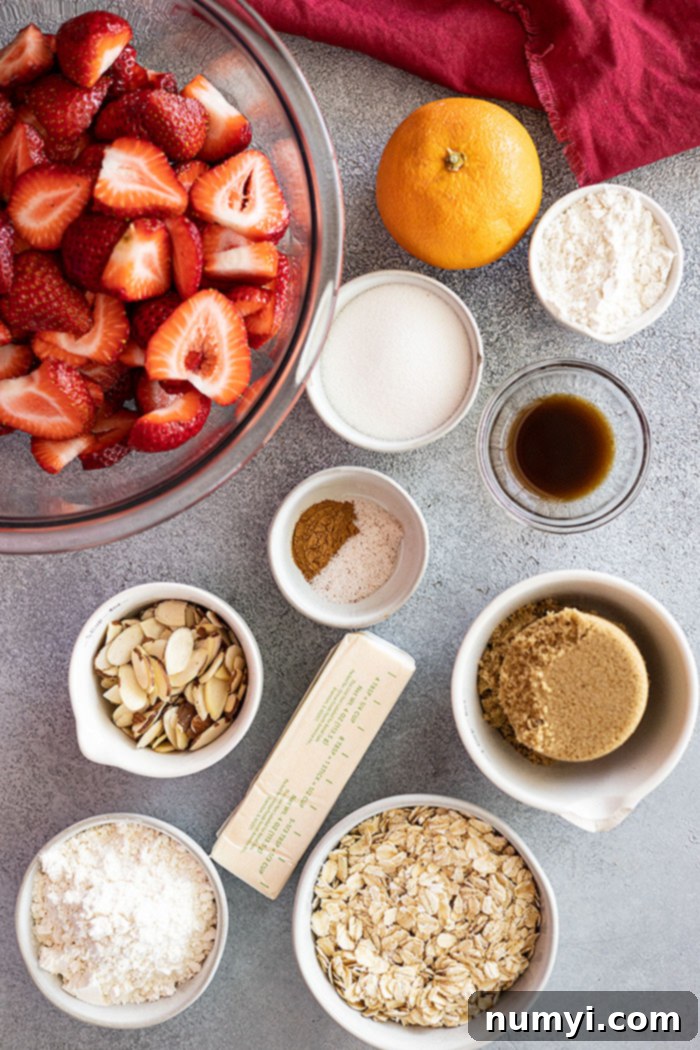
Step-by-Step Guide: Crafting Your Perfect Strawberry Crisp
Making this strawberry crisp is a straightforward process. Follow these steps to create a dessert that will impress everyone:
1. Prepare the Luscious Strawberry Layer
Your base layer is where all the juicy, sweet strawberry goodness comes from. Start by slicing your strawberries into uniform pieces to ensure even cooking. In a large bowl, gently combine the sliced strawberries with sugar, flour, vanilla extract, and orange zest (if using). The sugar sweetens the berries and helps create a syrupy sauce, while the flour acts as a thickener, preventing the filling from becoming too watery. The vanilla adds a touch of warmth, and the optional orange zest brightens the entire strawberry flavor profile, adding a subtle, delightful citrus note. Make sure everything is well combined before pouring it into your prepared baking dish.
2. Create the Golden Oat Topping
The crunchy topping is what truly makes a crisp. In a medium bowl, whisk together the dry ingredients: old-fashioned oats, packed brown sugar, all-purpose flour, ground cinnamon, and a pinch of salt. The brown sugar adds a deep, molasses-rich sweetness, and the cinnamon provides a comforting spice that pairs beautifully with strawberries. Next, cut in cold, cubed butter using a pastry blender, your fingertips, or two forks. Work the butter into the dry ingredients until the mixture resembles coarse crumbs. This method creates pockets of butter that melt and crisp up beautifully in the oven. If you choose to add nuts, stir in the sliced almonds or your nut of choice at this stage for added texture and flavor.
3. Bake to Golden Perfection
Preheat your oven to 375°F (190°C). Evenly sprinkle the prepared oat topping over the strawberry layer in your baking dish. Bake for 30-35 minutes, or until the topping is beautifully golden brown and the strawberry filling is visibly bubbling around the edges. This bubbling indicates that the fruit is cooked through and the sauce has thickened. Once baked, let it cool slightly before serving. The crisp is absolutely divine served warm, allowing the fruit’s flavors to shine and the topping to maintain its delightful crunch. Don’t forget that essential scoop of ice cream on top!

Expert Tips & Delicious Variations for Your Strawberry Crisp
To ensure your strawberry crisp turns out perfectly every time, and to explore ways to customize it, consider these expert tips and variations:
- Choosing the Best Strawberries: For the most vibrant flavor, always opt for ripe strawberries. Look for berries that are bright red from top to bottom, with no green or white patches on the shoulders. They should be firm but not hard, and avoid any that are mushy or show signs of mold. The leaves should be fresh and green, not brown or wilted.
- Baking Dish Options: This recipe is quite flexible when it comes to bakeware. A 10-inch cast iron skillet works beautifully, offering excellent heat retention and a lovely presentation. Alternatively, any 2-quart baking dish (such as a ceramic or glass casserole dish) will do the trick. The key is to use a dish that can comfortably hold all the fruit and topping without overflowing.
- Making it Gluten-Free: It’s easy to adapt this crisp for those with gluten sensitivities. Simply replace the all-purpose flour in both the strawberry filling and the oat topping with a 1:1 or cup-for-cup gluten-free flour blend. Additionally, ensure that the old-fashioned oats you use are certified gluten-free.
- Using Frozen Strawberries: Craving a taste of summer in the dead of winter? Frozen strawberries are your best friend! There’s absolutely no need to thaw them before mixing with the other filling ingredients. They might release a little more liquid during baking, but the flour will still do its job to thicken the sauce. You might need to add an extra 5-10 minutes to the baking time if starting with frozen berries.
- Nutty Additions (Optional): Nuts add a wonderful crunch and depth of flavor to the topping. Sliced almonds are a classic choice, but feel free to experiment with chopped pecans, walnuts, or even a mix of your favorite nuts. For an even richer flavor, you can lightly toast the nuts before adding them to the topping mixture.
- Preventing a Soggy Bottom: To avoid a watery crisp, ensure your strawberries are not overly ripe (which can make them very juicy). The flour in the filling is crucial for thickening. If you anticipate very juicy berries (e.g., extremely ripe fresh ones or large frozen quantities), you can add an extra tablespoon of flour to the fruit mixture.
- Serving Suggestions Beyond Ice Cream: While ice cream is a perfect match, don’t limit yourself! A dollop of fresh whipped cream, a spoonful of vanilla yogurt (for a lighter option), or even a drizzle of custard can elevate your strawberry crisp experience.
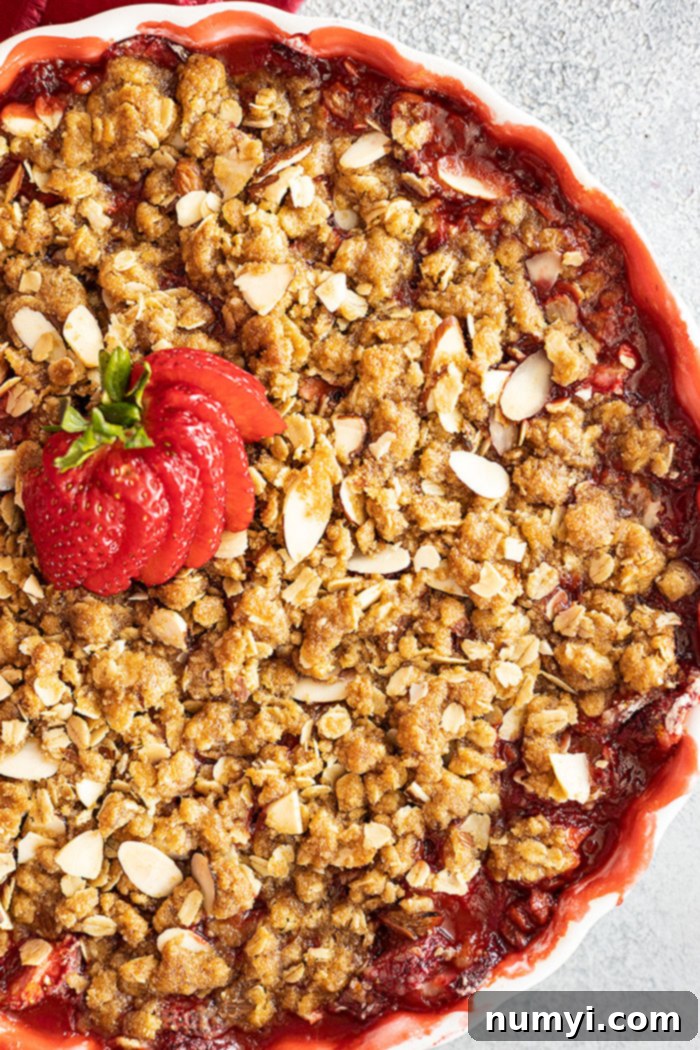
Frequently Asked Questions About Strawberry Crisp
Yes, absolutely! Once your strawberry crisp has completely cooled, you can wrap it tightly in plastic wrap and then aluminum foil. It will keep well in the freezer for up to 3 months. When you’re ready to enjoy it, simply thaw it overnight in the refrigerator. For best results, reheat it as described below.
Yes, reheating is easy! For optimal results, pull the crisp from the refrigerator and let it sit at room temperature for about 20 minutes. Then, place it in a 350°F (175°C) oven for approximately 15-20 minutes, or until it’s heated through and the topping has re-crisped slightly. You can also reheat individual servings in the microwave, though the topping might lose some of its crunch.
Any leftover strawberry crisp should be stored in the refrigerator. Make sure it’s completely cooled before covering it tightly with plastic wrap or placing it in an airtight container. It will remain fresh and delicious for up to 5 days. You can enjoy it cold, at room temperature, or reheated.
For the best texture in your crisp topping, old-fashioned rolled oats are highly recommended. They provide a delightful chewiness and maintain their shape during baking. While quick oats can be used in a pinch, they tend to create a softer, less distinct topping. Steel-cut oats are not suitable for this recipe as they require a much longer cooking time.
Yes, you can! You can assemble the entire crisp (fruit filling and topping) and store it covered in the refrigerator for up to 24 hours before baking. Alternatively, you can prepare the oat topping separately and keep it in an airtight container in the fridge for up to a few days, or even freeze it for longer storage. When ready to bake, just combine the fresh fruit mixture and the prepared topping, then bake as directed.
More Delicious Fruit Desserts to Try
- Strawberry Shortcake Cake
- Blueberry Crisp
- Berry Coconut Trifle
- Fresh Strawberry Pie
- Easy Fruit Pizza
HUNGRY FOR MORE? Don’t miss out on our latest recipes and updates! Subscribe to my newsletter and follow along on Pinterest, Facebook, and Instagram for all my latest culinary adventures!
Strawberry Crisp
Ingredients
STRAWBERRY LAYER
- 2 pounds (907g) strawberries, sliced
- ½ cup (100g) sugar
- ¼ cup (30g) all purpose flour
- 1 tablespoon vanilla
- ½ teaspoon orange zest; optional
OAT TOPPING:
- ¾ cup (70g) old fashioned oats
- ⅔ cup (130g) packed brown sugar
- ½ cup (60g) all purpose flour
- ½ teaspoon ground cinnamon
- ¼ teaspoon salt
- ½ cup (113g) butter, cold
- ⅓ cups nuts of choice; optional
Instructions
STRAWBERRY LAYER:
-
Preheat oven to 375°F (190°C). Lightly grease a 2 quart baking dish (or 10-inch cast iron skillet); set aside.
-
In a large bowl, combine the sliced strawberries, sugar, flour, vanilla, and orange zest. Gently toss until the strawberries are evenly coated. Pour the mixture into the prepared baking dish; set aside.
OAT TOPPING:
-
In a medium bowl, combine the oats, brown sugar, flour, cinnamon, and salt. Add the cold, cubed butter and cut it into the mixture using a pastry blender, forks, or your fingertips until the mixture resembles coarse crumbs. If using, stir in the nuts of your choice. Sprinkle this topping evenly over the strawberry layer in the baking dish.
-
Bake in the preheated oven for 30-35 minutes, or until the strawberries are bubbly around the edges and the oat topping is lightly browned and crispy. If using frozen strawberries, you may need an additional 5-10 minutes of baking time.
-
Remove from oven and let cool for a few minutes before serving. Serve warm with a generous scoop of vanilla ice cream, whipped cream, or yogurt, if desired. Enjoy!
Notes
- FREEZER FRIENDLY: Baked and completely cooled crisps can be frozen for up to 3 months. Thaw overnight in the refrigerator. To reheat, warm in a 350°F (175°C) oven for 15-20 minutes. You can also make the oat topping ahead of time and freeze it in an airtight bag, ready to sprinkle over any fruit crisp.
- SERVING SUGGESTIONS: Serve this delicious crisp warm, at room temperature, or even cold. It’s fantastic topped with vanilla ice cream, a dollop of fresh whipped cream, or for a lighter option, a scoop of vanilla yogurt.
- STORING LEFTOVERS: Store any completely cooled crisp covered in the refrigerator for up to 5 days.
- STRAWBERRY OPTIONS: This recipe works perfectly with both fresh or frozen strawberries. If using frozen, there’s no need to thaw them first. Just add them directly to the mixture.
- OATS: For the best texture, we recommend using old-fashioned rolled oats for the topping. While quick oats can be used, the topping may be softer. Do not use steel-cut oats, as they will not cook properly in this recipe.
Nutrition
Carbohydrates: 75g |
Protein: 6g |
Fat: 14g |
Saturated Fat: 8g |
Polyunsaturated Fat: 1g |
Monounsaturated Fat: 4g |
Trans Fat: 1g |
Cholesterol: 32mg |
Sodium: 176mg |
Potassium: 311mg |
Fiber: 5g |
Sugar: 40g |
Vitamin A: 384IU |
Vitamin C: 67mg |
Calcium: 55mg |
Iron: 3mg
Did you make this?Let me know by sharing a picture and tagging @countryside_cravings on Instagram
