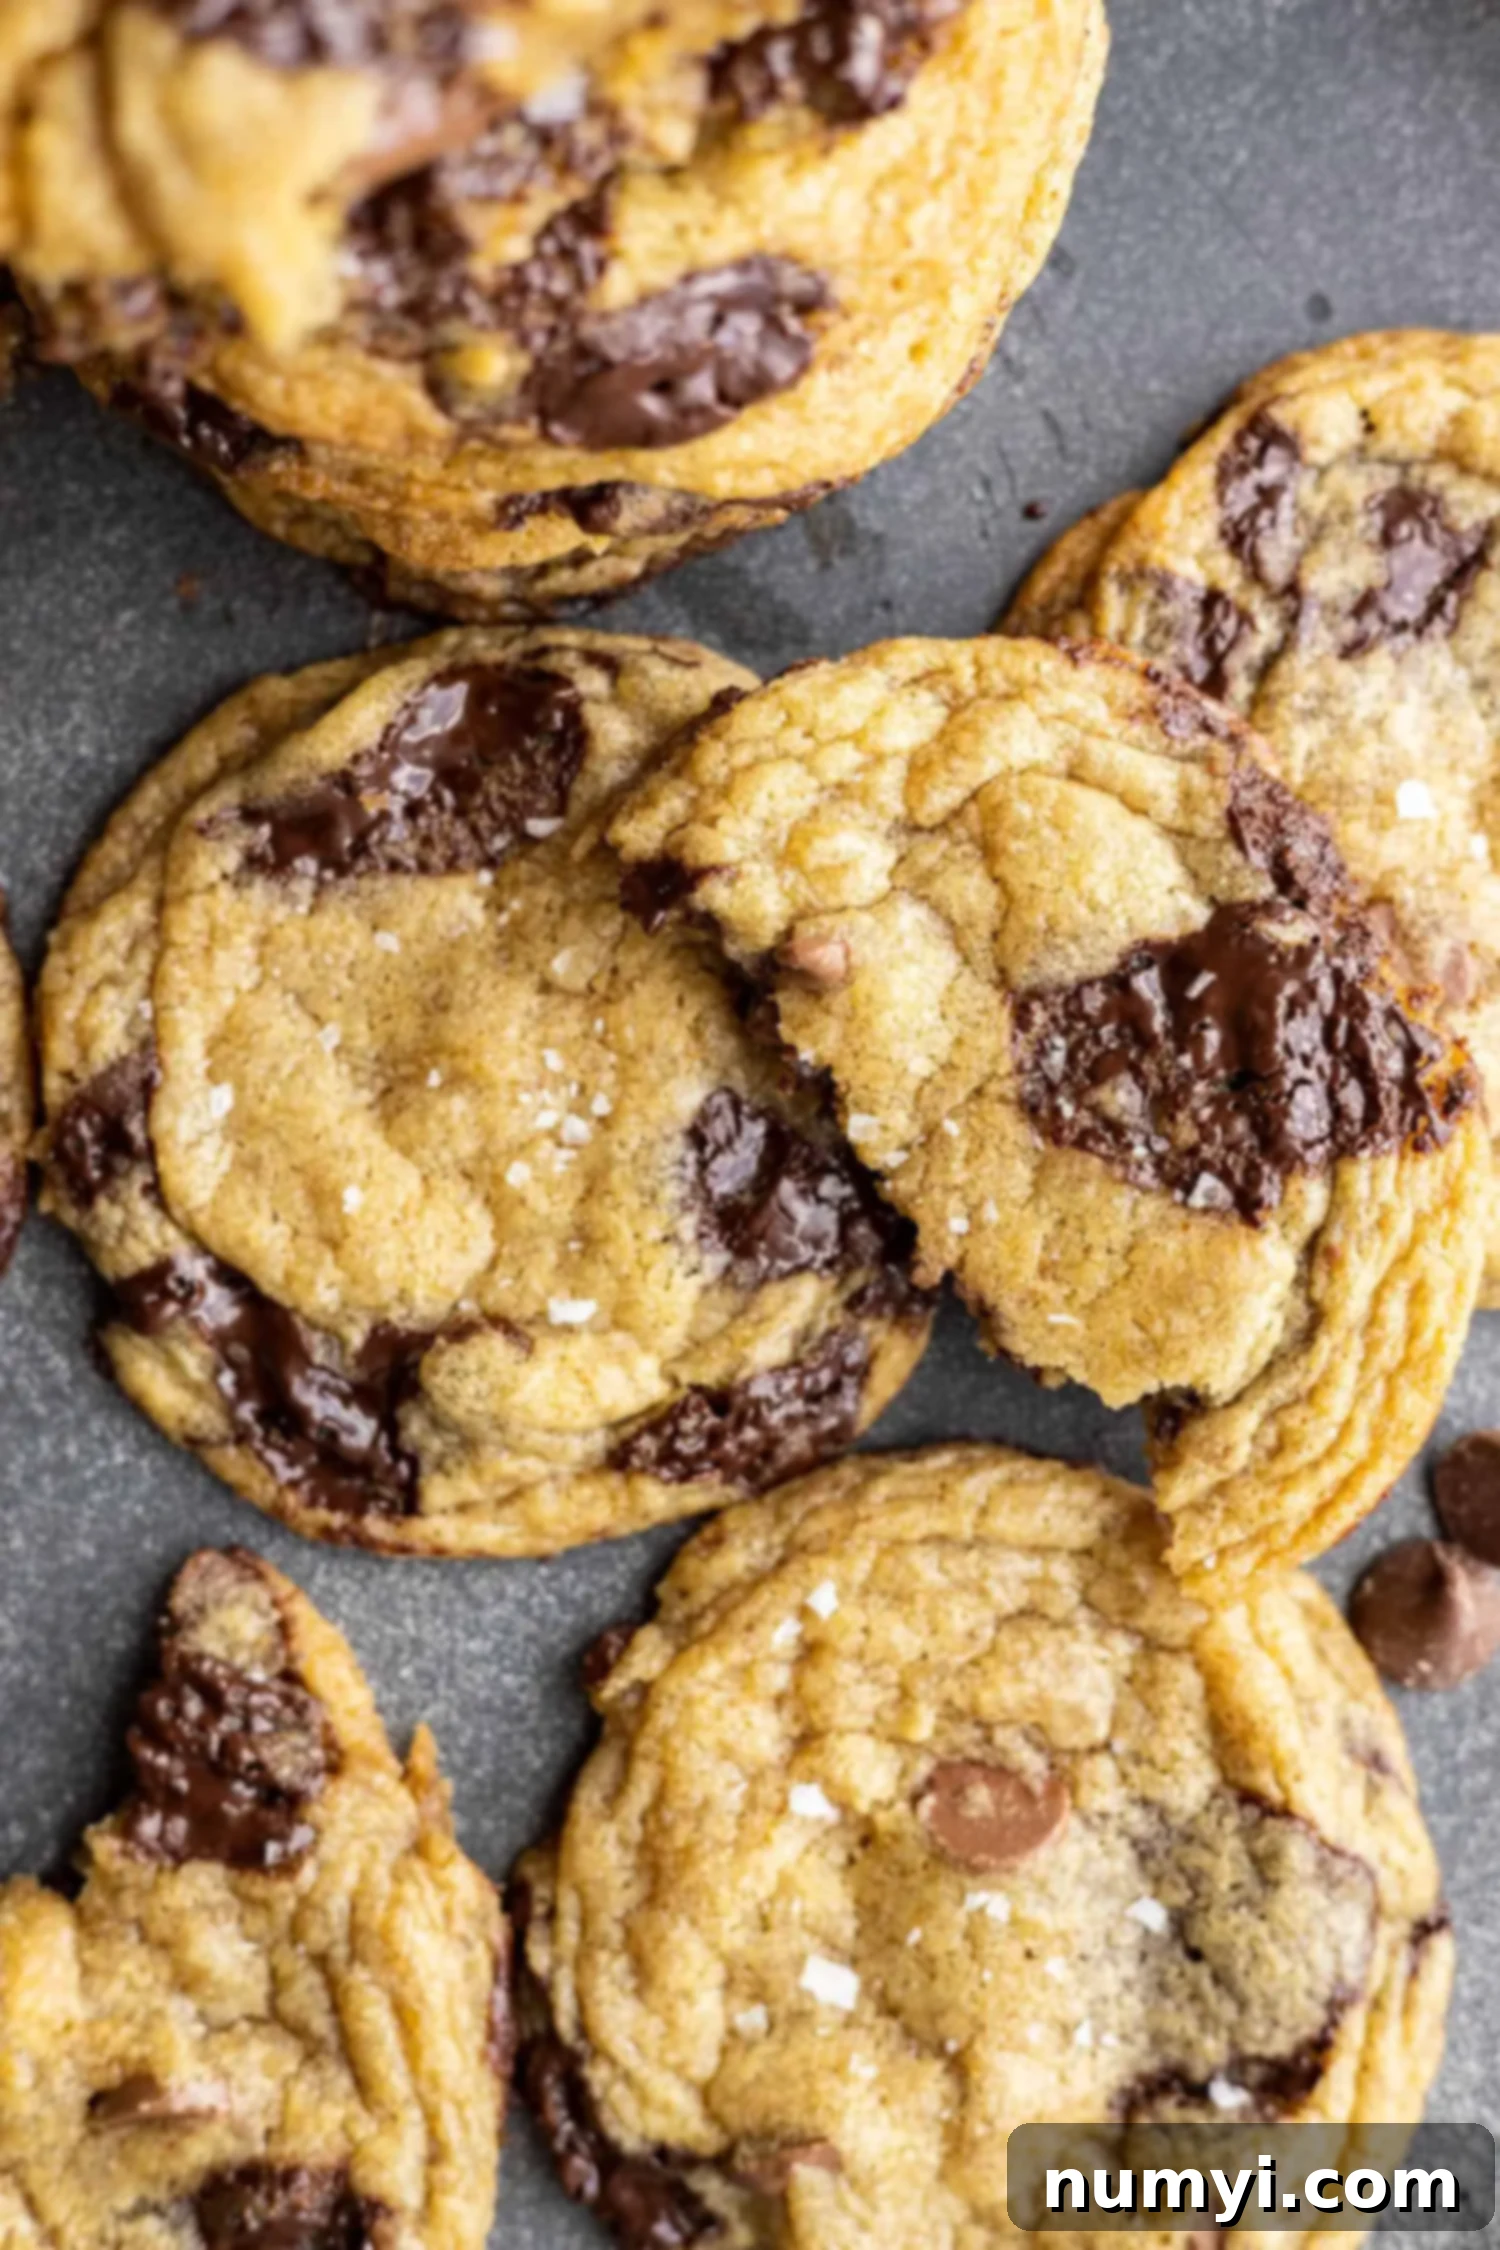
The Ultimate Guide to Baking the Best Chewy and Crispy Chocolate Chip Cookies
Are you on a quest for the perfect chocolate chip cookie? One that’s irresistibly chewy in the middle, beautifully crisp around the edges, and bursting with rich, melty chocolate in every bite? Look no further! This isn’t just another chocolate chip cookie recipe; it’s a meticulously crafted guide designed to help you achieve cookie perfection. Whether you’re a seasoned baker or a complete novice, these simple-to-follow instructions, using basic ingredients and requiring no fancy equipment, promise to deliver the ideal homemade chocolate chip cookie experience every single time.
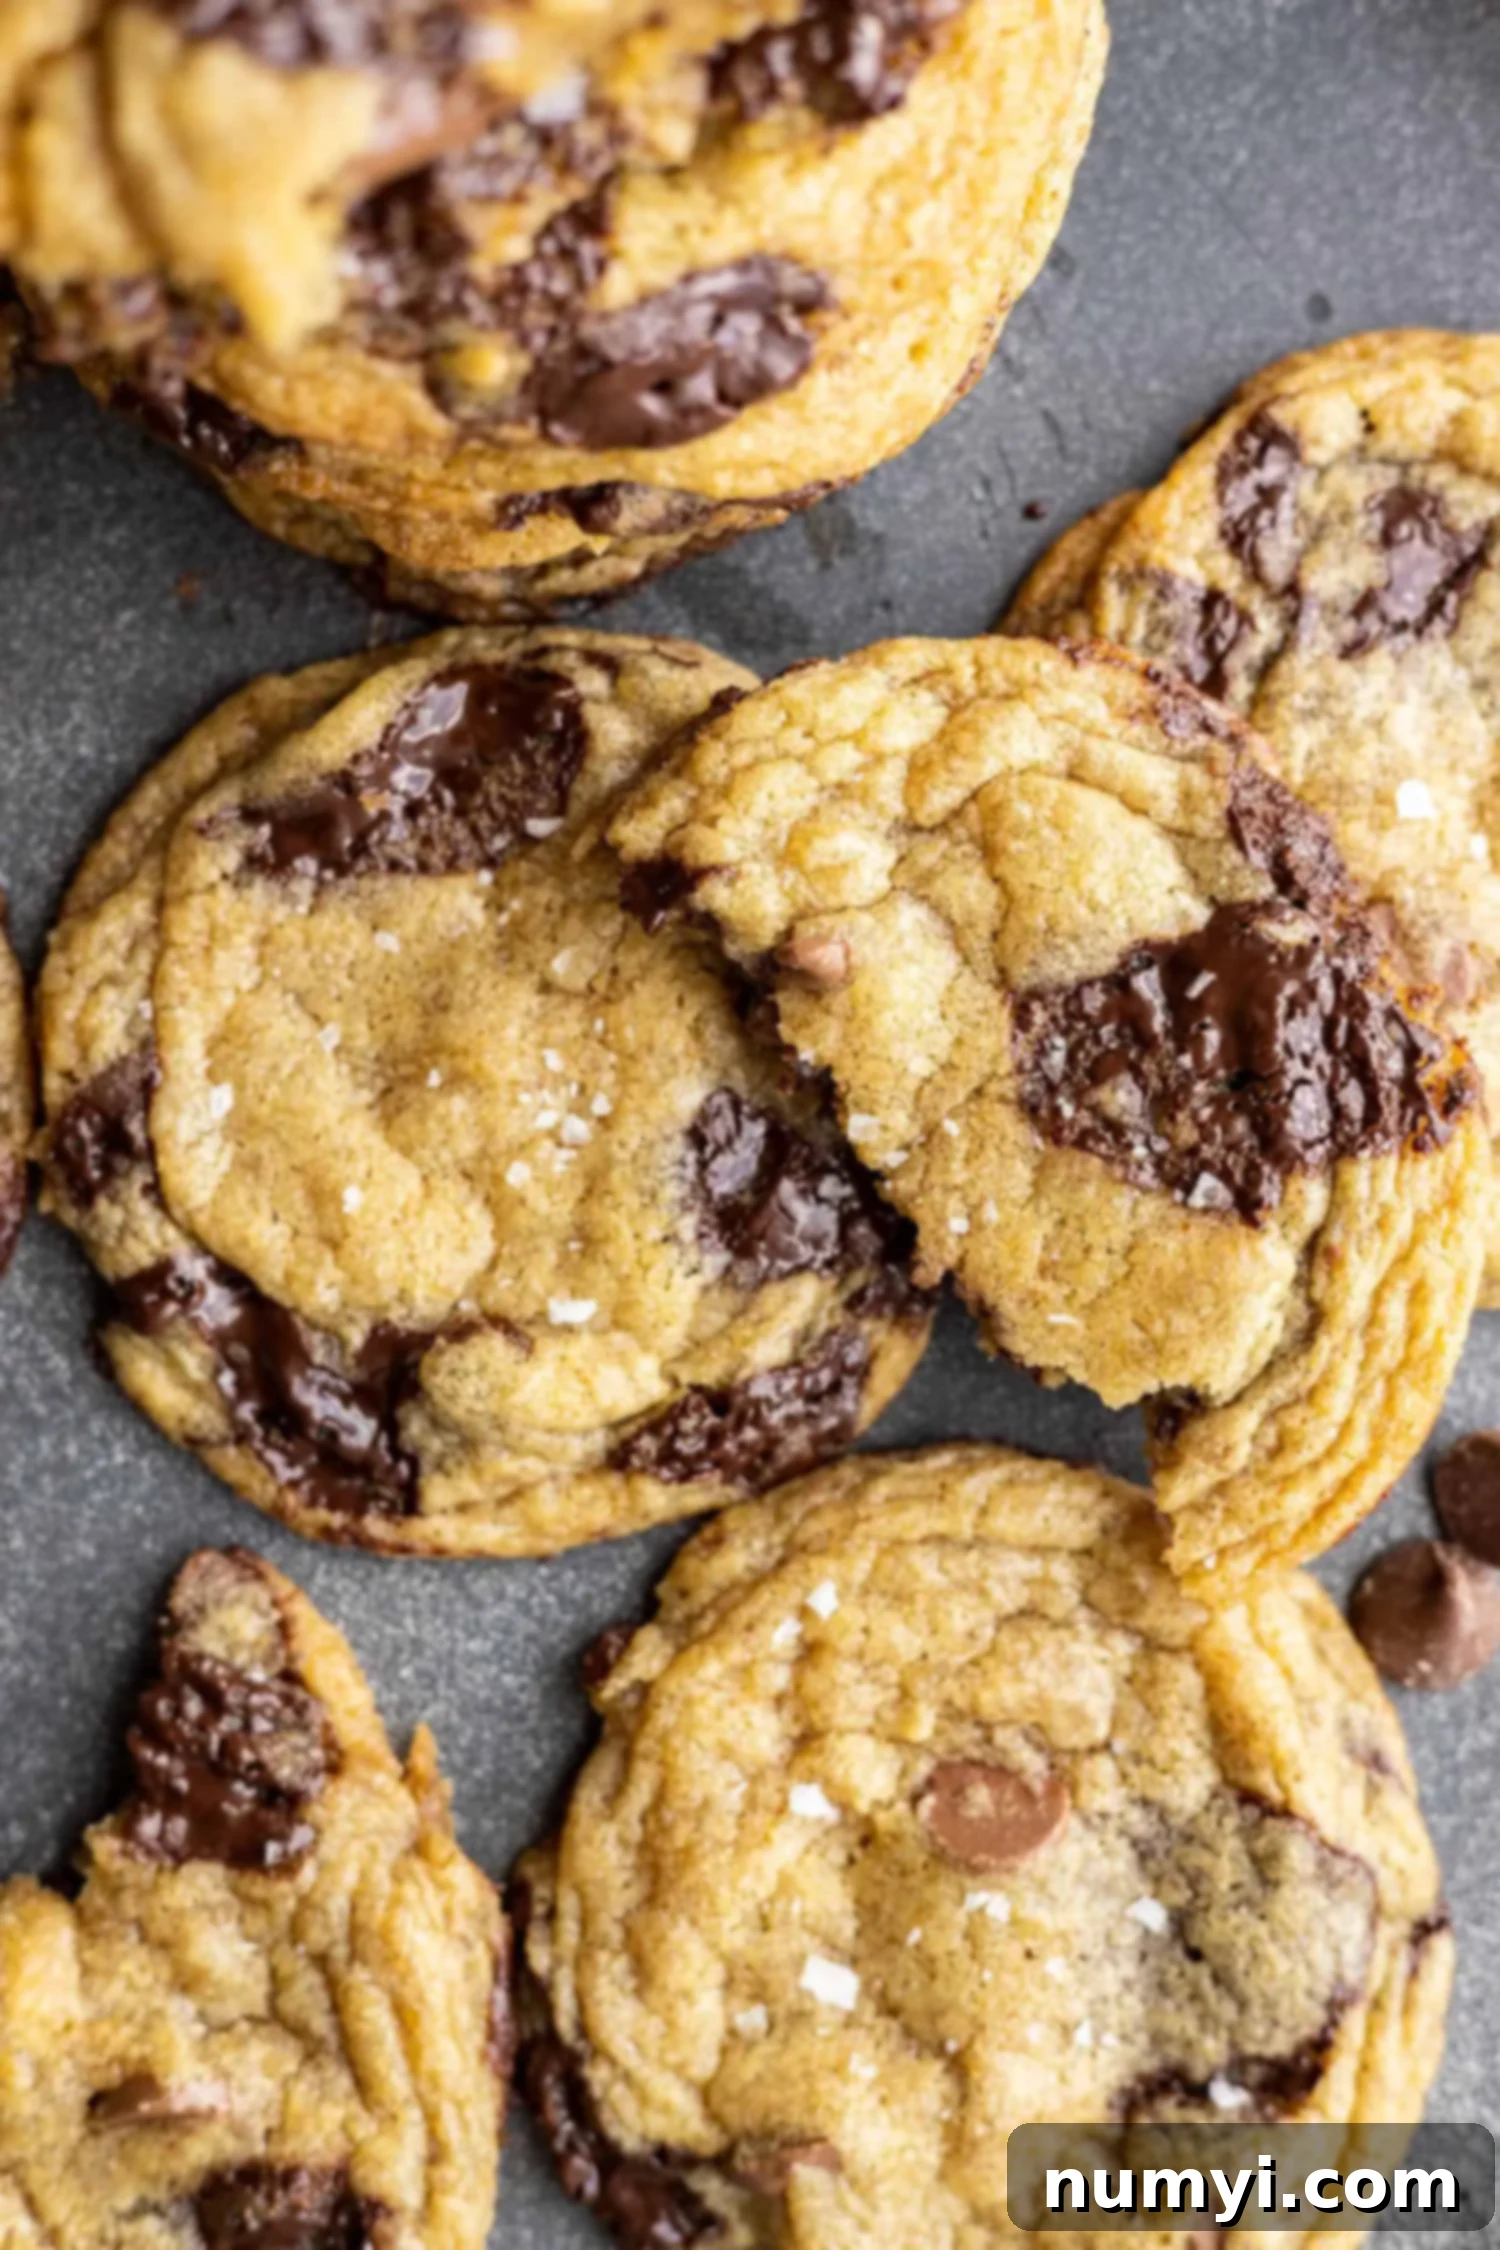
*This classic recipe was originally published in October 2013 and has been thoroughly updated with enhanced text, refined recipe details, and fresh photography to ensure you get the absolute best results.*
You might be thinking, “Does the world really need another chocolate chip cookie recipe?” With countless variations out there, it’s a valid question. But for every baker who hasn’t yet found “THE ONE,” this recipe is for you. Many struggle with cookies that turn out too flat, too cakey, or simply lack that magical balance of texture and flavor. My goal is to provide a reliable, straightforward method that consistently produces the chewy, crispy, and utterly delicious chocolate chip cookies you dream of.
What sets this recipe apart is its simplicity and reliance on classic techniques rather than obscure ingredients like cornstarch. While it does include a crucial chilling step for the dough – which we’ll delve into in detail later – the payoff is absolutely worth the wait. If time is truly of the essence and you prefer a no-chill option, be sure to check out my No Chill Soft Chocolate Chip Cookies for a quick and satisfying alternative.
Why This Recipe Makes the Best Chocolate Chip Cookies: Unveiling the Secrets to Perfection
These aren’t just good chocolate chip cookies; they are truly exceptional. Here’s what makes them stand out:
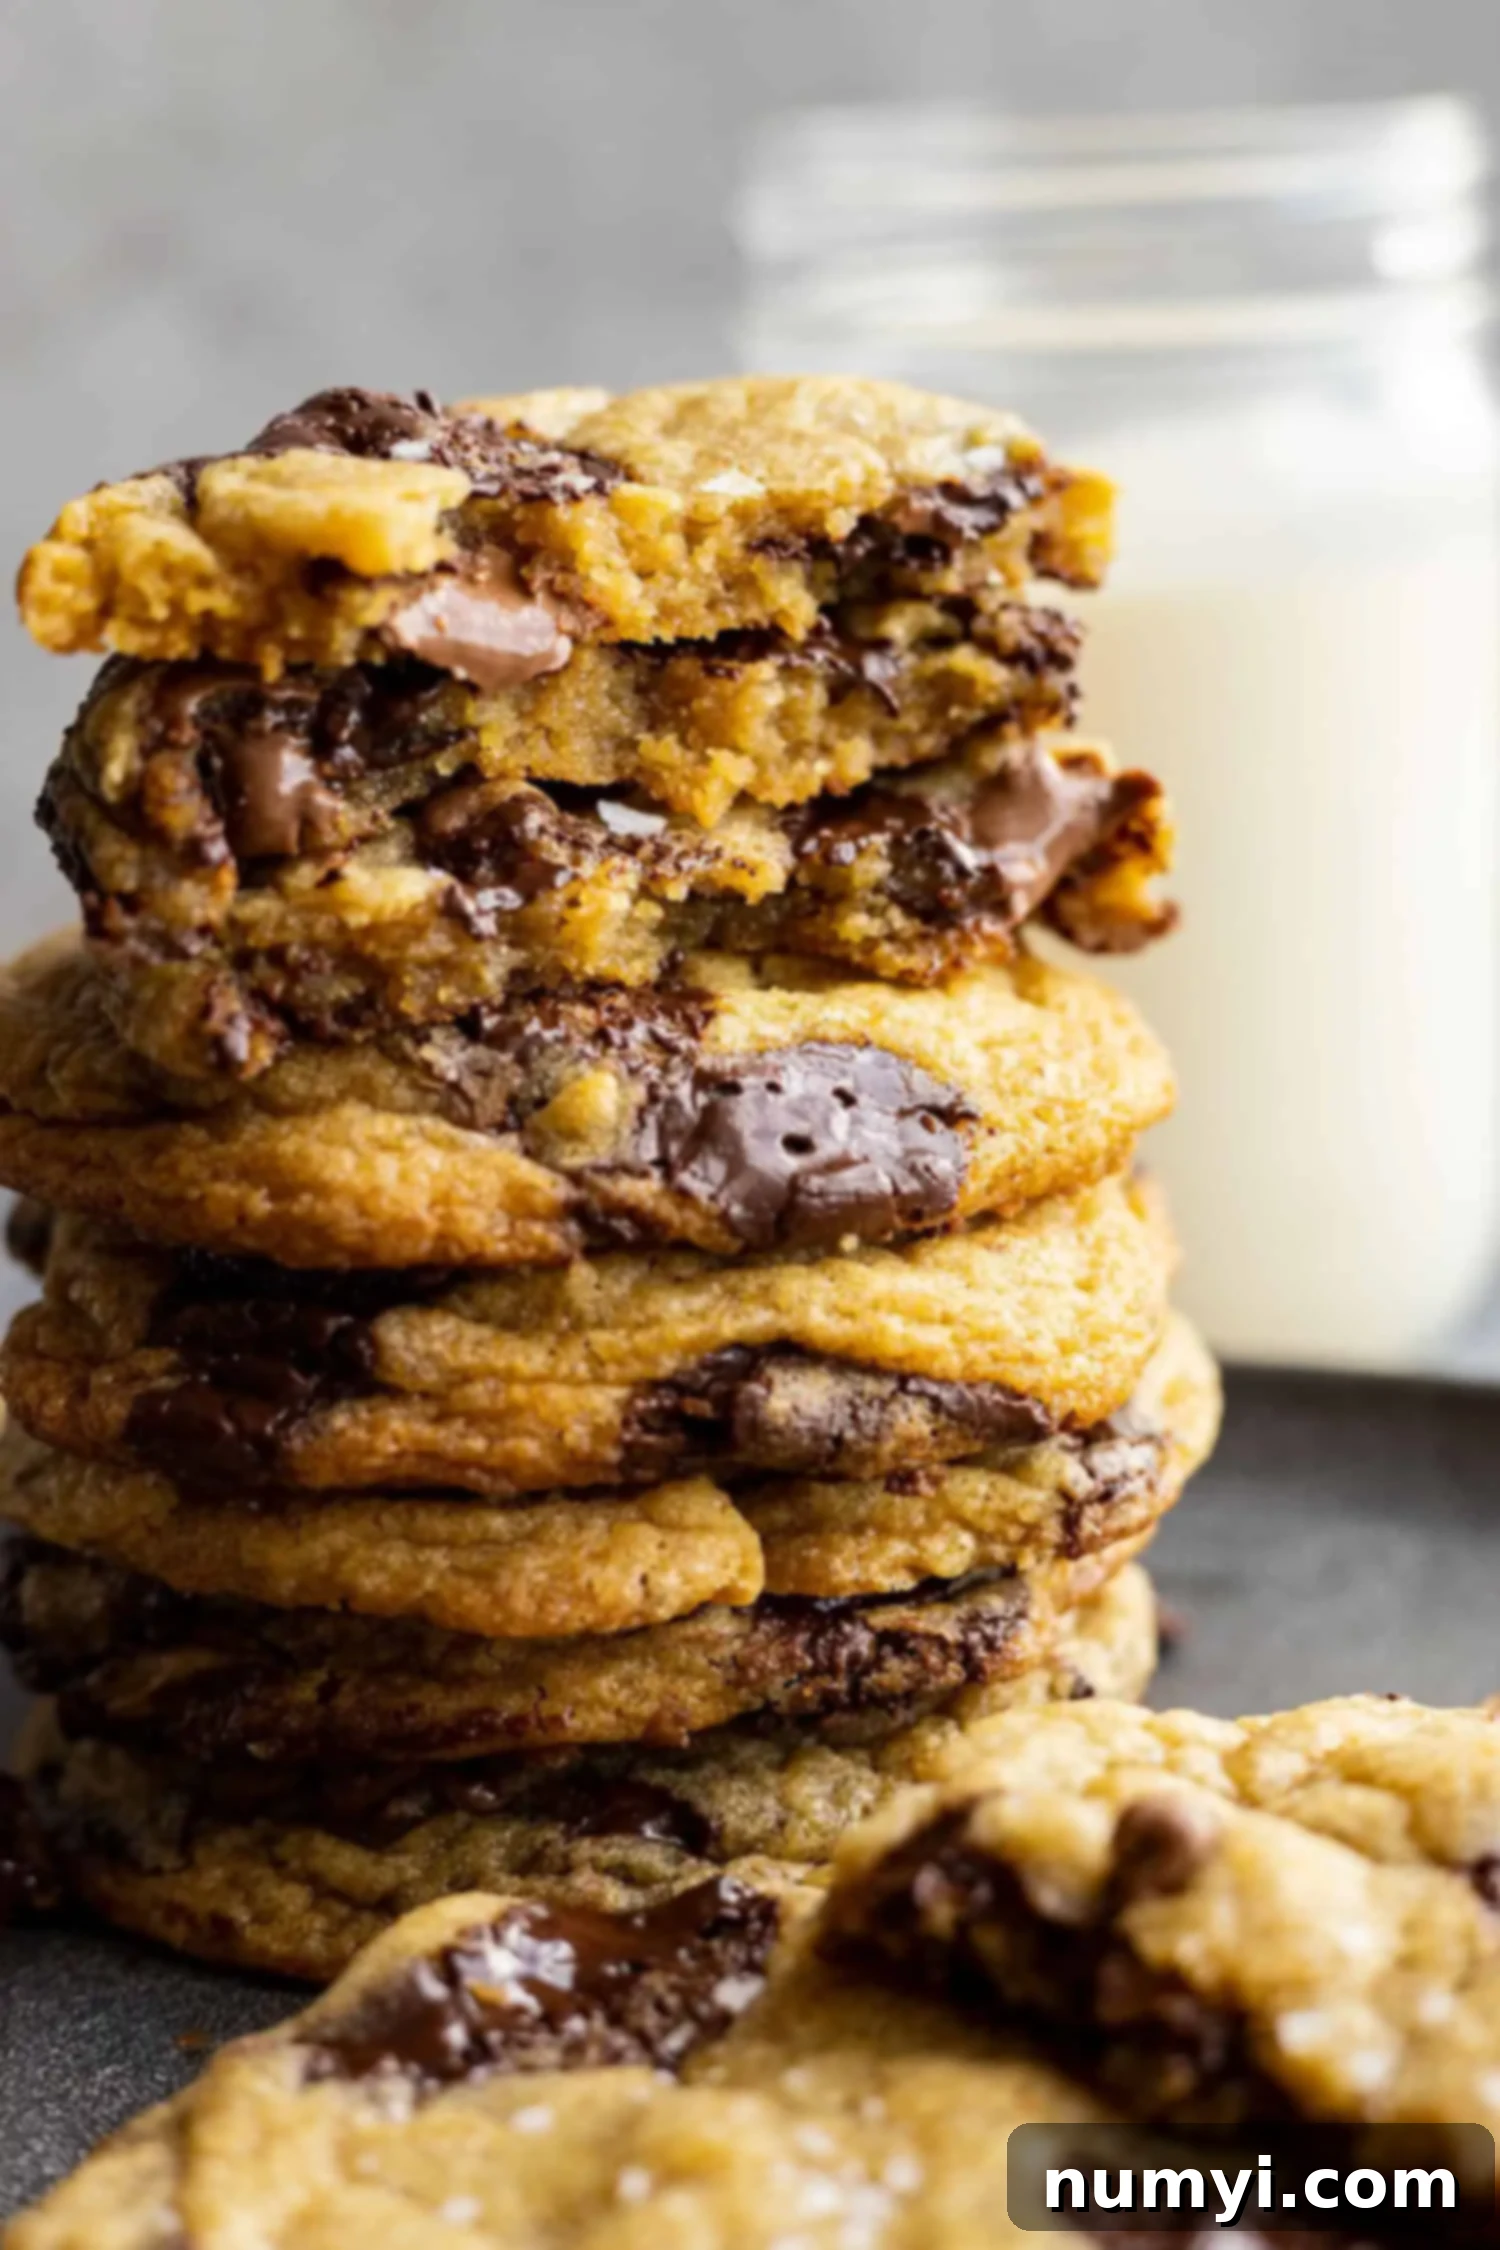
- Perfect Texture: Say goodbye to cakey cookies! These deliver the ideal contrast of crispy edges and a wonderfully chewy, soft center. This balance is achieved through careful ingredient ratios and the transformative power of dough chilling.
- Rich, Toffee-Like Flavor: Unlike overly sweet cookies, these boast a complex, caramelized flavor with subtle notes of toffee and butterscotch. This depth develops as the sugars fully dissolve and caramelize during baking, a process greatly enhanced by chilling the dough.
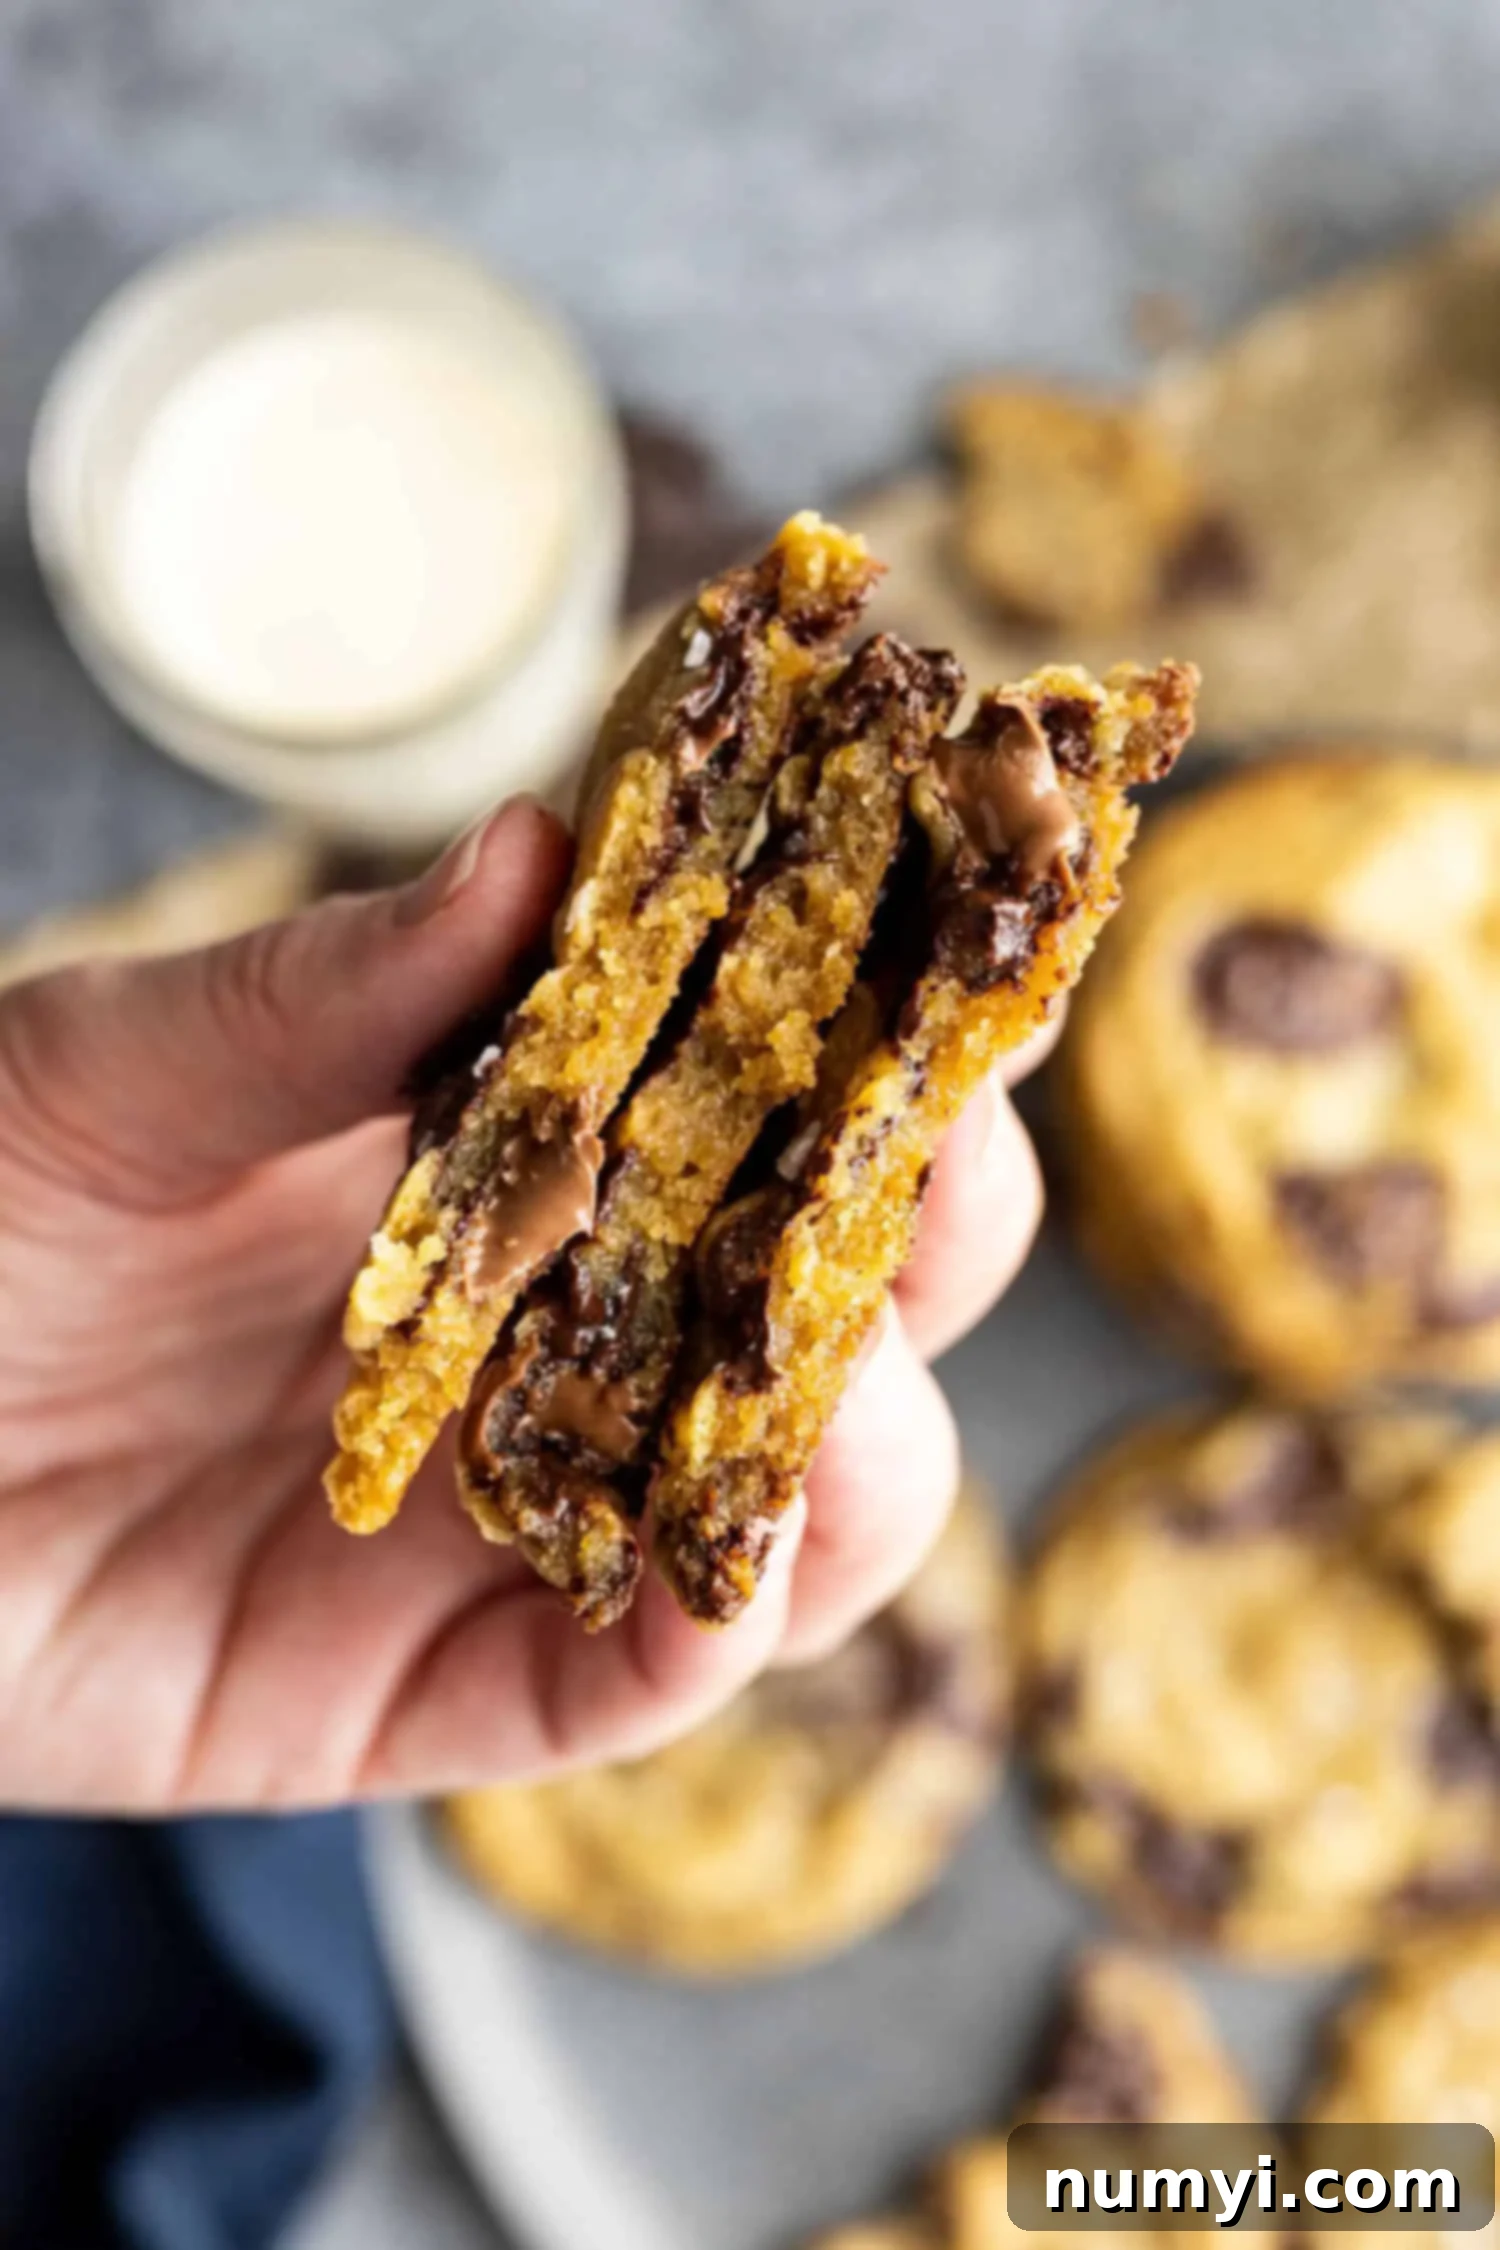
- Abundant Melty Chocolate: Each bite is loaded with pockets of gooey, melted chocolate. We’ll explore why choosing the right chocolate and preparing it properly makes all the difference for that irresistible pull-apart factor.
- Thick and Substantial: No thin, flimsy cookies here! These cookies are beautifully thick, offering a satisfying bite that holds up well. The melted butter and dough chilling are key players in achieving this robust structure.
- Effortlessly Easy to Make: Forget the stand mixer! This recipe is designed to be made by hand with just a bowl and a whisk, making it accessible for everyone and perfect for a spontaneous baking session.
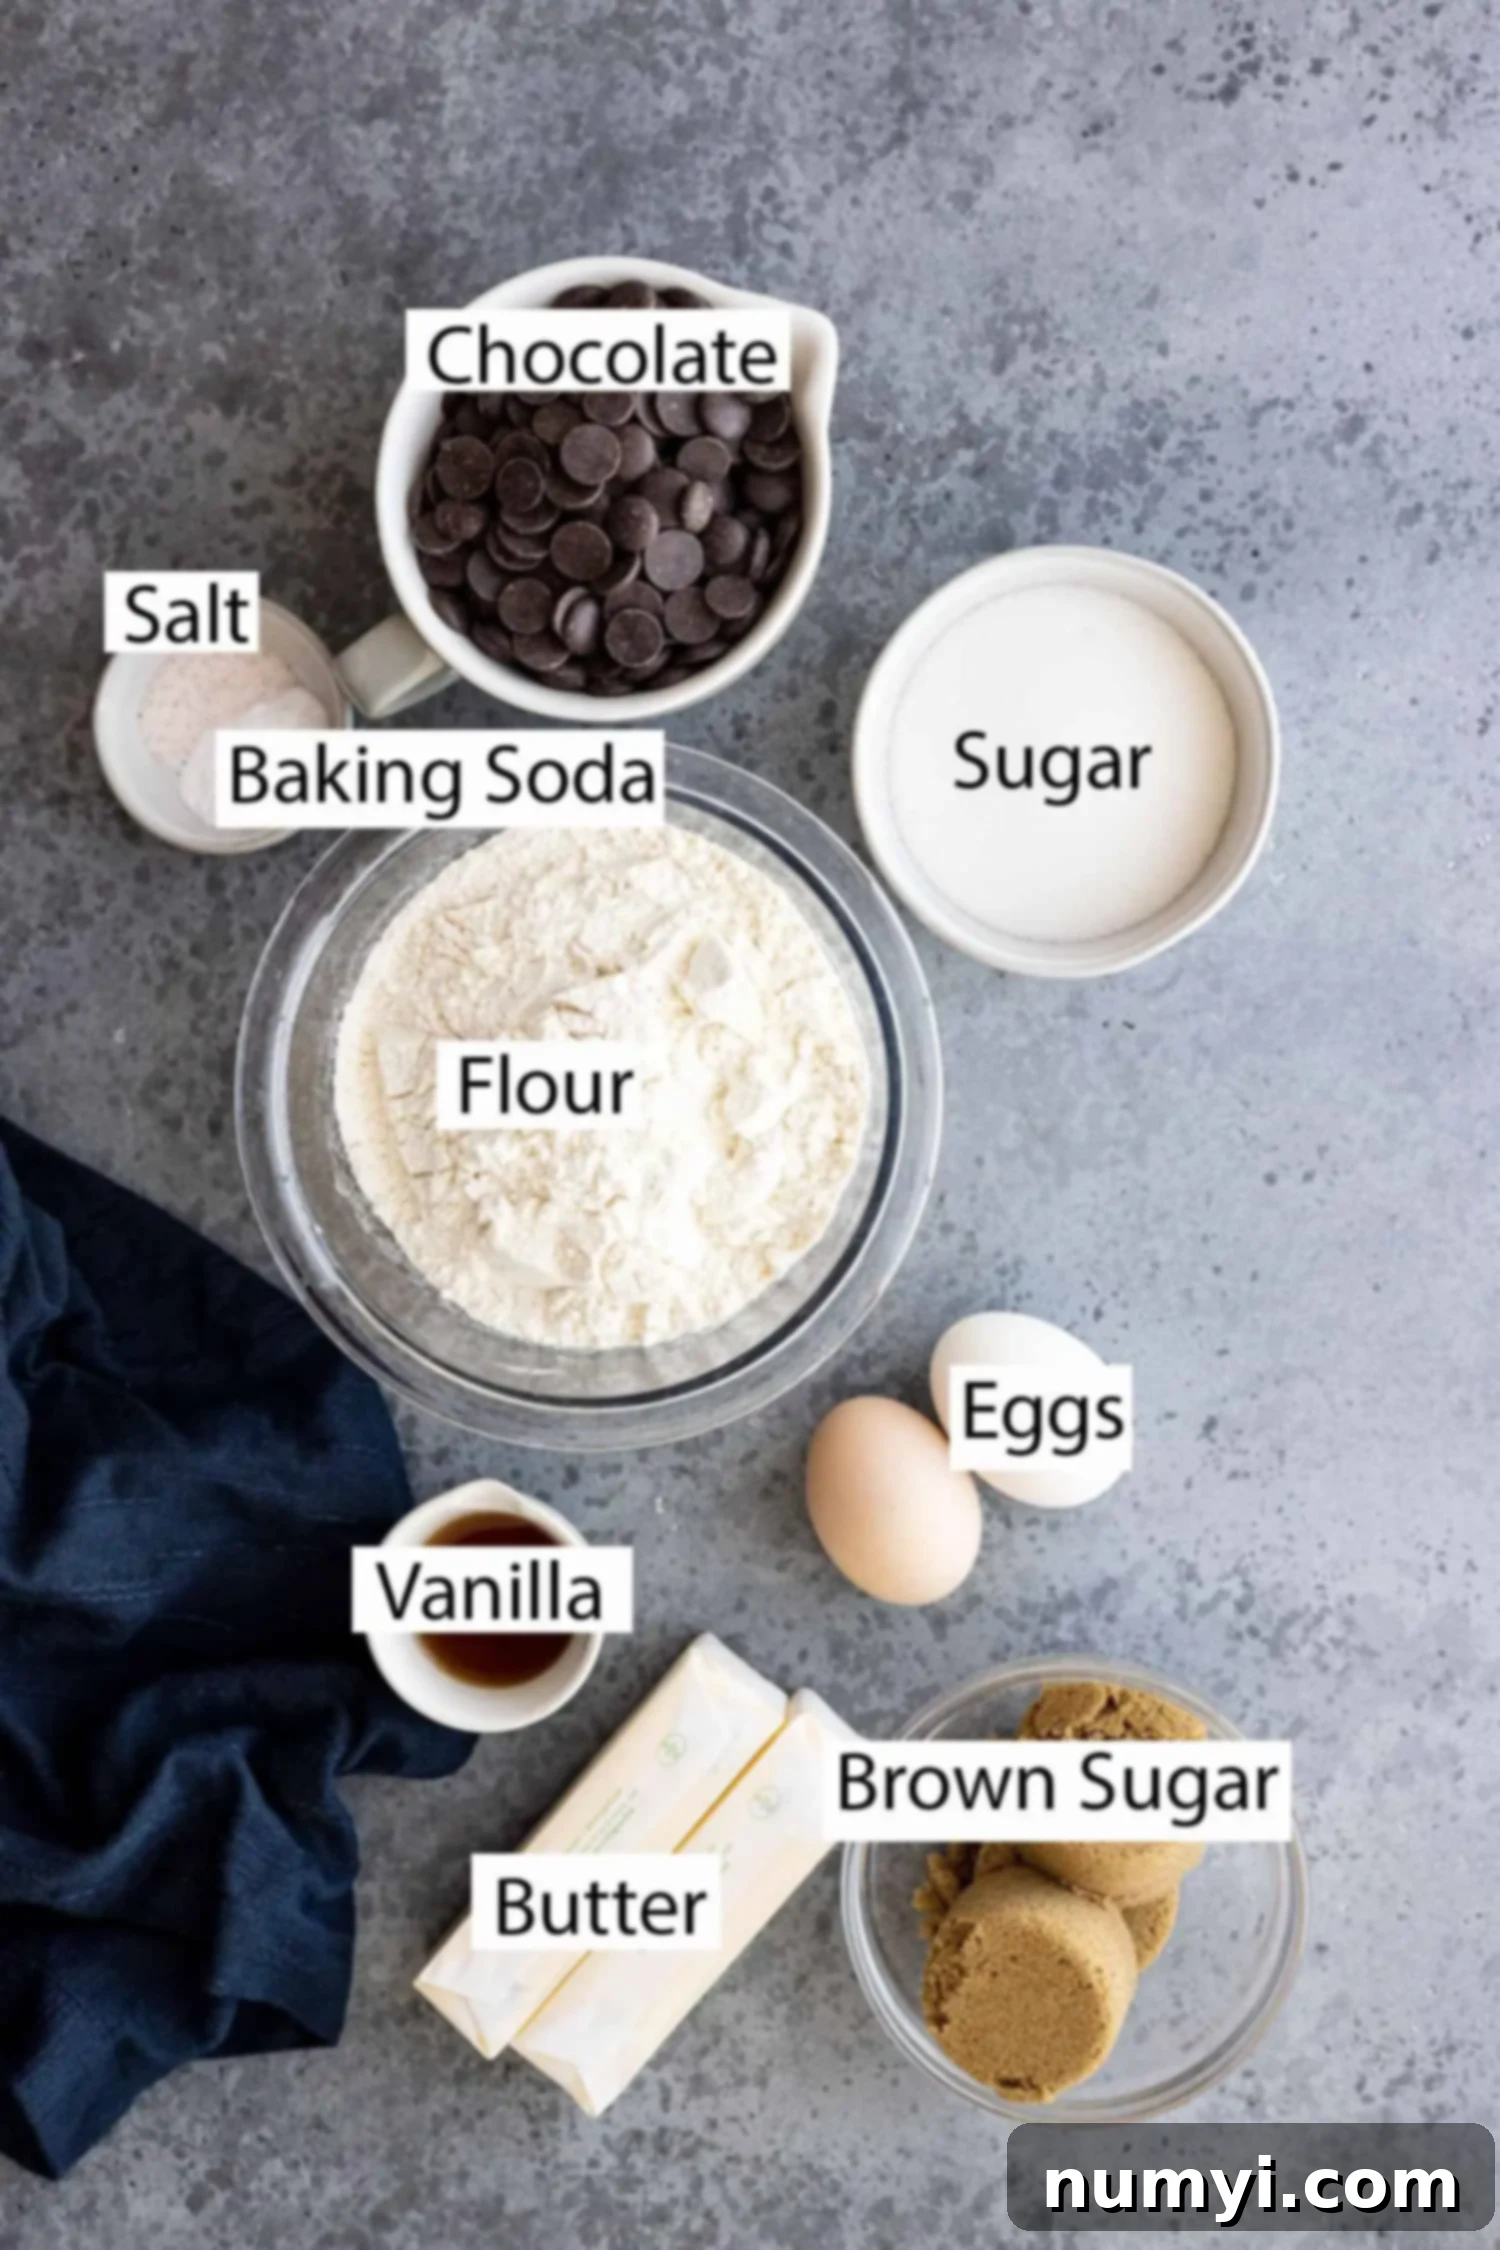
Key Ingredients for Unforgettable Chewy Chocolate Chip Cookies
Every ingredient in this recipe plays a vital role in creating that perfect chocolate chip cookie experience. Understanding their function will help you appreciate the magic behind these delightful treats.
- BUTTER (Melted Unsalted): The choice to use *melted* butter is fundamental here. Unlike softened butter, melted butter results in fewer air pockets being incorporated into the dough, leading to a denser, chewier cookie texture. It also helps in dissolving the sugars more effectively, contributing to that desirable toffee flavor and crispy edge. Using unsalted butter allows you to control the exact amount of salt in the recipe.
- EGGS (One Whole Egg + One Egg Yolk): This specific combination is a secret weapon for ultimate chewiness and moisture. The whole egg provides structure and binds the ingredients, while the extra egg yolk adds richness, tenderness, and a significant boost to the cookie’s chewiness without making it cakey. It also contributes to a richer color.
- SUGARS (Brown and Granulated): A blend of both sugars is essential. Brown sugar, with its molasses content, provides moisture, chewiness, and that beautiful caramelized flavor often associated with toffee. Dark brown sugar is particularly recommended for an even deeper, richer taste. Granulated sugar, on the other hand, contributes to the crispness of the cookie edges and aids in spreading. The balance ensures both texture and flavor are spot on.
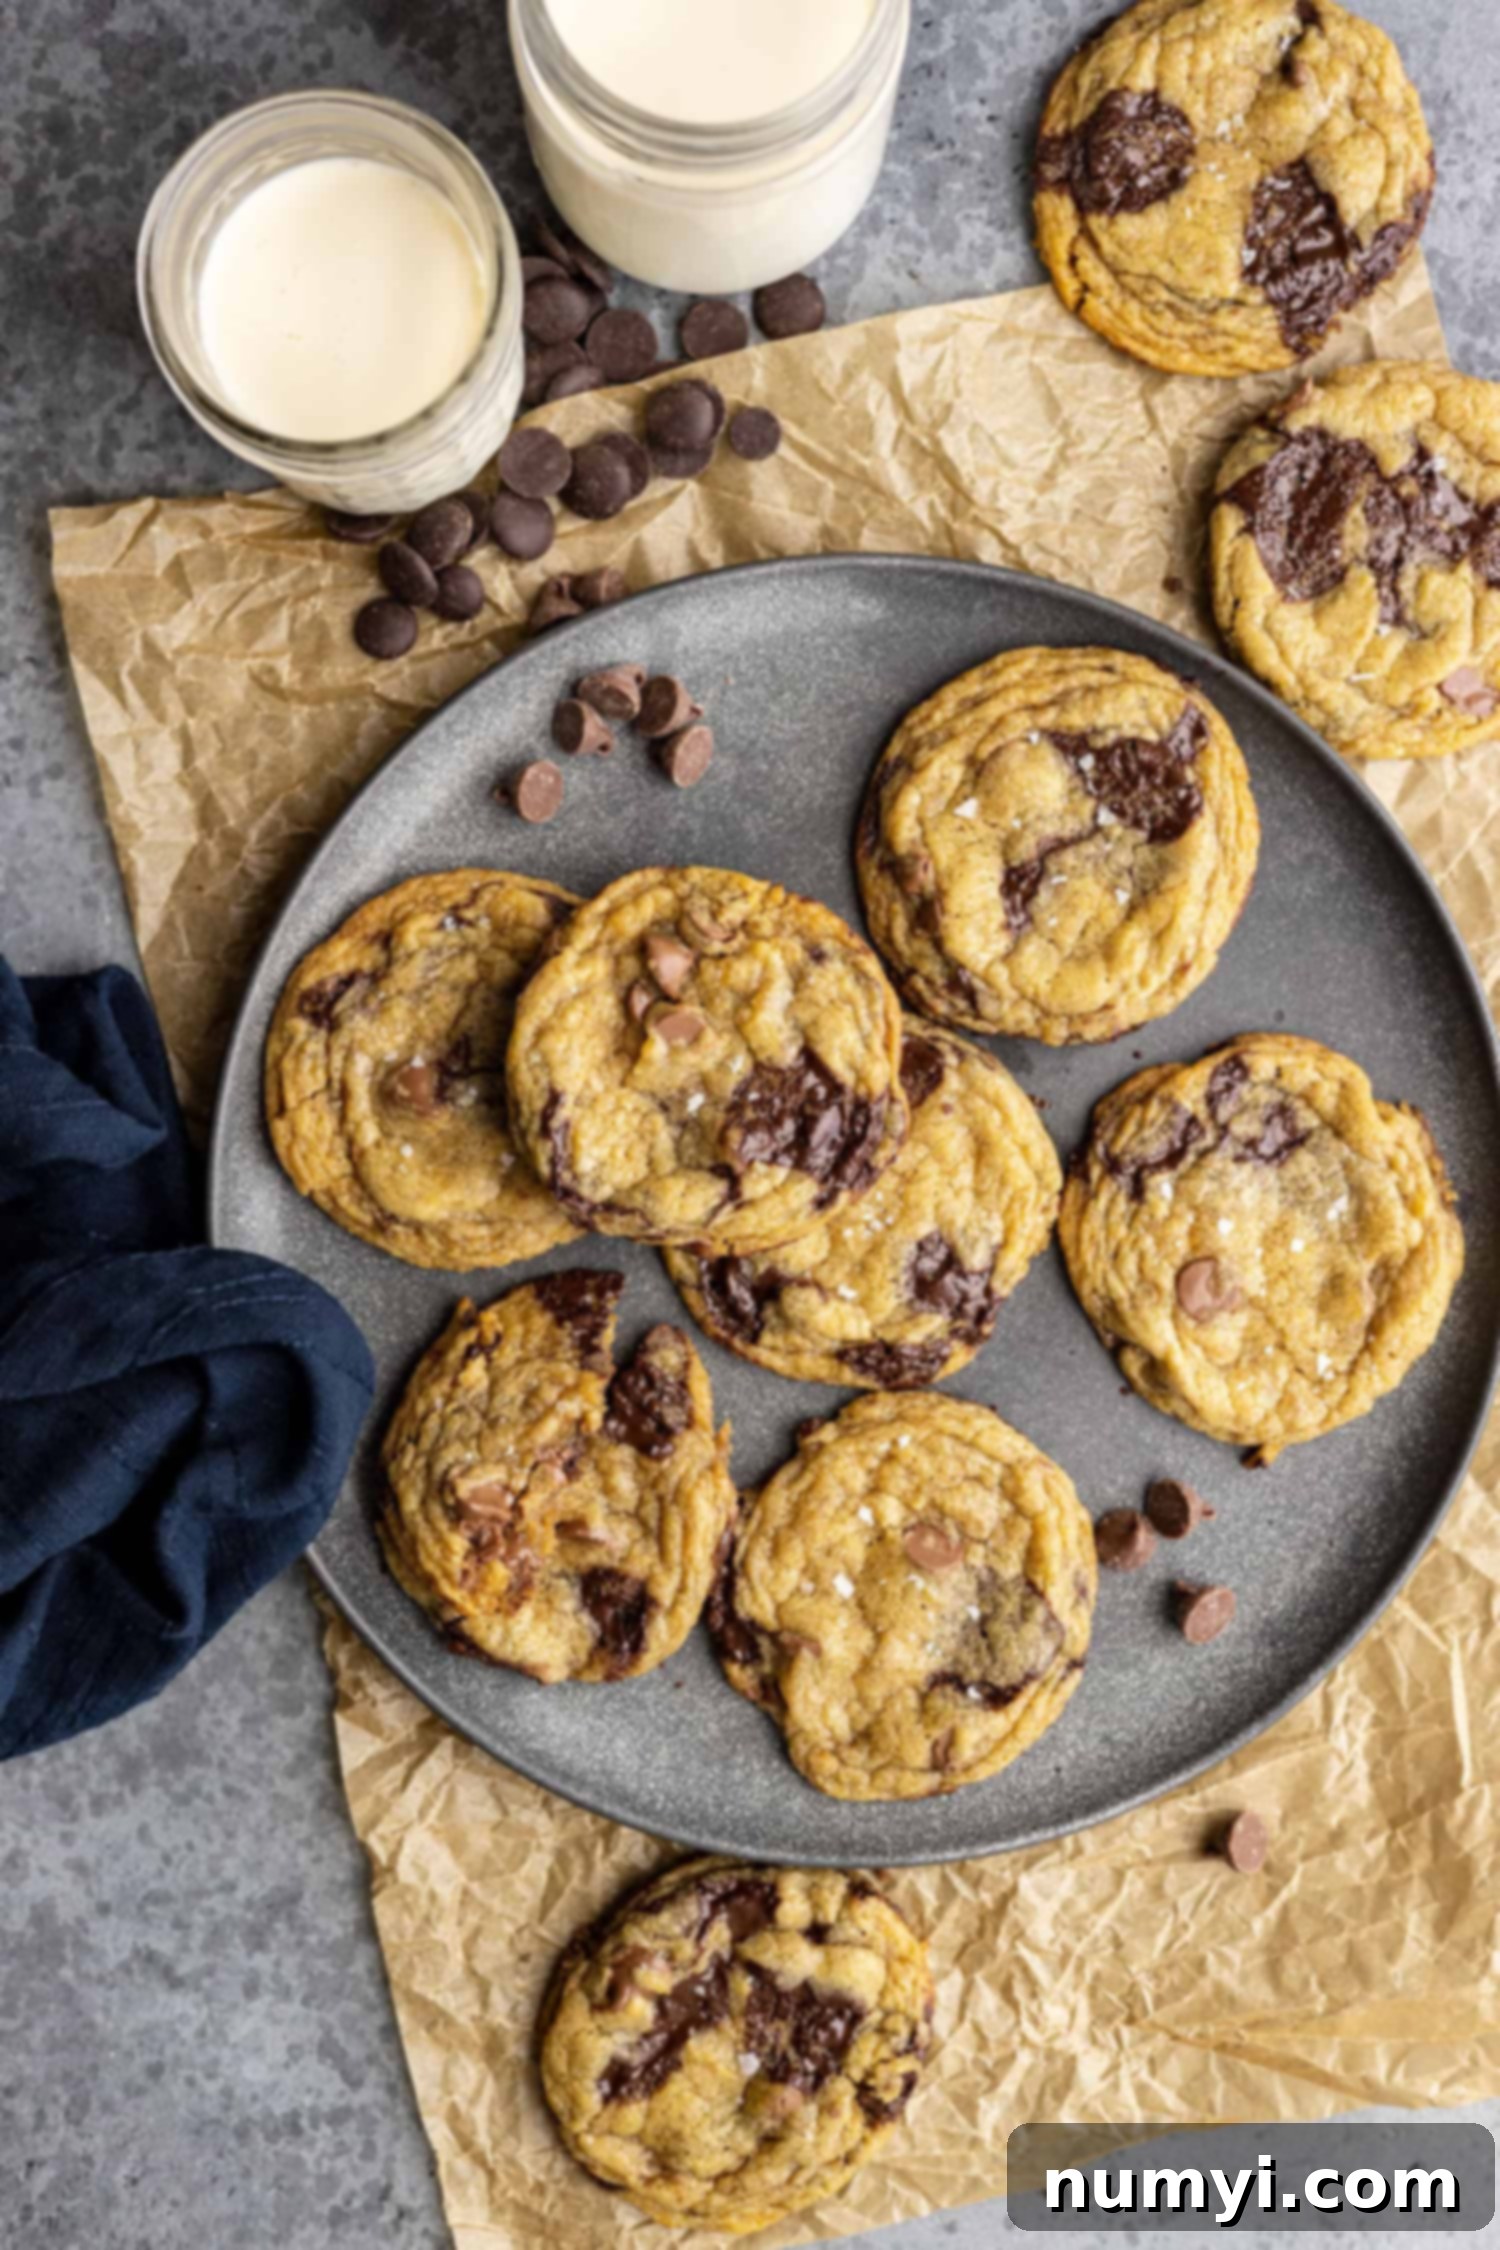
- CHOCOLATE (High-Quality, Mixed Types Recommended): For the truly ultimate chocolate chip cookie experience, don’t just grab any bag of chips. I highly recommend investing in good quality chocolate and using a mix of types. Chopping a good quality chocolate bar (dark, milk, or a mix) will create irregular shards that melt into glorious puddles throughout the cookie. Combining these with a handful of classic chocolate chips (like semi-sweet) provides a delightful contrast in texture and melt. The pictures might show chips and disks, but trust me, freshly chopped chocolate offers superior melty goodness and flavor.
- ALL-PURPOSE FLOUR: The backbone of any cookie, flour provides structure. Measuring accurately is key – ideally, use a kitchen scale (320g) for precise results, as too much or too little flour can drastically change your cookie’s texture.
- BAKING SODA: This leavening agent helps the cookies spread and rise slightly, contributing to their soft interior. When combined with the acidic brown sugar, it creates the perfect lift.
- SALT: A crucial flavor enhancer, salt balances the sweetness of the sugars and chocolate, bringing out the depth of all the other ingredients. Don’t skip it!
- VANILLA EXTRACT: A dash of good quality vanilla extract adds a warm, aromatic note that elevates the overall flavor profile of the cookies.
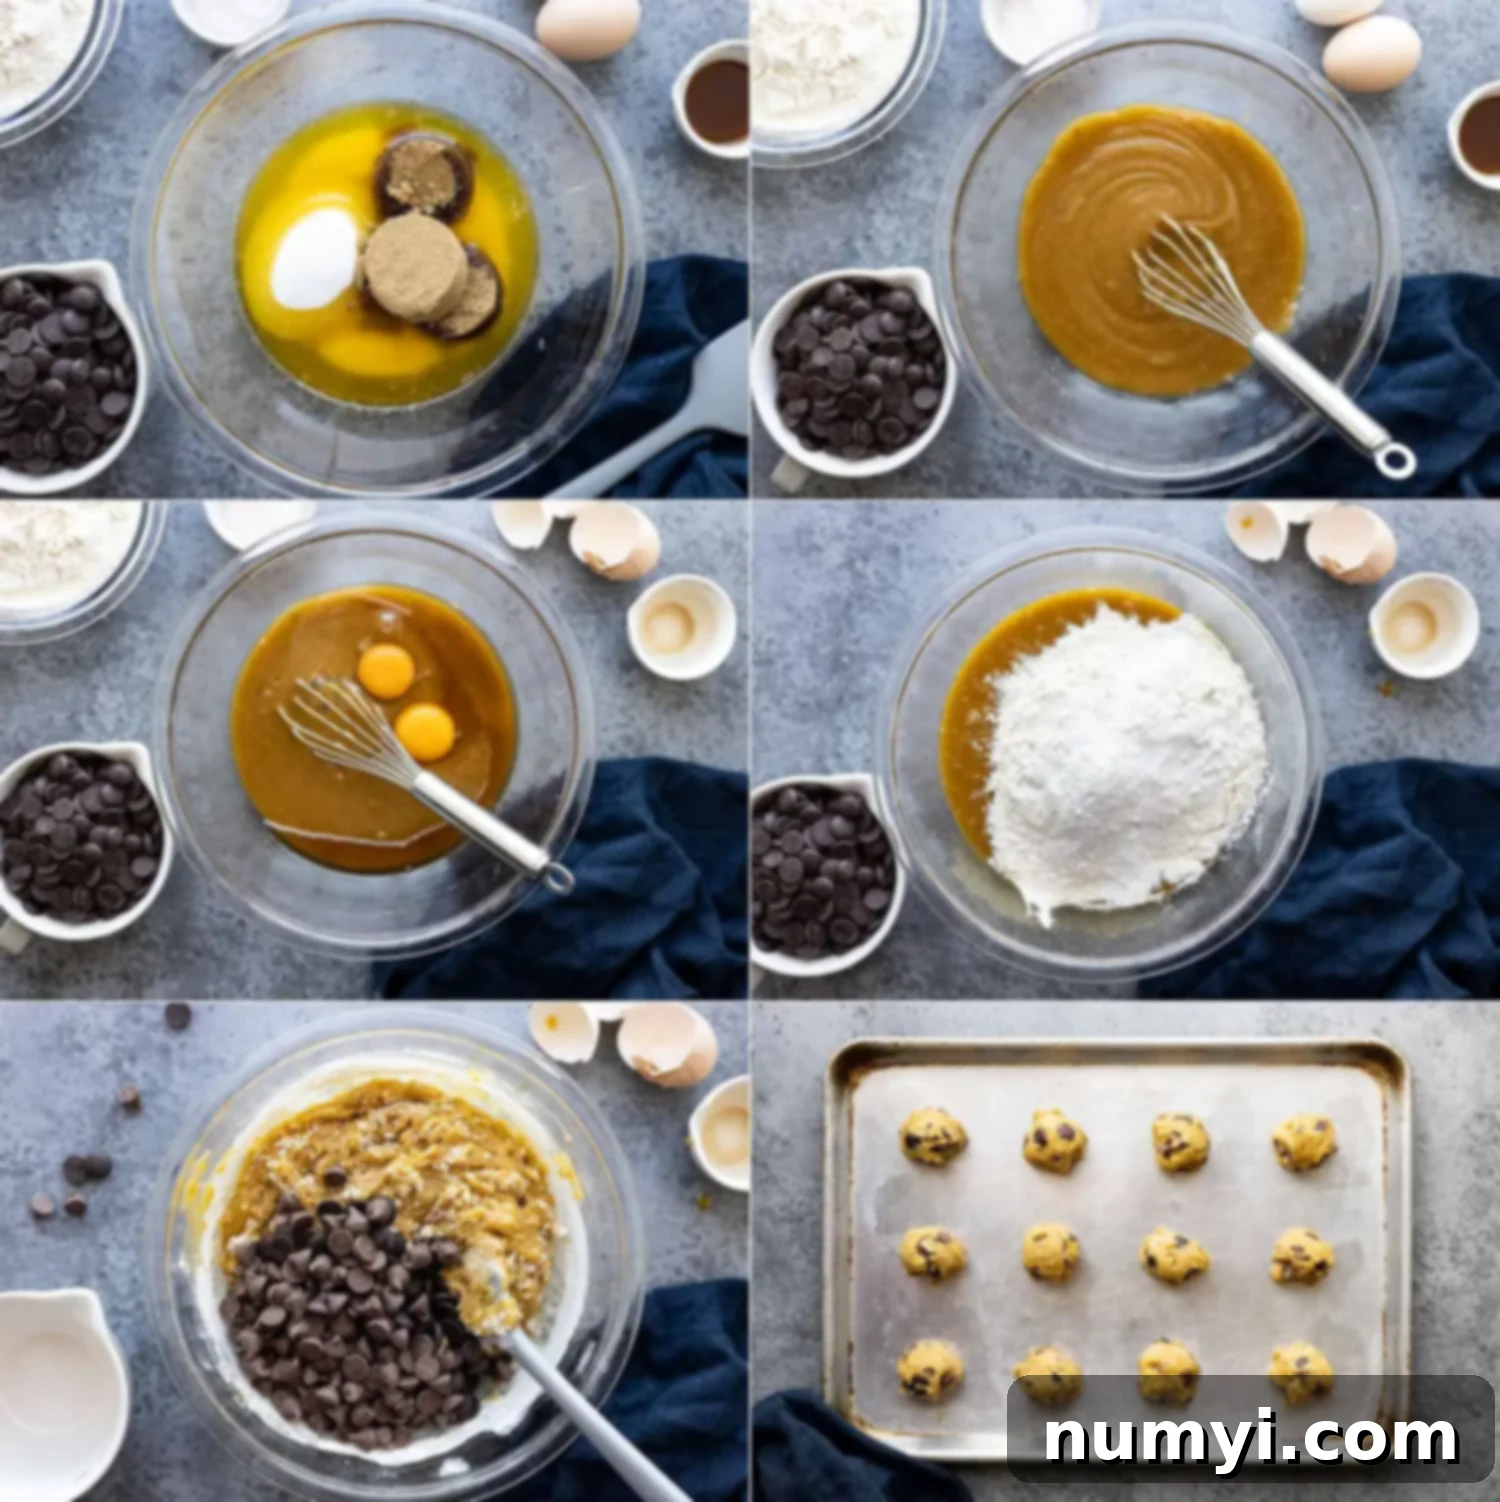
Step-by-Step Guide: How to Make Homemade Chocolate Chip Cookies
Creating these perfect cookies is a straightforward process. Follow these steps carefully, and you’ll be enjoying warm, gooey goodness in no time.
- STEP 1: Combine Wet Ingredients and Sugars. In a large mixing bowl, start by whisking together the melted butter, brown sugar, and granulated sugar. Continue whisking until you have a thick, smooth paste. This ensures the sugars begin to dissolve, which is essential for texture and flavor development. Next, whisk in the whole egg, extra egg yolk, and vanilla extract until they are just combined. Avoid over-whisking at this stage to prevent incorporating too much air, which can lead to a cakier texture.
- STEP 2: Incorporate Dry Ingredients and Chocolate. To the wet mixture, add the all-purpose flour. Sprinkle the baking soda and salt over the flour. Using a rubber spatula, gently stir the dry ingredients into the wet mixture until they are almost fully combined – you should still see a few streaks of flour. At this point, add your chosen chocolate (chips, chunks, or chopped bar). Continue to mix just until everything is combined. Overmixing the flour once it’s introduced can develop gluten, resulting in tougher cookies.
- STEP 3: The Crucial Chilling Period. This step is non-negotiable for the best results! Once your dough is mixed, cover the bowl tightly with plastic wrap and transfer it to the refrigerator. I recommend chilling for at least 24 hours, and up to 3 days for maximum flavor development. For easier scooping later, you can form the dough into balls or a log before chilling. This allows the flour to fully hydrate and the sugars to dissolve, deepening the flavor and improving texture.
- STEP 4: Bake to Golden Perfection and Enjoy! When you’re ready to bake, preheat your oven to 375℉ (190°C). Line a baking sheet with parchment paper for easy release and even baking. Scoop generous portions of the chilled cookie dough using a #24 cookie scoop (which holds about 3 tablespoons) for uniformly sized cookies. Place the dough balls about 2 inches apart on the baking sheet. Bake for 10-12 minutes, or until the edges are golden brown and set, but the centers still look slightly puffy, soft, and a little underdone. Remember, the cookies will continue to cook from residual heat as they cool. Allow them to cool on the baking sheet for 10-15 minutes before transferring them to a wire rack to cool completely. Then, it’s time to savor your perfectly baked, chewy, and crispy chocolate chip cookies!
Frequently Asked Questions About Chocolate Chip Cookies
Once completely cooled, store your chocolate chip cookies in an airtight container at room temperature. They will remain wonderfully fresh and chewy for up to 1 week. To maintain their softness, you can even place a half-slice of bread in the container; the cookies will absorb moisture from the bread.
For Freezing Dough: Scoop the cookie dough into individual balls using a cookie scoop. Place these dough balls on a baking sheet lined with parchment paper, ensuring they don’t touch. Freeze for 15-20 minutes, or until the dough balls are solid. Once firm, transfer them to a freezer-safe ziploc bag or an airtight container, removing as much air as possible. The dough can be frozen for up to 3 months. When you’re ready to bake, there’s no need to thaw! Simply place the frozen dough balls on a prepared baking sheet and add an extra 1-3 minutes to the baking time.
For Freezing Baked Cookies: Allow baked cookies to cool completely to room temperature. Arrange them in a single layer on a baking sheet and freeze for about 30 minutes until solid. Then, transfer the frozen cookies to a freezer-safe ziploc bag or airtight container, separated by parchment paper if stacking. They can be frozen for up to 3 months. To enjoy, simply thaw at room temperature or warm briefly in the microwave for a just-baked feel.
Why Dough Chilling is the Secret Weapon for Perfect Cookies
Chilling cookie dough isn’t just a suggestion; it’s a transformative step that dramatically improves the flavor, texture, and appearance of your chocolate chip cookies. While it requires a bit of patience, the results are undeniably superior.
Here’s why chilling the dough is so important:
- Optimal Flour Hydration: During the chilling period, the flour has ample time to fully absorb the liquids in the dough. This process is crucial because it helps to prevent the cookies from spreading too much during baking, leading to thicker, chewier cookies. Properly hydrated flour also results in a more tender crumb.
- Enhanced Flavor Development and Sugar Dissolution: This is where the magic truly happens! As the dough chills, the granulated and brown sugars slowly dissolve into the butter and eggs. This dissolution is key to creating those coveted crispy edges and a deep, complex, toffee-like flavor profile. The longer the sugar dissolves, the more it caramelizes during baking, imparting rich butterscotch notes instead of just being overtly sweet. This caramelization is what gives these cookies their incredible depth of flavor that sets them apart.
- Reduced Spread and Thicker Cookies: Cold butter and thick, chilled dough spread much less quickly in the oven. This results in cookies that are thicker and have those desirable slightly crisped edges while maintaining a soft, chewy interior. Warm dough, on the other hand, tends to spread out too much, leading to thin, flat cookies.
- Deeper Color and Crispier Edges: The sugar caramelization mentioned above also contributes to a more appealing golden-brown color and helps to achieve that perfectly crisp edge that contrasts so beautifully with the chewy center.
While the recipe suggests a 24-hour chill for best results, even a few hours can make a noticeable difference. However, if you can wait, letting the dough chill for up to 72 hours (3 days) will yield cookies with an even more profound, nuanced flavor.
Troubleshooting Tips: Achieving Your Best Batch of Chocolate Chip Cookies
Even with the best recipe, baking can sometimes present challenges. Here are common cookie problems and how to fix them, ensuring your next batch is a resounding success.
- FLAT COOKIES: If your cookies spread too much and end up flat, several factors could be at play. The most common culprits are not enough flour (always weigh your flour for accuracy!), using butter that’s too warm (even melted butter should cool slightly, not be hot), too much butter, or not chilling the dough adequately. Also, using old or inactive baking soda can contribute to excessive spread. A simple kitchen scale is an inexpensive but invaluable tool for precise flour measurement and consistently perfect cookies.
- COOKIES DIDN’T SPREAD ENOUGH: On the flip side, if your cookies stay too thick and don’t spread at all, you likely used too much flour. This is another reason why weighing your flour (320g for this recipe) is highly recommended. Over-chilling the dough or using ingredients that are too cold can also sometimes lead to less spread, though this recipe is designed to handle extended chilling well.
- UNEVENLY BAKED COOKIES: This problem often arises when baking more than one sheet of cookies at a time, or due to “hot spots” in your oven. For the most consistent results, bake one sheet of cookies at a time, rotating the pan halfway through the baking process. If baking multiple sheets is unavoidable, swap their positions (top to bottom, front to back) halfway through.
- COOKIES ARE HARD, CRISP, AND NOT CHEWY: This is almost always a sign of overbaking. The key to chewy cookies is to remove them from the oven when they still look slightly underdone in the center. The edges should be golden brown and set, but the centers should appear puffy and soft. Many bakers don’t realize that the residual heat from the hot baking sheet will continue to cook the cookies as they cool. This slow, gentle cooking process outside the oven is what helps create that wonderfully soft, chewy texture. Trust the process – they’ll firm up as they cool!
Expert Tips and Suggestions for Your Best Chocolate Chip Cookies
Elevate your cookie game with these additional insights and modifications:
- Use Fresh, Moist Brown Sugar: The quality of your brown sugar matters. Fresh, soft brown sugar provides essential moisture and flavor. If your brown sugar is hard and dry, it will make your cookies drier and less chewy. Both light and dark brown sugar work, but dark brown sugar will impart a deeper, richer molasses flavor, which I highly recommend for a more complex cookie.
- Invest in Good Quality Chocolate: This is a non-negotiable for the “best” cookies! Whether you prefer chips, chunks, or chopped chocolate bars, using a high-quality brand will make a significant difference in flavor and melt. For the ultimate melty pools of chocolate, chopping a good quality chocolate bar (like Ghirardelli, Callebaut, or Valrhona) into irregular pieces is ideal. Using a combination of two different types of chocolate (e.g., semi-sweet and milk chocolate, or dark chocolate and butterscotch chips) can add wonderful depth and dimension of flavor.
- Toasting Nuts for Enhanced Flavor: If you love nuts in your chocolate chip cookies (like walnuts or pecans), toast them lightly in a dry skillet or oven before adding them to the dough. This brings out their natural flavor and keeps them from becoming soft or soggy in the baked cookie. Remember to reduce the amount of chocolate when adding nuts; the total amount of chocolate chips and nuts should equal 1½ cups to maintain the right dough consistency.
- Experiment with Brown Butter: For an even deeper, nuttier, and more sophisticated flavor, you can brown a portion (or all) of the butter before melting. This process involves gently cooking the butter until the milk solids turn a golden brown and release a distinct nutty aroma. Be careful not to burn the butter, as this will result in a bitter or acrid taste in your cookies. Brown butter adds an extra layer of complexity that is truly divine.
- A Sprinkle of Flakey Sea Salt: For a truly gourmet touch, sprinkle a tiny pinch of flakey sea salt (like Maldon) over the freshly baked cookies as they come out of the oven. The delicate salt crystals beautifully enhance and balance the sweetness of the chocolate and sugars, adding a subtle crunch and professional finish. Do not use regular iodized table salt for this, as its flavor and texture are too harsh.
- Use a Cookie Scoop: For perfectly uniform cookies that bake evenly, a cookie scoop is a game-changer. It ensures consistent size, which means no more under-baked small cookies and over-baked large ones.
- Parchment Paper is Your Friend: Always line your baking sheets with parchment paper. It prevents sticking, promotes even baking, and makes cleanup a breeze.
For More Great Cookie Recipes, Check Out:
- Soft and Chewy Oatmeal Cookies
- Small Batch Chocolate Chip Cookies
- Monster Skillet Cookie (Pizookie)
HUNGRY FOR MORE? Don’t miss out on my latest recipes and baking tips! Subscribe to my newsletter and follow along on Pinterest, Facebook, and Instagram for all my latest updates!
The Best Chocolate Chip Cookies
Ingredients
- 1 cup (226g) unsalted butter melted
- ¾ cup (145g) packed brown sugar
- ½ cup (105g) granulated sugar
- 1 large egg + 1 egg yolk
- 2 teaspoons vanilla extract
- 2⅓ cups (320g) all purpose flour
- 1 teaspoon baking soda
- 1/2 teaspoon salt
- 1½ cups (225g) chocolate chips (best to use a mix)
Instructions
-
In a large mixing bowl whisk together the melted butter, brown sugar, and granulated sugar until a thick paste. Whisk in the egg, egg yolk, and vanilla just until combined.
-
Add the flour and sprinkle with the baking soda and salt. Mix with a rubber spatula until almost combined. Add the chocolate and mix just until combined.
-
Chill for 24 hours and up to 3 days. When ready to bake preheat oven to 375℉. Scoop cookie dough using a cookie scoop for even cookies. Use a #24 cookie scoop which equals almost 3 tablespoons.
-
Place on cookie sheet 2 inches apart. Bake for 10-12 minutes or until edges are golden brown and set and centers are puffy, soft, and look underdone. Cool on baking sheet for 10-15 minutes before removing to wire wrack to cool completely.
Notes
- Be sure to read the post for tips, suggestions, and troubleshooting.
Nutrition
